 Pin It
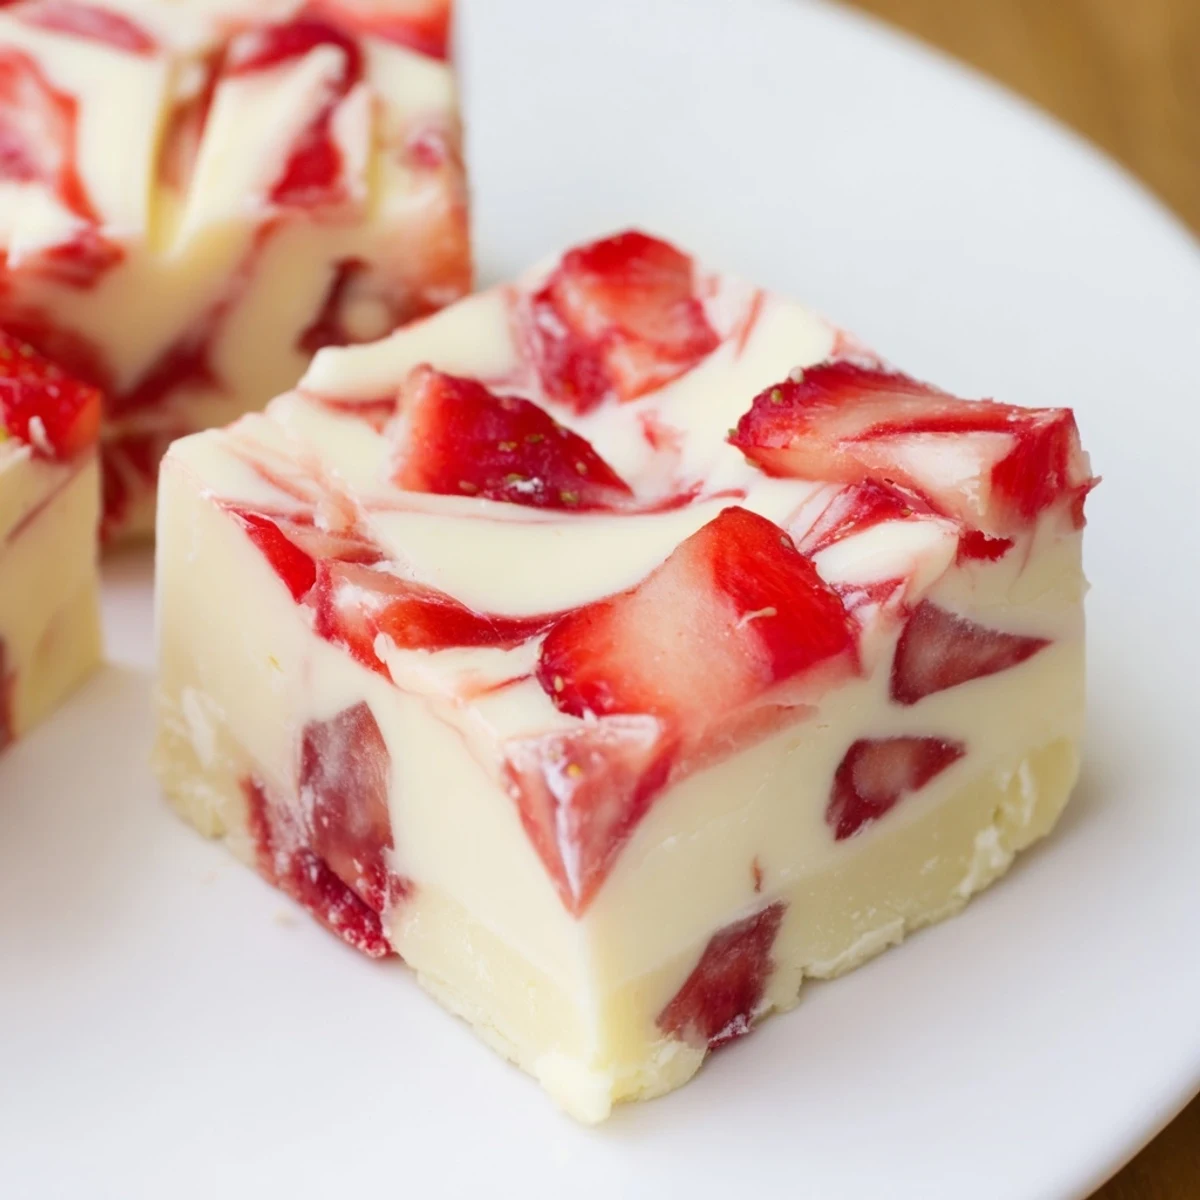
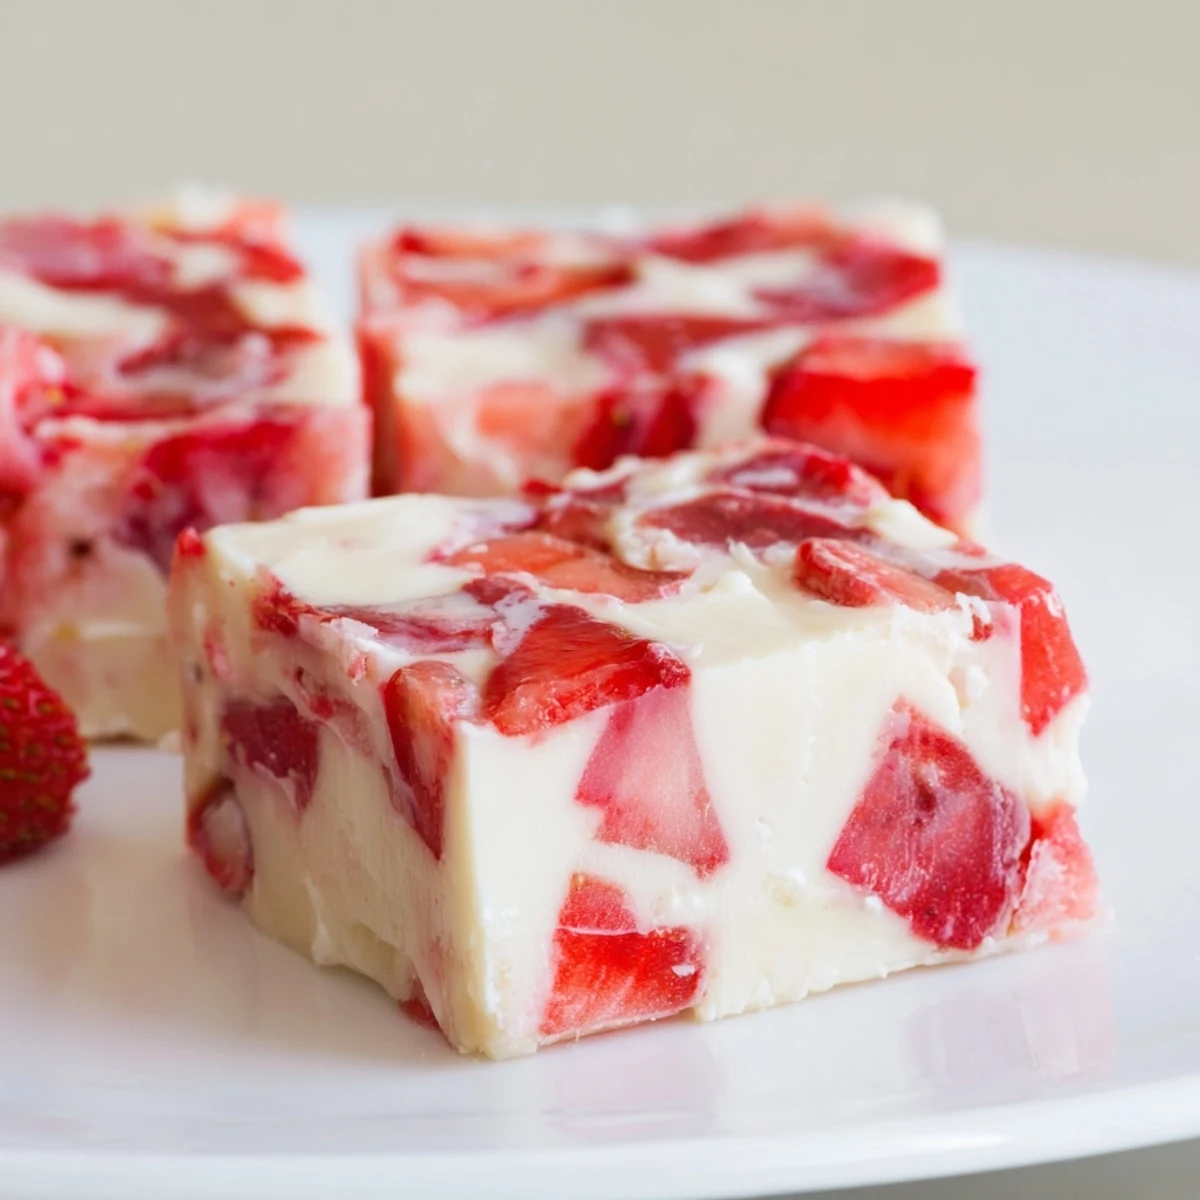
 This easy, no-bake approach layers melted white chocolate and sweetened condensed milk with a bright strawberry compote and a light cream-cheese swirl. Simmer berries with sugar and lemon until reduced, melt chocolate mixture until glossy, pour into a lined pan, dollop cooled strawberry and cream mixtures, marble with a toothpick, and chill at least 2 hours. Yield: 16 squares.
The kitchen smelled like a strawberry field had collided with a candy shop, and honestly I was not mad about it. I had volunteered to bring something sweet to a friends rooftop birthday party and somehow convinced myself that fudge, something I had never attempted, would be easy. Three batches later I finally nailed it, and those swirled pink and white squares disappeared faster than anything I have ever baked. People literally grabbed two at a time and hid them in napkins.
My roommate walked in right as I was dragging a toothpick through the strawberry and cream layers, creating those ribbons of color, and she stood there watching like it was performance art. I handed her the bowl with the leftover fudge scraping and she ate it with a spoon standing at the counter, refusing to wait for it to chill. That reaction alone told me this one was a keeper.
Ingredients
- Sweetened condensed milk (400 g): The backbone of the fudge, providing sweetness and that dense, creamy texture. Do not accidentally grab evaporated milk, I learned that the hard way.
- White chocolate (300 g), chopped: Use decent quality chocolate here because it carries the entire base. Chopping it finely helps it melt evenly without seizing.
- Unsalted butter (2 tbsp): Adds richness and helps the fudge set with a smooth, velvety finish.
- Pure vanilla extract (1 tsp): Rounds out the sweetness and gives the white chocolate a warmer, more complex flavor.
- Fresh strawberries (100 g), hulled and diced: Fresh berries cook down into a tangy, jewel toned layer that balances all the sweetness beautifully.
- Granulated sugar (2 tbsp): Draws out the natural juices from the strawberries as they simmer into a quick jam.
- Lemon juice (2 tsp): Brightens the strawberry mixture and prevents it from tasting flat or overly sweet.
- Cream cheese (60 g), softened: Creates a tangy, pillowy swirl that contrasts with the sweet fudge base.
- Icing sugar (1 tbsp): Sweetens the cream swirl just enough without making it grainy.
- Heavy cream (1 tbsp): Loosens the cream cheese mixture so it swirls easily through the fudge.
Instructions
- Prep your pan:
- Line a 20 cm square baking pan with parchment paper, leaving generous overhangs on the sides so you can lift the fudge out later without a battle.
- Cook the strawberry layer:
- Toss the diced strawberries, sugar, and lemon juice into a small saucepan over medium heat. Stir gently for about six minutes until the berries collapse and the mixture turns thick and glossy, then set it aside to cool completely.
- Melt the fudge base:
- Combine the white chocolate, condensed milk, and butter in a microwave safe bowl and heat in thirty second bursts, stirring patiently between each one, until everything is silky and lump free.
- Add the vanilla:
- Stir the vanilla extract into the melted mixture until it disappears completely into that glossy white pool.
- Pour into the pan:
- Spread the fudge mixture evenly into your prepared pan, using a spatula to smooth the top into a flat, even layer.
- Whip the cream swirl:
- Beat the softened cream cheese, icing sugar, and heavy cream together in a small bowl until it is completely smooth and spreadable.
- Create the marble effect:
- Drop spoonfuls of the cooled strawberry mixture and cream cheese mixture randomly over the fudge surface. Take a toothpick or knife and drag it through the dollops in figure eight motions until you get beautiful swirling ribbons.
- Chill until set:
- Refrigerate the fudge for at least two hours, or until it is firm enough to hold its shape when you press it gently with your finger.
- Cut and serve:
- Lift the fudge slab out using the parchment handles and place it on a cutting board. Slice into sixteen neat squares with a sharp knife, wiping the blade between cuts for clean edges.
 Pin It
 At that rooftop party, a friend who never eats sweets went back for a third piece and told me it reminded her of the strawberry creams she used to get from a corner shop as a child. That is the magic of this fudge.
Making It Your Own
You can swap the strawberries for raspberries if you want a deeper, more tart flavor that cuts through the richness even more aggressively. A few drops of natural strawberry extract in the fudge base amplifies the berry flavor without changing the texture at all.
Storing Your Fudge
Keep the fudge in an airtight container in the refrigerator and it stays perfect for up to a week, though honestly it never lasts that long in my house. You can also freeze the squares between layers of parchment for up to three months.
Getting Clean Cuts
The neatest squares come from a hot, dry knife run under warm water and wiped clean between each slice. It takes a little extra effort but the result looks like it came from a professional kitchen.
- Use a nonserrated blade for the smoothest edges.
- Chill the fudge for the full two hours minimum before cutting.
- Press straight down rather than sawing back and forth.
 Pin It
 This fudge is proof that you do not need complicated techniques to create something truly beautiful and delicious. Make it once and it will become your go to for every celebration.
Common Questions
- → How do I intensify the strawberry flavor?
-
Simmer the diced strawberries a bit longer to reduce excess liquid and concentrate flavor, or mash them slightly once cooled. A few drops of natural strawberry extract added to the strawberry layer will boost fragrance without altering texture.
- → Can I swap the white chocolate for another chocolate?
-
Yes. Use milk chocolate for a sweeter, caramelized note; dark chocolate will give a deeper cocoa balance but may require slightly less added sugar. Adjust sweetness by tasting the melted mix before pouring.
- → What ensures a smooth, glossy fudge base?
-
Gently melt white chocolate with sweetened condensed milk and butter in short intervals, stirring thoroughly between bursts. Avoid overheating—remove from heat while still glossy and stir until completely smooth.
- → How do I get clean squares when cutting?
-
Chill the set fudge fully for at least 2 hours or overnight. Use a sharp knife warmed under hot water and wiped dry between cuts to glide through the fudge and prevent crumbly edges.
- → How should I store the finished squares?
-
Keep them refrigerated in an airtight container for up to one week. For longer storage, freeze layers between parchment and thaw in the fridge before serving to preserve texture.
- → Can it be prepared ahead for gatherings?
-
Absolutely. Assemble and chill the fudge a day in advance, then lift from the pan using the parchment overhang and keep chilled until serving. This saves time on the day of your event.
