 Pin It
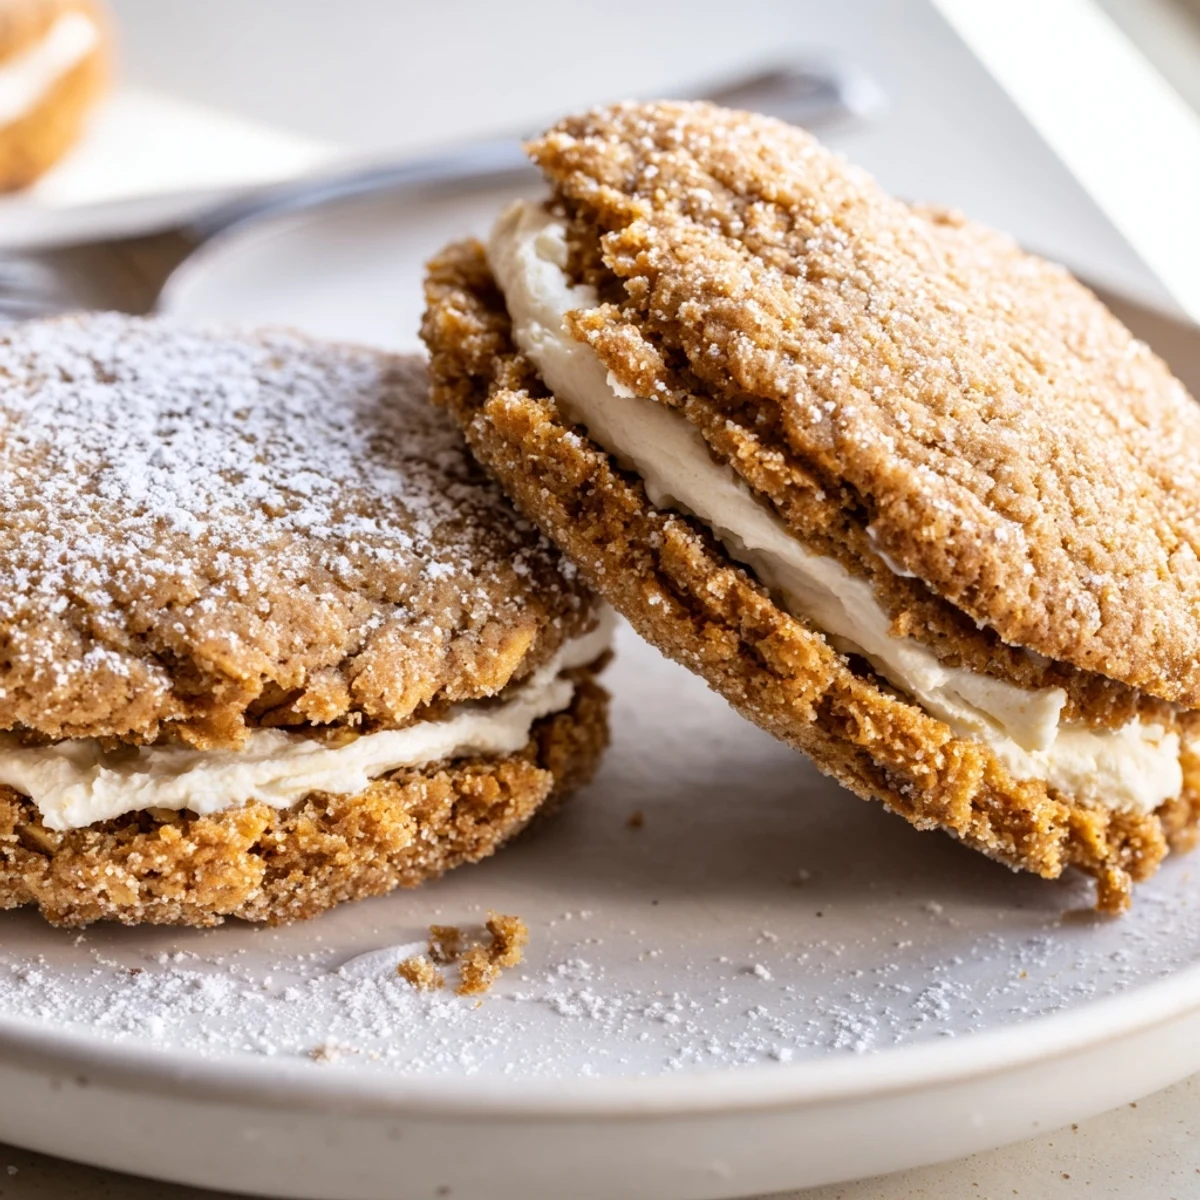
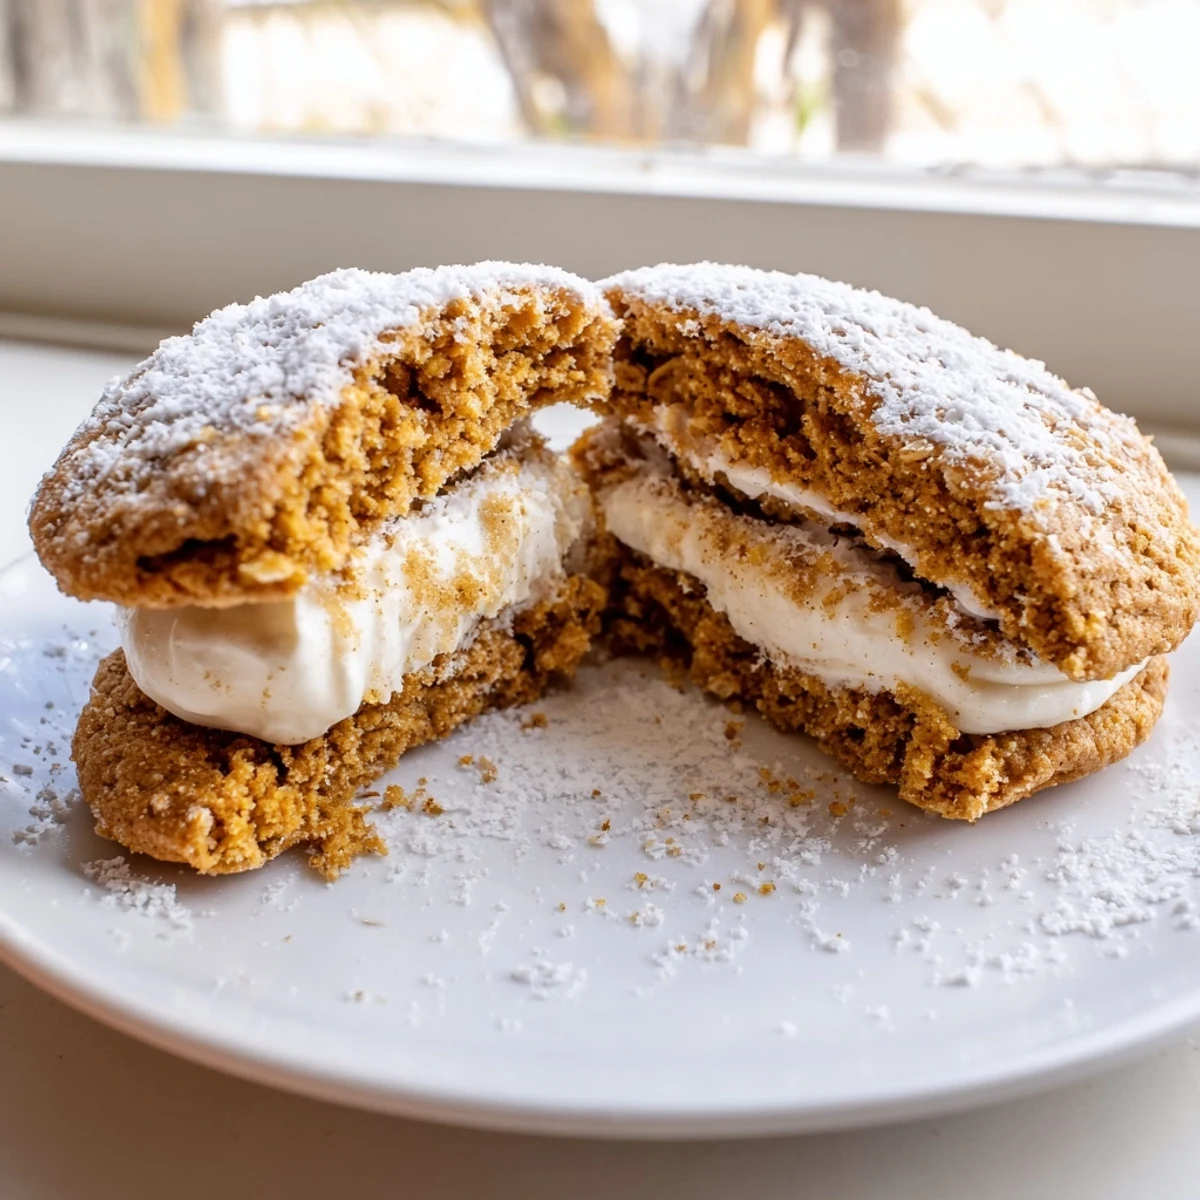
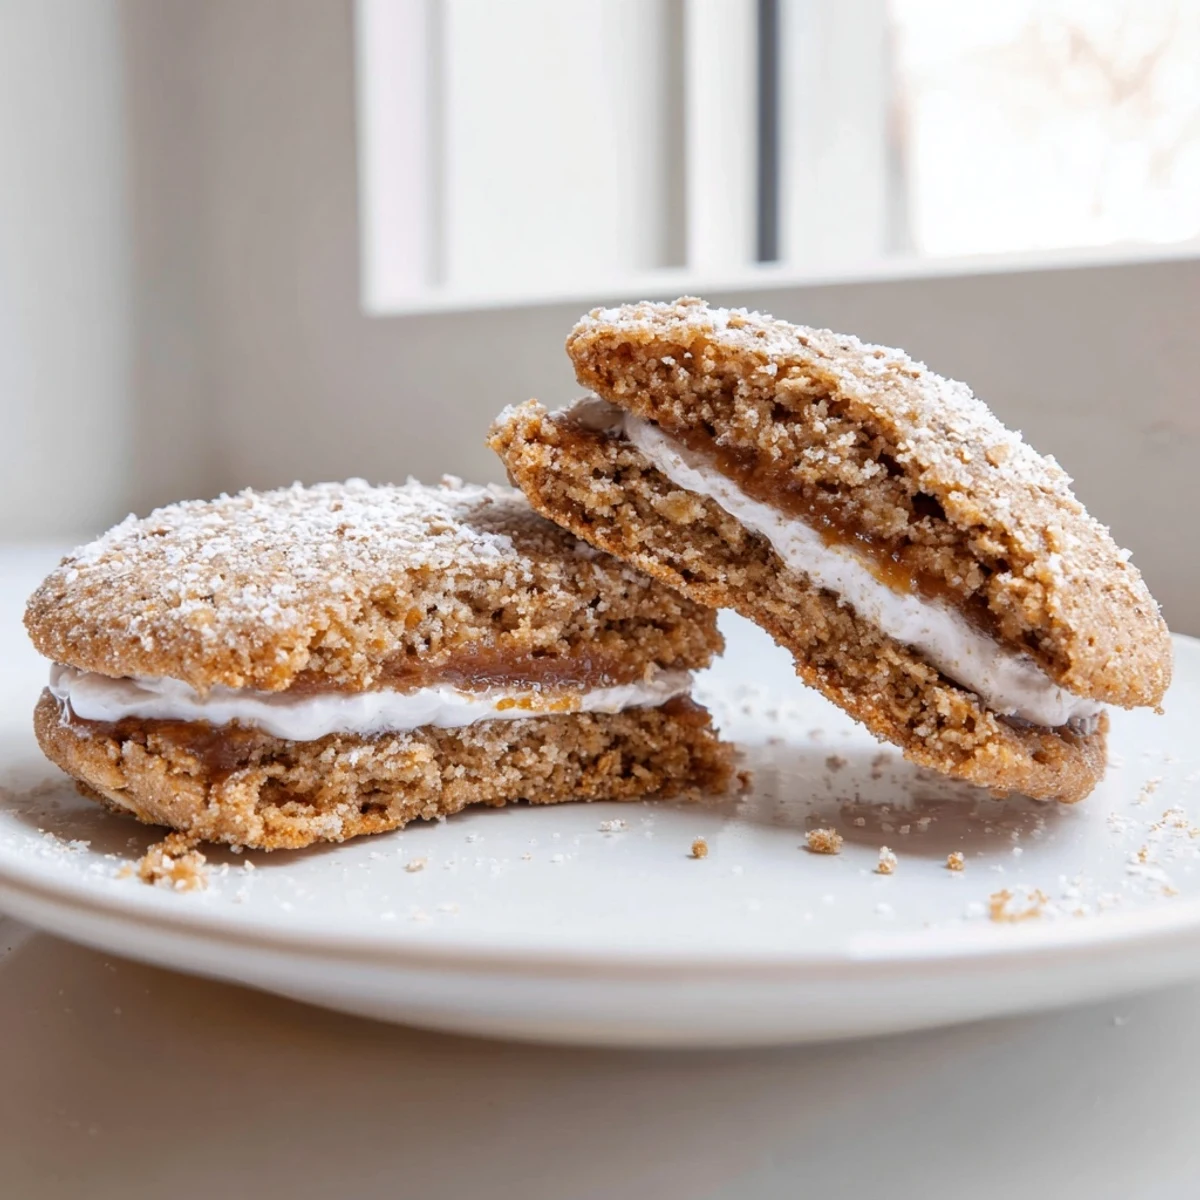
 Make soft, chewy gluten-free oatmeal sandwich cookies by creaming butter and sugars, folding in oats and a gluten-free flour blend, then scooping 1 tablespoon rounds and baking 10–12 minutes at 180°C (350°F). Cool completely before piping a vanilla buttercream of butter, powdered sugar, cream and vanilla. Chill briefly for a firmer filling and store airtight up to 2 days at room temperature or refrigerate up to 1 week.
The kitchen smelled like a brown sugar cloud the afternoon I burned my first batch of oatmeal cookies trying to recreate those soft little pies from the vending machine at summer camp. Something about that creme oozing out the sides when you bit into them felt like stealing a secret. Years later, gluten free and stubborn, I refused to let that memory go and set out to build a version that could stand toe to toe with the original.
My neighbor Dave knocked on my door one Tuesday evening asking if I smelled something burning, and instead of being embarrassed I handed him a warm pie and watched his eyes go wide. He stood in the hallway eating it in silence, crumbs falling onto his shoes, and then asked if I had another one. That was the moment I knew this recipe was a keeper.
Ingredients
- Gluten free old fashioned rolled oats (100 g or 1 cup): These give the cookies their signature chew and heartiness so do not substitute quick oats or you will lose that texture entirely.
- Gluten free all purpose flour blend (90 g or 3/4 cup): Make sure your blend contains xanthan gum for the best structure without any grittiness.
- Coconut sugar or light brown sugar (70 g or 1/3 cup): Either works beautifully but brown sugar gives a deeper molasses note that pairs perfectly with the cinnamon.
- Granulated sugar (70 g or 1/3 cup): This helps the edges crisp slightly while the centers stay pillowy soft.
- Baking soda (1/2 tsp): Essential for that gentle lift and spread during baking.
- Baking powder (1/2 tsp): Works alongside the soda for a balanced rise.
- Ground cinnamon (1/4 tsp): Just enough warmth without overpowering the vanilla filling later.
- Fine sea salt (1/2 tsp for cookies plus a pinch for filling): Salt is what makes sweet things taste like they have a soul.
- Unsalted butter, softened (115 g or 1/2 cup for cookies, 100 g or 1/2 cup for filling): Room temperature butter is non negotiable here, cold butter will leave you with flat sad cookies.
- 1 large egg: Binds everything together and adds richness to the dough.
- Pure vanilla extract (1 tsp for cookies, 1 tsp for filling): Use the real stuff, your tastebuds will thank you.
- Powdered sugar, sifted (120 g or 1 cup): Sifting is not optional unless you enjoy lumpy filling.
- Heavy cream or milk (2 tbsp): Thins the filling to that perfect spreadable consistency.
Instructions
- Set the stage:
- Preheat your oven to 180 degrees Celsius or 350 degrees Fahrenheit and line two baking sheets with parchment paper so nothing sticks and cleanup is effortless.
- Whisk the dry team:
- In a medium bowl, whisk together the oats, gluten free flour, baking soda, baking powder, cinnamon, and salt until evenly combined and set aside.
- Cream the dream:
- In a large bowl, beat the softened butter with both sugars until the mixture looks light and fluffy and smells like a warm hug, then beat in the egg and vanilla until everything is smooth.
- Bring it all together:
- Gradually add the dry ingredients into the wet and mix gently until just incorporated, stopping before you overwork the dough.
- Scoop and space:
- Scoop about one tablespoon of dough per cookie onto the prepared sheets, spacing them about five centimeters or two inches apart so they have room to spread.
- Bake to golden perfection:
- Bake for 10 to 12 minutes until the edges are golden and set, then let them rest on the sheet for 5 minutes before moving to a wire rack to cool completely.
- Whip up the creme:
- Beat the butter with sifted powdered sugar until fluffy and light, then mix in the cream, vanilla, and a pinch of salt until smooth and spreadable like the best frosting you have ever tasted.
- Build the pies:
- Once the cookies are completely cool, spread or pipe a generous layer of creme onto the flat side of one cookie and sandwich it with a second, then repeat with the rest and try not to eat them as you go.
 Pin It
 Rainy Saturday afternoons were made for stacking little sandwich pies on a plate and pretending you are ten years old again with nothing to worry about except which cookie to eat first.
Making It Dairy Free
Swap the butter for a good quality plant based alternative and use oat milk or coconut milk in the filling, and you will barely notice the difference. The key is choosing a vegan butter that actually tastes like butter and not like disappointment.
Storage That Actually Works
These keep beautifully in an airtight container at room temperature for up to two days but honestly they vanish faster than that in my house. For longer storage, refrigerate them for up to a week and let them sit at room temperature for ten minutes before eating so the creme softens back up.
Serving and Enjoying
A cold glass of milk or a hot cup of coffee turns one of these pies into a full experience worth pausing your afternoon for. Sometimes the simplest pairings create the most satisfying moments.
- Warm the pie for eight seconds in the microwave if you want the creme to go all gooey and irresistible.
- Dust the tops with a little extra cinnamon for a pretty finish when serving to guests.
- Always make a double batch because sharing one batch is harder than it sounds.
 Pin It
 These little pies are proof that gluten free baking does not mean giving up the treats you grew up loving. Share them generously and watch people smile.
Common Questions
- → Can I use regular oats instead of certified gluten-free oats?
-
Use certified gluten-free rolled oats to avoid cross-contamination. Regular oats may be processed with gluten-containing grains, which can introduce traces of gluten even if oats themselves are naturally gluten-free.
- → How can I make the filling dairy-free?
-
Swap plant-based butter and use a non-dairy milk or cream alternative. Use full-fat options like coconut cream or a thick oat cream for a stable, creamy texture.
- → What keeps the cookies from spreading too much during baking?
-
Avoid overcreaming butter and sugars, chill the dough briefly if warm, and measure flour and oats accurately. Scoop uniform portions and space them well on the sheet to prevent excessive spreading.
- → How do I get a firmer creme filling?
-
Reduce the added cream, chill the filling for 15–30 minutes before assembling, or add a touch more sifted powdered sugar while beating to thicken without losing flavor.
- → Can I make these ahead and how should I store them?
-
Assemble shortly before serving for best texture, or store unassembled cookies in an airtight container for up to 2 days at room temperature. Assembled sandwiches keep refrigerated up to 1 week; bring to room temperature before serving if desired.
- → Any tips for piping a neat filling layer?
-
Use a round piping tip or a zip-top bag with the corner cut. Pipe a small mound in the center and gently press the top cookie down to spread evenly. Chill assembled sandwiches briefly to set the filling.
