 Pin It
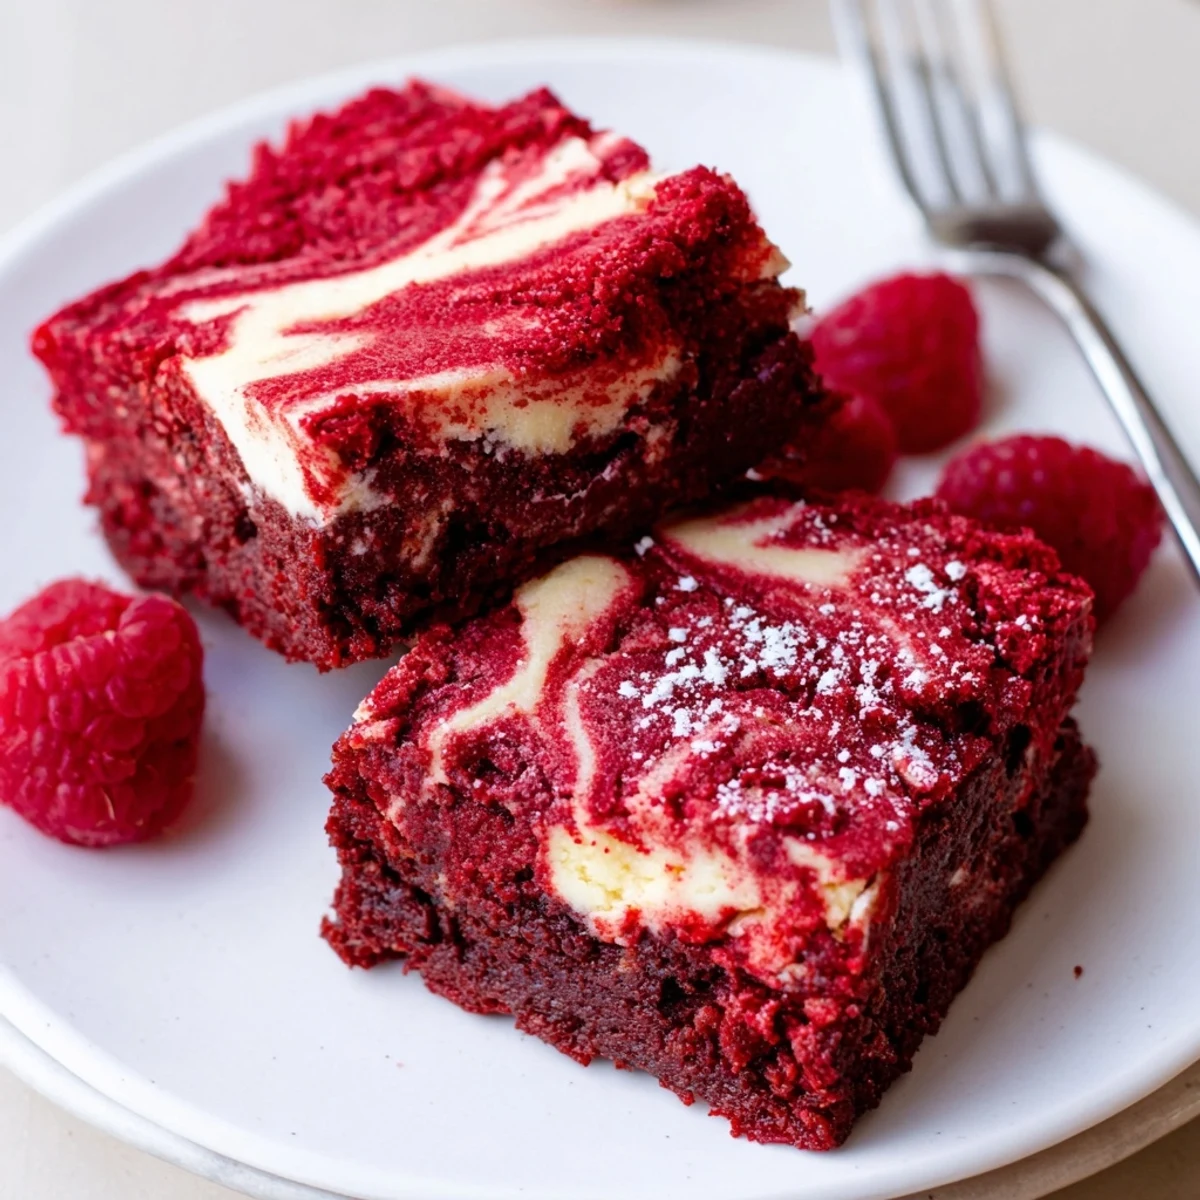
 These red velvet brownies pair a fudgy cocoa-scented base with a smooth, tangy cheesecake layer. Prepare batter, spread most of the red velvet into an 8-inch square pan, pour cheesecake filling, dollop remaining batter and swirl. Bake until the center is mostly set, cool fully, then chill at least an hour for clean slices. Add chocolate chips or fresh berries to finish.
The first time I tried making these red velvet brownies with cheesecake layer, the intense color caught my eye before anything else. There was something exhilarating about swirling together deep ruby-red batter and creamy cheesecake, especially as my kitchen filled with the aroma of cocoa and vanilla. My curiosity got the best of me, and by the time those brownies were baking, I was hovering by the oven, impatient as a kid. Sometimes, it’s the promise of something decadent that turns a simple afternoon into a little celebration.
I once brought a tray of these brownies to a friend's birthday, and the swirl pattern had everyone believing I’d spent hours crafting them. The real story is that I accidentally used a chopstick instead of a skewer, which left gorgeous, dramatic swoops across the surface. People asked for the secret (it’s just being a bit fearless with the marbling). Laughter and red velvet crumbs ended up all over the table—that’s my kind of gathering.
Ingredients
- Unsalted butter (115 g / 1/2 cup), melted: This is the base for deep richness in the brownie; melt it gently to avoid any burned taste.
- Granulated sugar (200 g / 1 cup for brownies, 65 g / 1/3 cup for cheesecake): Whisking sugar into the butter creates the glossy crust—make sure to mix until smooth.
- Large eggs (2 for brownies, 1 for cheesecake): Eggs add fudginess and hold the cheesecake together; crack them into a separate bowl to avoid shell mishaps.
- Vanilla extract (2 tsp for brownies, 1 tsp for cheesecake): Vanilla brings warmth and rounds out the cocoa note—splurge on pure extract if you can.
- Red food coloring (1 tbsp): This is the showstopper—gel creates a striking color, but adjust to taste; start with less if you’re unsure.
- All-purpose flour (95 g / 3/4 cup): Measure carefully and fold in gently to keep the batter tender, not tough.
- Unsweetened cocoa powder (15 g / 2 tbsp): Just enough for a subtle chocolate undertone—Dutch-process creates a richer hue, but natural is perfect here too.
- Salt (1/4 tsp): Don’t skip it; it highlights every other flavor.
- Cream cheese (225 g / 8 oz), softened: Take it out ahead of time so it’s smooth and easy to mix—cold cream cheese can leave lumps.
Instructions
- Get Ready:
- Line your square pan with parchment paper, leaving some overhang so you can lift the brownies out smoothly; preheat the oven to 175°C (350°F) so it’s hot and welcoming.
- Mix the Brownie Base:
- Whisk together melted butter and sugar until totally smooth and glossy—the noise as you stir is half the fun. Beat in the eggs, vanilla, and food coloring until everything is beautifully blended.
- Add the Dry Ingredients:
- Sift the flour, cocoa powder, and salt right over the bowl; gently fold until barely combined, resisting the urge to overmix. Scoop 3/4 of this batter into your pan and spread it evenly, tucking the rest aside for swirling later.
- Whip Up the Cheesecake Layer:
- In a different bowl, beat the cream cheese and sugar until creamy and smooth—it might take a little muscle but go gently. Add the egg and vanilla, mixing just until everything is glossy and lump-free.
- Layer and Marble:
- Pour the cheesecake layer over the brownie and smooth it softly with a spatula. Dollop the reserved red velvet batter in a few spots, then swirl lovingly with a chopstick, skewer, or even a butter knife for that marbled look.
- Bake and Cool:
- Bake for 33–37 minutes, until the center is set but not dry—your kitchen should smell irresistible by now. Let the bars cool in the pan, then give them a rest in the fridge (at least an hour) for clean, fudge-like slices.
 Pin It
 One snowy afternoon, I baked these with my little niece, who insisted on tasting the batters every step of the way. Her excited swirls created a riot of color and pattern—every piece turned out unique, with vanilla and cocoa perfuming the kitchen. When we finally cut into the chilled bars, the first creamy bite was punctuated by her proud exclamation: 'Best ever.' Sometimes, bonding comes in swirled layers and sticky fingers.
How to Nail the Swirl Every Time
I discovered that if you dollop small spoonfuls of the red velvet batter instead of one big heap, the marble effect becomes much more dramatic. Swirl slowly, not too deep, and watch as the two layers twist together—there’s an art to stopping before the colors muddy. It’s easy to get carried away, but restraint delivers the most striking results.
Adjusting for Sweetness and Texture
If you prefer a less sweet dessert, reduce the cheesecake sugar ever so slightly—it balances the tang without losing decadence. For those who want intensely fudgy brownies, underbake by just a minute or two, then let them firm up in the fridge. Texture-wise, chilled always wins for cleaner slices and a delightful bite.
Serving Up and Storing Leftovers
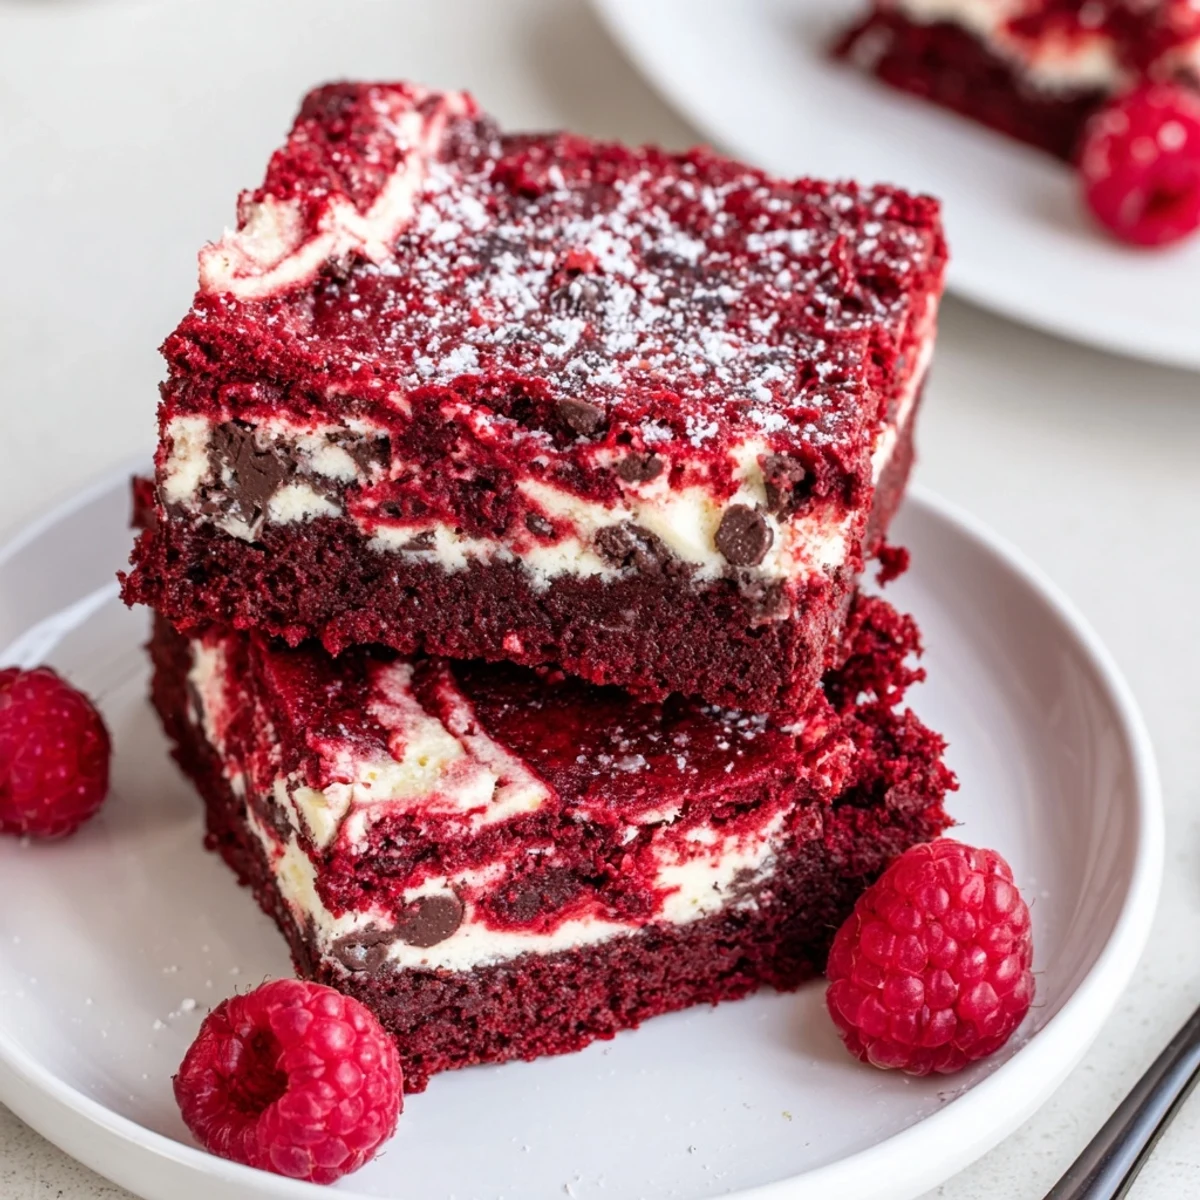
These brownies taste best straight from the fridge, the layers distinct and flavors melded. If you have leftovers, cut them before chilling so you can grab a slice without wrestling the whole pan.
- Store in an airtight container for up to four days—if they last that long.
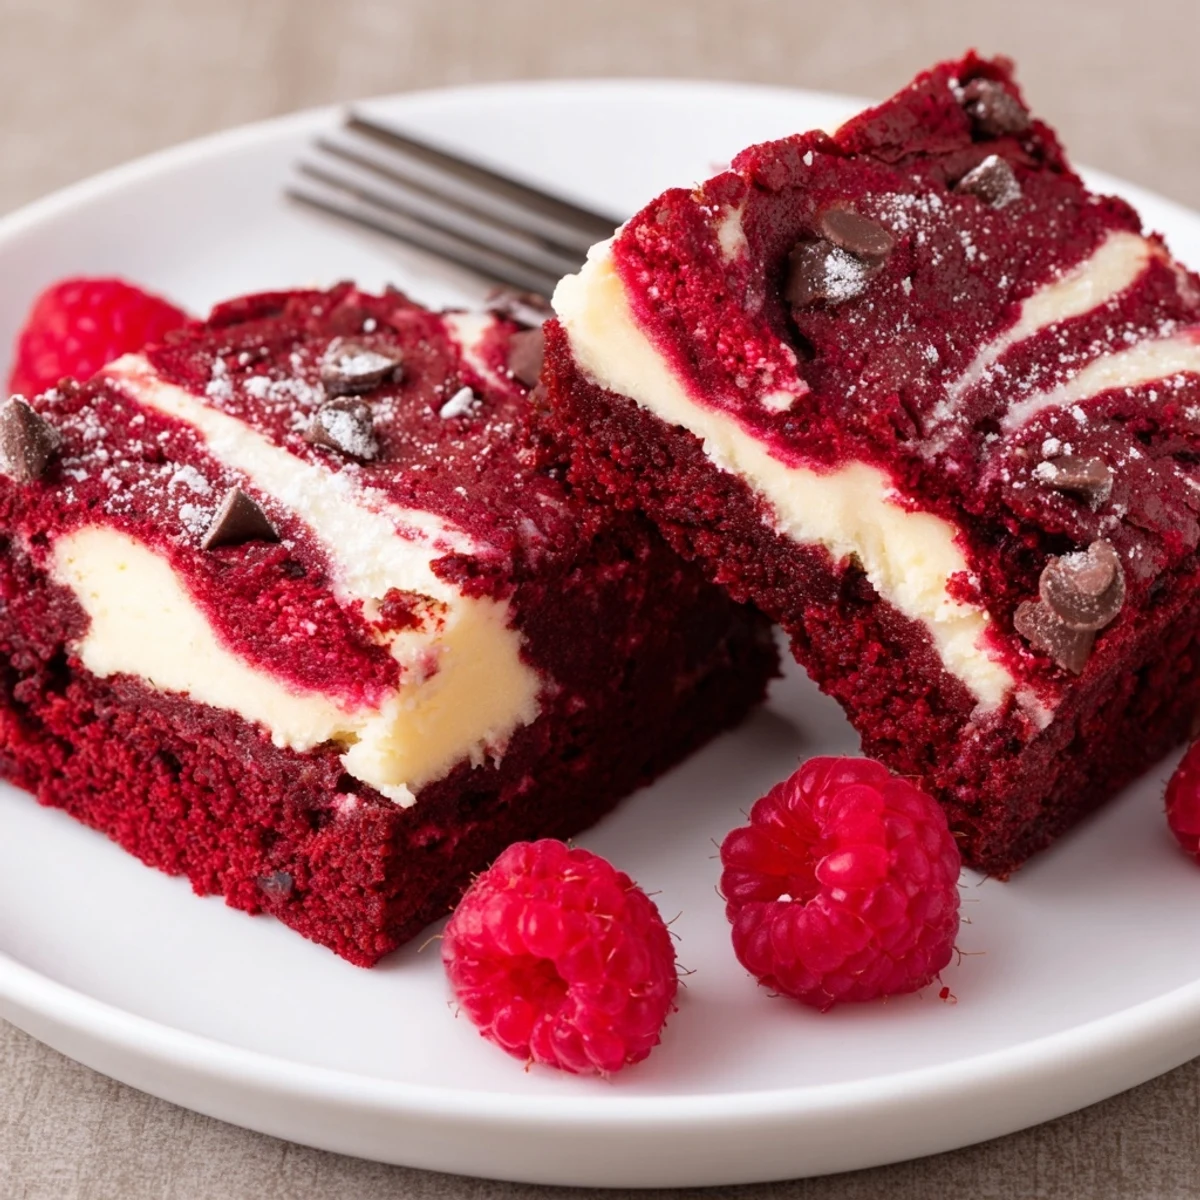
- Top with fresh berries or a dusting of powdered sugar before sharing.
- Let brownies sit at room temp for 5–10 minutes if you like a slightly softer bite.
 Pin It
 Handing someone a square of these brownies practically guarantees a smile. Here’s to sweet layers, sticky fingers, and the simple joy of a decadent treat you can share whenever the mood strikes.
Common Questions
- → What pan size should I use?
-
Use an 8 x 8 inch (20 x 20 cm) square pan for the listed proportions; it yields about 16 bars with a nice brownie-to-cheesecake ratio.
- → How can I keep the cheesecake layer smooth?
-
Beat cream cheese and sugar until fully smooth, avoid overmixing after adding the egg, and spread gently to prevent air pockets that cause cracks.
- → How do I know when it's done baking?
-
Bake until the center is mostly set: a toothpick should come out with a few moist crumbs but not wet batter. The edges will be slightly pulled away from the pan.
- → Can I adjust the red color?
-
Yes. Use gel food coloring for a deeper hue with less liquid; add gradually until you reach the desired intensity.
- → Should these be served warm or chilled?
-
Chill at least one hour after cooling for clean slices and the best cheesecake texture; serve cold or slightly chilled for optimal contrast between fudgy and creamy layers.
- → Any easy variations or add-ins?
-
Stir chocolate chips into the brownie batter before layering, or top with fresh berries or a dusting of powdered sugar for brightness and added texture.
