 Pin It
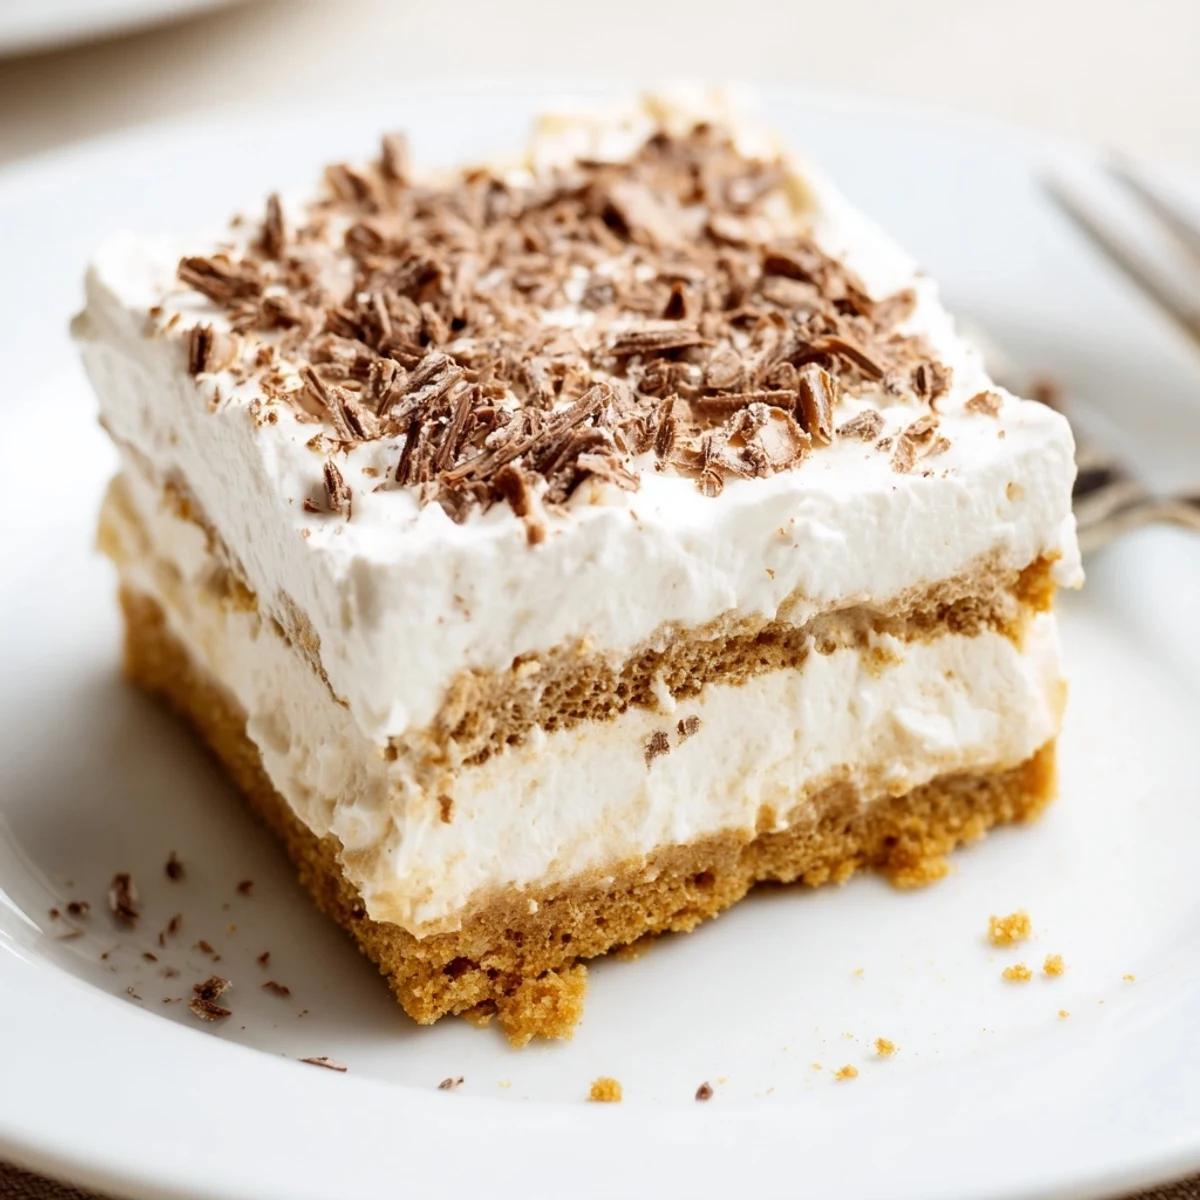
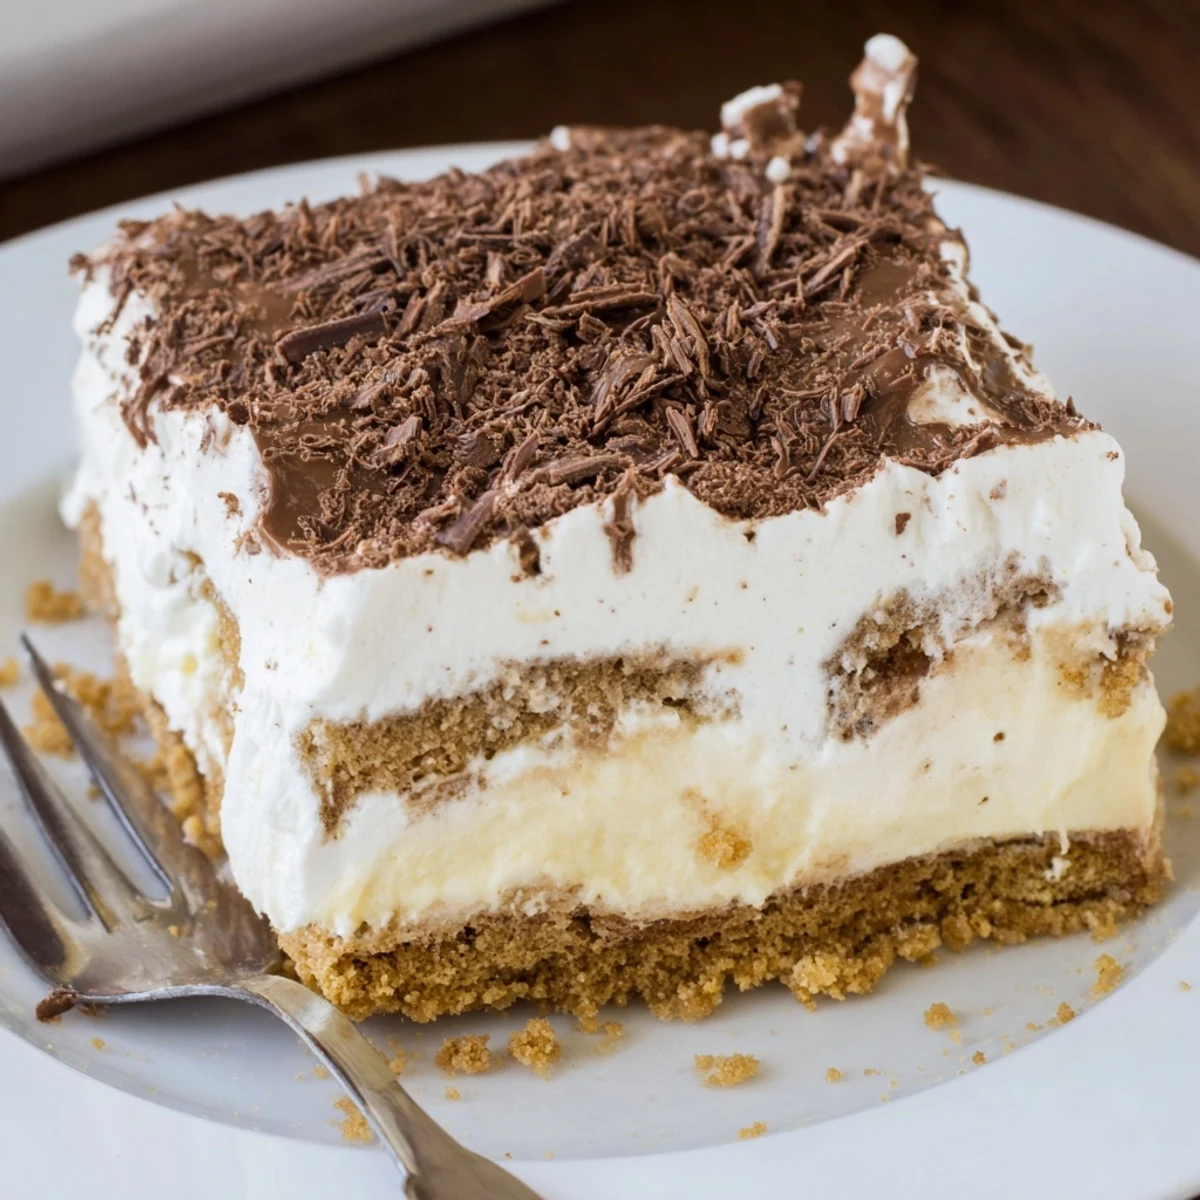
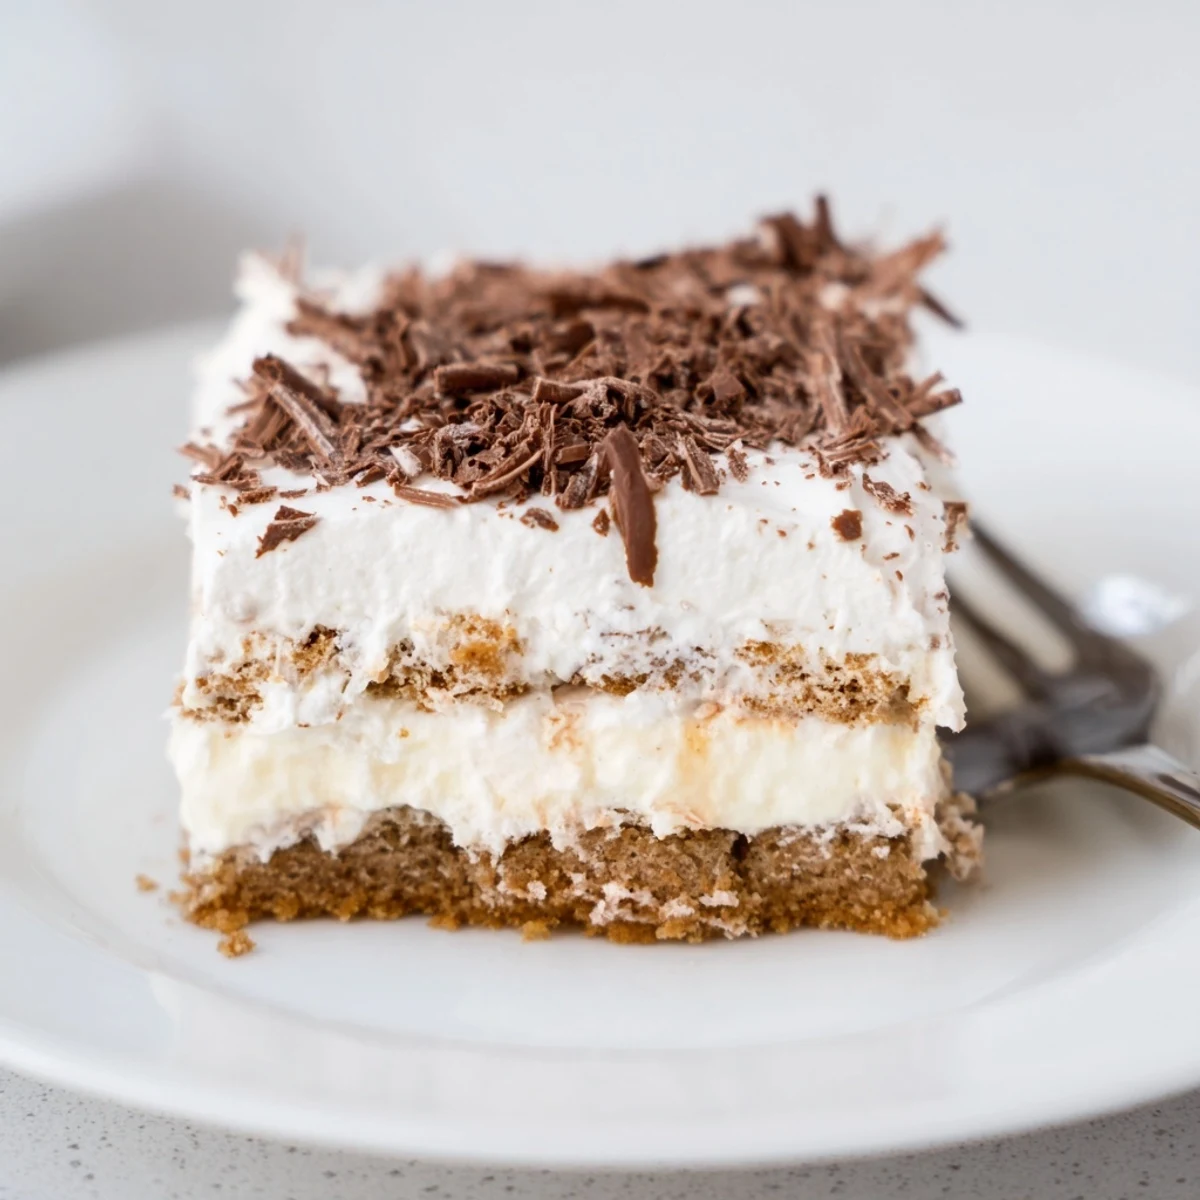
 Start by combining crushed graham crackers and melted butter, pressing into a 23x23 cm dish for an even base. Whip very cold heavy cream with powdered sugar and vanilla to stiff peaks, and whisk the instant vanilla pudding with cold milk until thickened. Spread half the whipped cream, add the pudding layer, then top with remaining cream. Chill at least 2 hours or overnight to set, finish with chocolate shavings and slice chilled for clean portions.
Sometimes the best desserts catch you by surprise—like the first time I assembled this no bake layered treat while stuck inside on a muggy summer afternoon. The kitchen smelled faintly of sweet butter and crushed graham crackers, and my hands stayed cool as I pressed the crumbs into the dish. Making something so decadent without turning on the oven felt almost like a kitchen secret. When I glimpsed those creamy, perfect layers, I knew this one would become a regular star of our family gatherings.
I made this for our neighbor’s unexpected anniversary dinner, and everyone crowded around asking for a second slice. The whole evening buzzed with laughter as we argued over which bite had the best ratio of cream to pudding. I still remember our friend’s toddler sneaking her third helping when nobody was looking. Who knew a fridge dessert could steal the spotlight from everything else on the table?
Ingredients
- Graham crackers or digestive biscuits: Their crumbly, sweet texture creates a base that holds firm after a good chill—I like to crush them by hand for the most satisfying crunch.
- Unsalted butter: Melted right before mixing, it’s the glue that binds the base and adds gentle richness to each bite.
- Heavy whipping cream: Cold cream whips up into clouds—make sure your bowl and beaters are chilled for guaranteed fluffy peaks.
- Powdered sugar: It blends in smoothly, never gritty, and sweetens the cream just enough without overpowering the pudding.
- Vanilla extract: Even a teaspoon lifts the whole dessert with warmth and nostalgic aroma.
- Instant vanilla pudding mix: Magically thickens with cold milk to form a silky, sliceable layer—no stovetop required.
- Whole milk: Using it ice cold gives the pudding its best set; I like to pop the milk in the freezer for a few minutes first.
- Chocolate shavings or cocoa powder: A dusting or gentle scatter on top adds drama—sometimes I let kids join in for this final flourish.
Instructions
- Build the Cookie Base:
- Mix crushed graham crackers with melted butter in a bowl, stirring until everything glistens and the crumbs clump together. Press the mixture evenly into the bottom of your baking dish, enjoying the way the buttery scent fills the air.
- Whip the Cream:
- In a fresh bowl, whip the cold heavy cream with powdered sugar and vanilla extract using an electric mixer until stiff peaks form—listen for the moment the beaters change pitch and the cream thickens.
- Whisk Up the Pudding:
- Whisk the instant vanilla pudding mix with cold milk for two minutes until velvety smooth. Let it stand for five minutes and watch it thicken before your eyes.
- First Creamy Layer:
- Spread half the whipped cream gently over the cookie base, smoothing it right to the edges—it’s okay if it’s not perfect.
- Pudding Goes Next:
- Spoon the vanilla pudding onto the cream layer and use your spatula to coax it into an even blanket.
- Final Cream Layer:
- Top with the rest of the whipped cream, swirling or smoothing as you like—a little artistry never hurts.
- Finishing Touches:
- Scatter chocolate shavings or dust cocoa powder on top, letting a little fall down the sides for a touch of drama.
- Let it Set:
- Cover with plastic wrap and refrigerate for at least two hours (or overnight if you can wait) until the layers meld and slice clean.
- Slice & Serve:
- Use a sharp knife for tidy squares, then enjoy the soft, chilly creaminess in good company.
 Pin It
 One lazy afternoon, I caught my sister scraping the last bit from the pan, claiming she was just ‘evening up the edges.’ That’s the moment this dessert officially earned its legendary status in our family lore.
The Joy of No Bake Desserts
Nothing beats assembling a dessert without turning the oven on, especially when summer heat clings to everything. Sometimes making something chilled and creamy is the most relaxing way to slow down and enjoy your kitchen. I’ve learned the real magic is in the layering and anticipation as it sets. Half the fun is sneaking peeks at the fridge, waiting for those perfect slices.
Easy Variations for Any Mood
Once you master this basic layered treat, it’s so fun to play with flavors—think chocolate layers or adding sliced strawberries for a sweet surprise. Swapping in different cookies or flavored extracts gives you entirely new desserts every time. My friends loved a version with espresso-flavored cream, and it vanished in moments. Customizing for the season or your cravings keeps this recipe endlessly inspiring.
Making It Smarter, Not Harder
Over time I’ve found that preparing the cookie base a bit ahead gives it a firmer bite after chilling. Investing in a metal spatula makes those slices look sharp and bakery-worthy. Freeze your mixing bowls if it’s a hot day—the whipped cream stays extra lofty and cool.
- Be gentle with the cream so the layers stay distinct.
- Try lining your dish with parchment if you want picture-perfect squares.
- Leftovers keep for two days—though honestly, they'll rarely see morning.
 Pin It
 I always find that desserts like this make ordinary days special with barely any fuss. Hope you enjoy layering up a little joy—one chilled, creamy slice at a time.
Common Questions
- → How long should I chill before slicing?
-
Chill a minimum of 2 hours to let layers set; refrigerating overnight yields firmer layers and better flavor melding.
- → Can I swap the graham crackers for something else?
-
Yes — digestive biscuits, chocolate cookies, or crushed shortbread all work. Use the same quantity and press firmly for a stable base.
- → How can I make the cream layer more stable?
-
Use very cold cream and a chilled bowl, whip to stiff peaks, and add a small amount of powdered sugar or a stabilizer like mascarpone for extra hold.
- → Are there dairy-free alternatives?
-
Substitute coconut cream for whipping cream and use a plant-based milk with an instant pudding mix formulated for non-dairy use to mimic texture.
- → What’s the best way to get clean slices?
-
Chill thoroughly, run a sharp knife under hot water and dry it between cuts, and make deliberate, single-stroke slices for neat portions.
- → How long will it keep in the refrigerator?
-
Store covered in the fridge for up to 3 days. Avoid freezing, as the texture of the cream and pudding can degrade.
