 Pin It
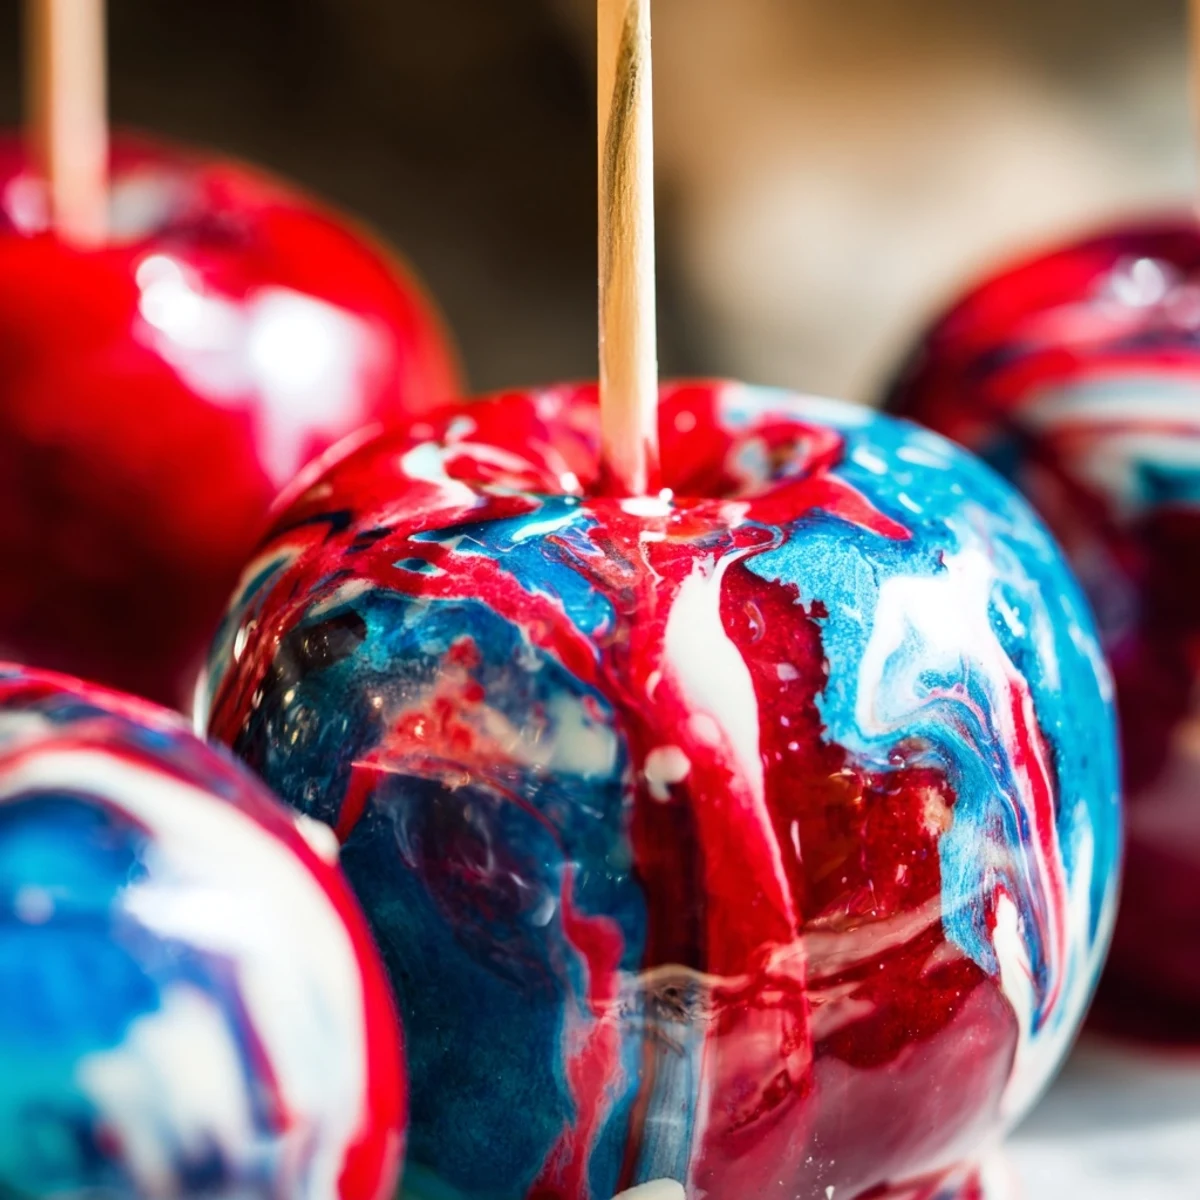
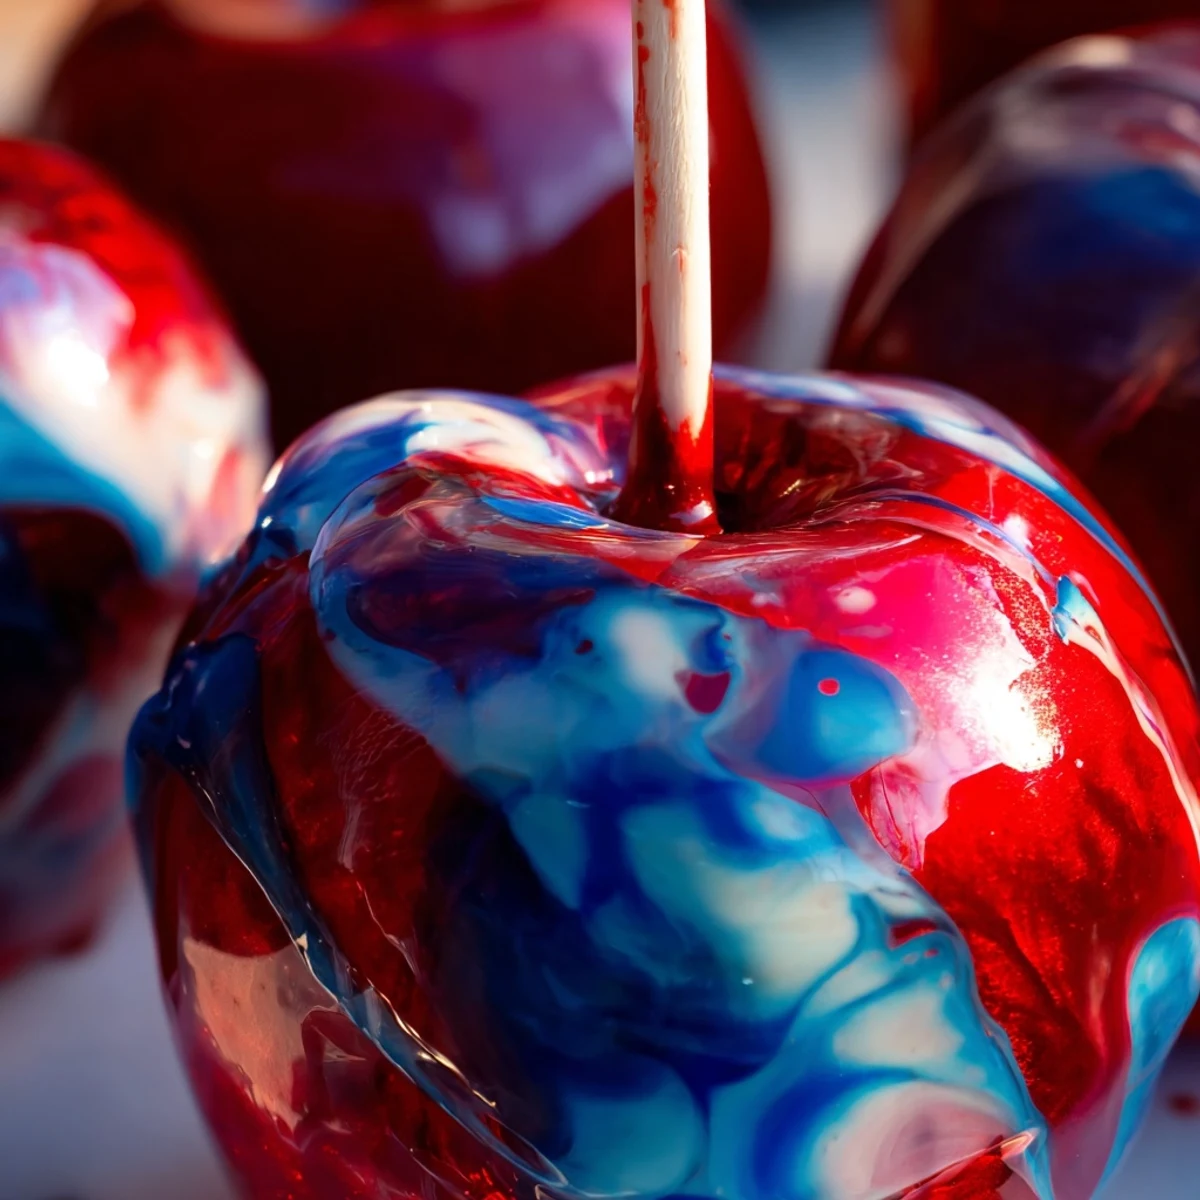
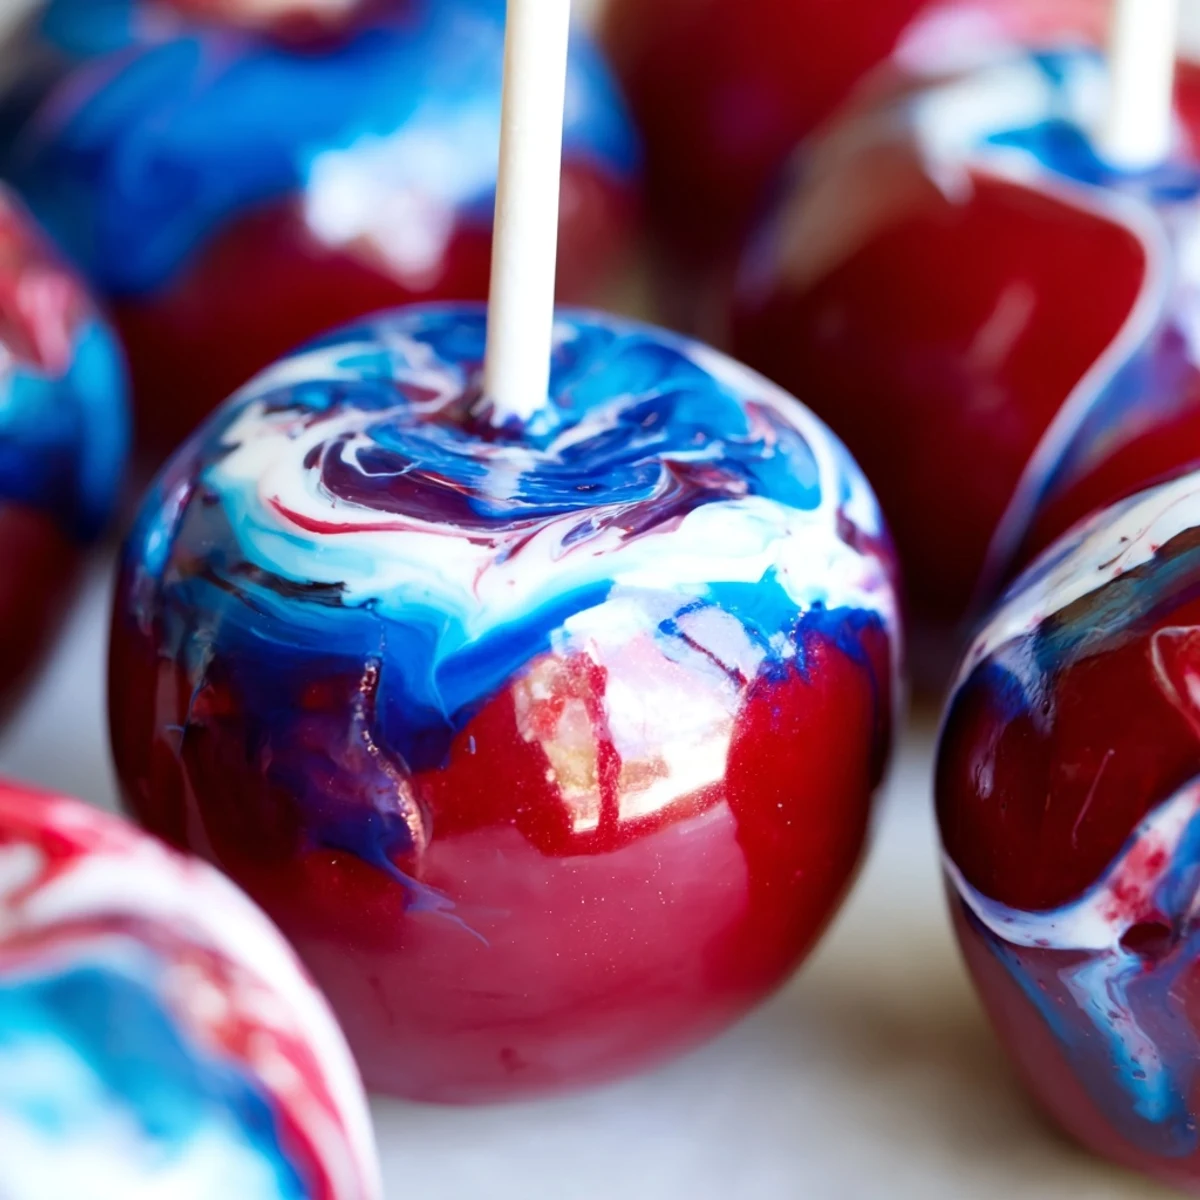
 Make stunning marbled candy apples with a glossy, vibrantly swirled candy shell. This medium-difficulty dessert takes 40 minutes total and yields 8 apples. Use Granny Smith or Fuji apples with granulated sugar, corn syrup, and gel food coloring for vibrant, distinct marbling. The key is working quickly with the candy syrup at hard crack stage (300°F) and gently swirling colors without fully mixing for visible streaks.
The kitchen was already warm from the oven when I decided to attempt candy apples for the first time. My grandmother had made them look effortless every autumn, swirling glossy red circles around each apple like magic. I stood there with three bottles of food coloring and a pot of bubbling sugar, wondering if I'd accidentally create a sticky disaster instead of something beautiful. That first batch taught me that patience and a steady hand matter more than perfection.
Last Halloween, my niece stared at the swirls of red and blue on her apple like it was a galaxy trapped in sugar. She asked if fairies had painted them, and I almost said yes. Sometimes the kitchen is just a place where we get to make a little magic happen.
Ingredients
- 8 medium apples: Granny Smith or Fuji work beautifully because their tartness balances the sweet candy coating
- 8 sturdy wooden sticks: Insert them firmly into the stem end, going about halfway through each apple
- 2 cups granulated sugar: This forms the backbone of your candy shell, so don't substitute
- 3/4 cup water: Helps dissolve the sugar evenly before the boiling begins
- 1/2 cup light corn syrup: Prevents crystallization and keeps your coating smooth and glossy
- 1/2 tsp vanilla extract: Optional but adds a lovely warmth beneath all that sugar
- Red, blue, and white gel food coloring: Gel coloring gives you vibrant streaks without thinning the hot syrup
Instructions
- Prepare your workspace:
- Line a large baking sheet with parchment paper or a silicone mat, then press a wooden stick into each apple until it feels secure
- Dissolve the sugar:
- Combine sugar, water, and corn syrup in a heavy-bottomed saucepan, stirring over medium heat until the sugar completely disappears
- Reach hard crack stage:
- Stop stirring and increase heat to high, cooking until your thermometer hits exactly 300°F
- Create the marble effect:
- Remove from heat, stir in vanilla if using, then add drops of red, blue, and white gel coloring and swirl gently just once or twice with a skewer
- Coat the apples:
- Dip each apple quickly, turning to catch the swirls, let excess drip off for a moment, then place on your prepared sheet
- Let them set:
- Wait about 15 minutes until the candy shell hardens completely before serving or storing
 Pin It
 My friend's daughter called them unicorn apples and demanded to know where I'd bought them. Watching her discover they were homemade made all the sticky pots and sugar thermometers worth it.
Choosing Your Colors
I've learned that contrasting shades create the most dramatic swirls. Purple and yellow make stunning galaxy patterns, while orange and yellow feel like autumn leaves. The key is adding colors one at a time and barely disturbing them, like you're afraid to wake something sleeping in the pot.
Temperature Matters
Getting to exactly 300°F takes longer than you expect, usually about 15 minutes of focused boiling. Rushing this step means soft, sticky candy instead of that satisfying crack when you bite in. I've learned to clear my schedule and pour a cup of tea before the sugar even hits the pan.
Making Them Ahead
Candy apples are best within 24 hours, but they've lasted overnight on my counter more times than I can count. Humidity is their enemy, so keep them somewhere dry and cool. The marble effect actually becomes more pronounced as they sit, like a little bonus for your patience.
- Wrap each apple individually in clear cellophane if you're gifting them
- Avoid the refrigerator, which makes the candy weep and lose its shine
- If your syrup thickens too much, warm it gently for just 30 seconds
 Pin It
 There's something deeply satisfying about hearing that first crack through the candy shell. These apples remind me that some of the best things in life are sweet, slightly messy, and worth the wait.
Common Questions
- → What type of apples work best for candy apples?
-
Granny Smith or Fuji apples are ideal as they're firm and hold up well to the candy coating. Make sure to wash and thoroughly dry them before inserting wooden sticks for best results.
- → How do I achieve the marbled effect?
-
Add a few drops each of red, blue, and white gel food colorings to the hot candy syrup. Gently swirl with a wooden skewer - don't fully mix. You want visible streaks for the marbled pattern that will create the stunning effect.
- → What's the hard crack stage and why is it important?
-
The hard crack stage is 300°F (150°C) on a candy thermometer. At this temperature, the sugar syrup becomes hard and brittle when cooled. It's crucial for creating the proper candy shell that will set firmly on the apples.
- → Can I use liquid food coloring instead of gel?
-
Gel food coloring is recommended for vibrant, distinct marbling. Liquid food coloring may not produce the same intensity of color and can affect the candy's consistency and texture.
- → How long do the candy apples last?
-
Store finished apples at room temperature for up to 24 hours. The candy shell will harden completely as they cool, creating a beautiful, long-lasting treat.
