 Pin It
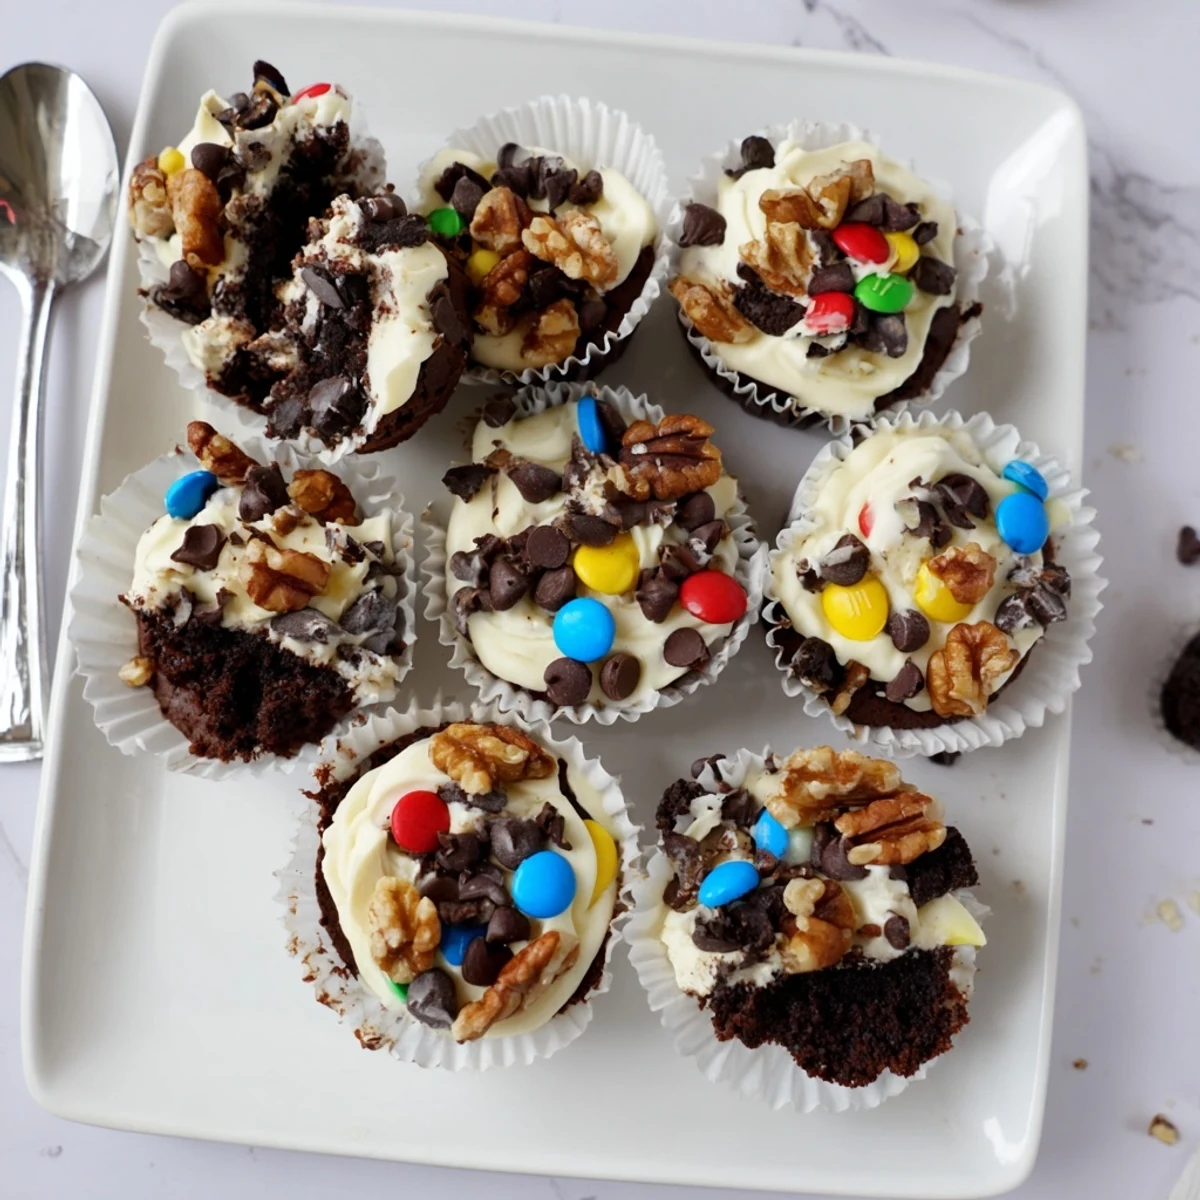
 These indulgent brownie cheesecake cups combine the best of both worlds—rich, fudgy chocolate brownie bases topped with smooth, tangy cheesecake filling. The real magic happens with the loaded toppings: mini chocolate chips, crunchy pecans or walnuts, crushed Oreos, and colorful mini M&Ms create a dessert that's as beautiful as it is delicious.
Perfect for parties, holidays, or whenever you need a crowd-pleasing treat, these cups come together in just 50 minutes. The brownie layer stays moist and fudgy while the cheesecake adds a creamy contrast. Chill them for at least an hour before serving for the best texture and flavor.
The first time I made these, my brother took one bite and declared they were better than anything from a bakery. That Sunday afternoon, my tiny apartment smelled like melted chocolate and happy chaos. I'd been testing recipes for weeks, but something about the combination of fudgy brownie and tangy cheesecake just clicked. Now they're the first thing people request for birthdays and potlucks.
Last New Year's Eve, I set up a toppings bar and let guests build their own combinations. Watching grown adults get genuinely excited about sprinkling crushed Oreos and debating between peanut butter chips or white chocolate was unexpectedly heartwarming. Some went full decadent with everything, others kept it classic with just nuts and chocolate chips.
Ingredients
- Unsalted butter: Melt it gently and let it cool slightly before mixing—too hot and it might cook the eggs
- Granulated and brown sugar: The brown sugar adds moisture and that subtle molasses depth that makes brownies taste homemade
- Large eggs: Room temperature eggs blend more smoothly into both the brownie and cheesecake layers
- Vanilla extract: Dont be shy with it—vanilla is the secret bridge between chocolate and cheesecake flavors
- Unsweetened cocoa powder: Sifting it first prevents those frustrating little lumps that never quite disappear
- All-purpose flour: Just enough to hold everything together without turning the texture cakey
- Salt: A half teaspoon might seem small but it makes the chocolate taste more chocolatey
- Cream cheese: Straight from the fridge for 10 minutes is perfect—too soft and the filling gets runny
- Mini chocolate chips: The smaller size distributes melting chocolate more evenly throughout the topping
- Chopped pecans or walnuts: Toast them for 5 minutes first if you want that extra nutty fragrant crunch
- Crushed Oreos: Rough chunks are better than fine crumbs here for texture contrast
- Mini M&Ms: These add that candy shop nostalgia and hold their shape beautifully while baking
Instructions
- Preheat and prep your muffin tin:
- 175°C (350°F) is the sweet spot for cooking both layers evenly. Paper liners make these easy to transport but greasing the tin well gives you slightly crispier edges.
- Mix the brownie batter:
- Melt your butter first and let it cool for a couple of minutes. Whisk in both sugars until the mixture looks glossy and smooth, almost like caramel. Add eggs and vanilla, then fold in the dry ingredients just until you no longer see dry streaks.
- Layer the brownie base:
- About one heaping tablespoon per muffin cup should do it. You're aiming for a thin but substantial base that can support all that creamy cheesecake filling on top.
- Prepare the cheesecake filling:
- Beat the cream cheese until it's completely smooth with zero lumps. Add the sugar, egg, and vanilla, then mix until the mixture is silky and falls off the spatula in thick ribbons.
- Add the cheesecake layer:
- Gently spoon about a tablespoon of the cheesecake mixture onto each brownie base. The key here is smoothing the tops without mixing the two layers together.
- Load on the toppings:
- This is where it gets fun. Go heavy with the toppings—they'll settle into the cheesecake as it bakes and create those gorgeous loaded layers.
- Bake until just set:
- 22 to 25 minutes is perfect. The cheesecake should be set and the brownie edges firm, but the centers will still be slightly jiggly.
- Cool completely before serving:
- Let them hang out in the pan for 10 minutes, then move them to a wire rack. The texture improves immensely after a chill in the fridge for at least an hour.
 Pin It
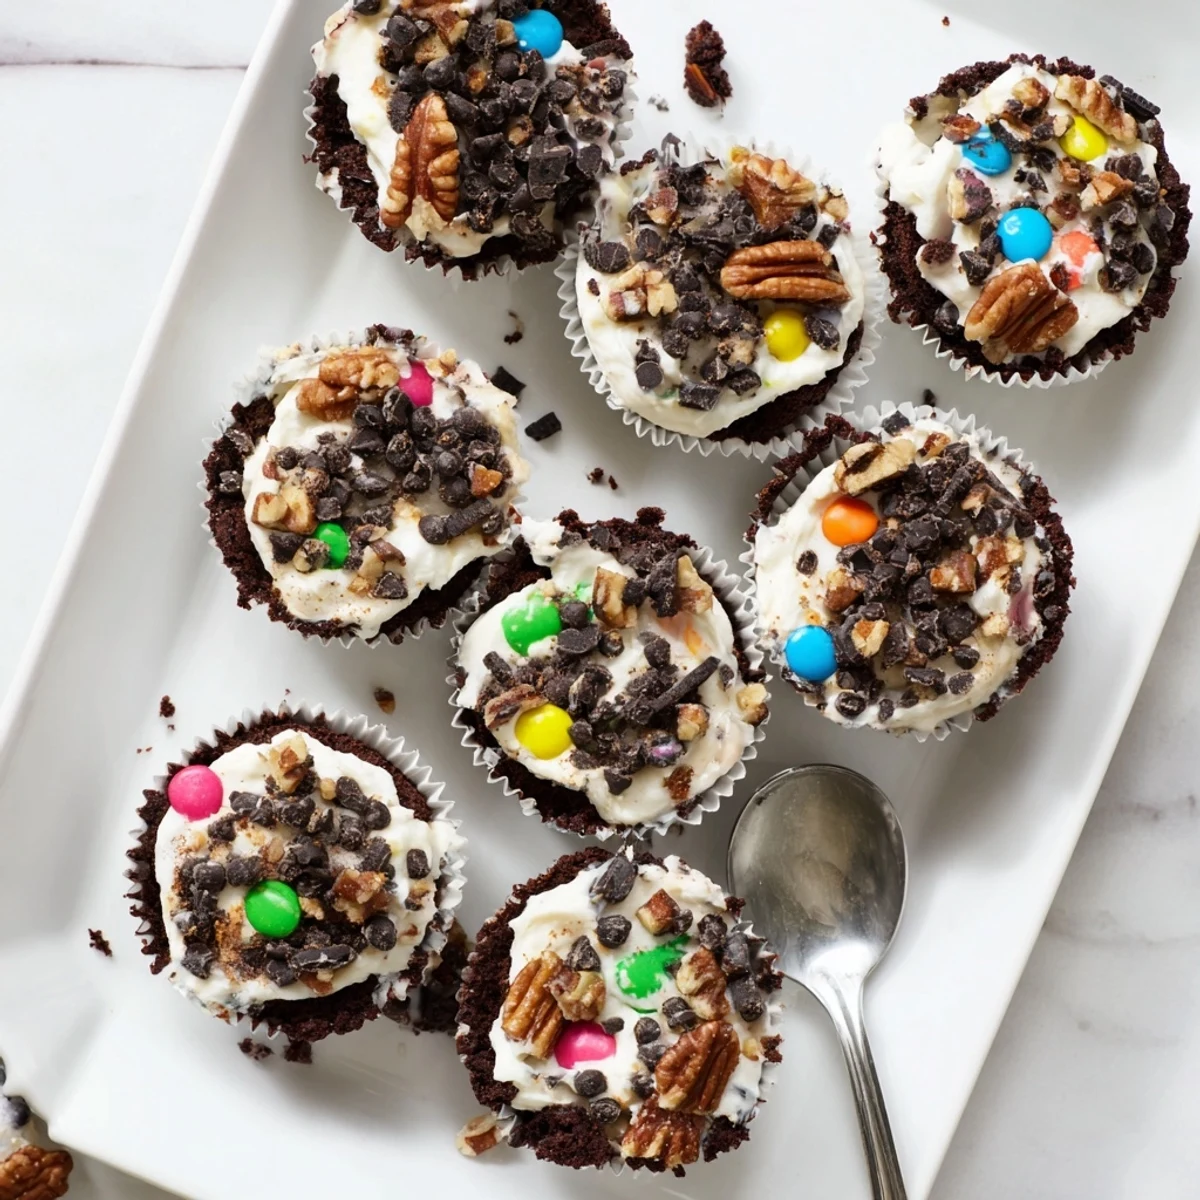
 My aunt requested these for her wedding shower instead of a traditional cake, and watching guests' faces light up when they realized what was inside was absolutely perfect. Something about having your own personal little dessert makes people feel special, and the combination of textures—fudgy, creamy, crunchy, and chocolatey in every bite—feels like celebration.
Making Them Ahead
I've learned these actually taste better on day two, after all the flavors have had time to mingle and get cozy with each other. You can bake them up to three days in advance and store them in an airtight container in the refrigerator.
Getting The Layers Right
The trick to distinct layers is dropping the cheesecake filling gently onto the brownie batter instead of pouring it. Use two spoons—one to scoop and one to slide the filling off—and you'll keep those beautiful layers separate but connected.
Topping Combinations That Work
After years of experimentation, some topping pairings have emerged as absolute champions. The classic trio of chocolate chips, toasted pecans, and sea salt never fails to impress, especially during the holidays.
- Crushed peppermint candies and white chocolate chips make these perfect for winter gatherings
- Peanut butter chips with pretzel pieces creates that salty sweet magic everyone secretly loves
- Coconut flakes with macadamia nuts transport these straight to tropical dessert territory
 Pin It
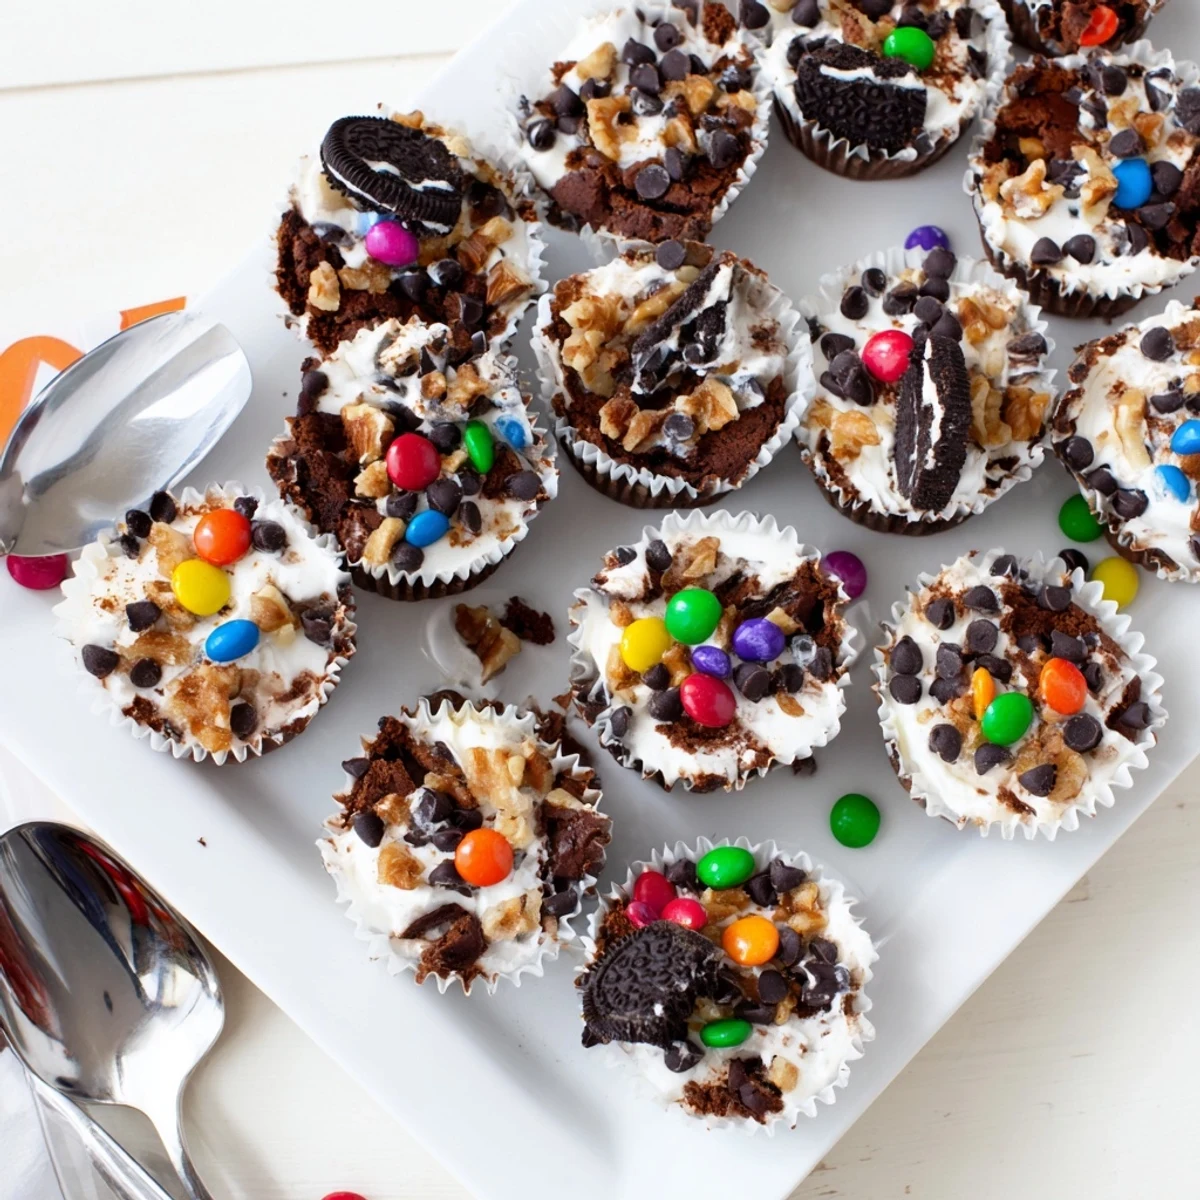
 There's something deeply satisfying about handing someone a loaded brownie cheesecake cup and watching their eyes widen at that first bite. These little desserts have a way of turning ordinary moments into celebrations.
Common Questions
- → Can I make these brownie cheesecake cups ahead of time?
-
Yes, these cups actually improve after chilling. You can make them up to 2 days in advance and store them refrigerated in an airtight container. The flavors meld together beautifully, and the texture becomes even more fudgy and creamy.
- → What other toppings can I use?
-
Get creative with your toppings! Try peanut butter chips, toffee bits, shredded coconut, crushed pretzels, caramel drizzle, or fresh berries. You can also swap the nuts for different varieties like almonds or hazelnuts depending on your preference.
- → How do I know when the cups are done baking?
-
The cups are ready when the cheesecake layer is set and no longer jiggly in the center, and the edges of the brownie are firm to the touch. A toothpick inserted into the brownie portion should come out with moist crumbs but not wet batter.
- → Can I freeze these dessert cups?
-
Absolutely! Wrap each cup individually in plastic wrap and place in a freezer-safe container for up to 3 months. Thaw overnight in the refrigerator before serving. The texture remains excellent after freezing.
- → How can I make these gluten-free?
-
Simply replace the all-purpose flour with a 1:1 gluten-free flour blend. Ensure your chocolate chips, Oreos, and other toppings are certified gluten-free as well. The taste and texture will be just as delicious!
- → Why do my brownie cups sometimes sink in the middle?
-
Sinking can happen from overmixing the batter or underbaking. Mix until just combined and bake until the centers are set. Also, avoid opening the oven door too early—let them bake undisturbed for at least 20 minutes before checking.
