 Pin It
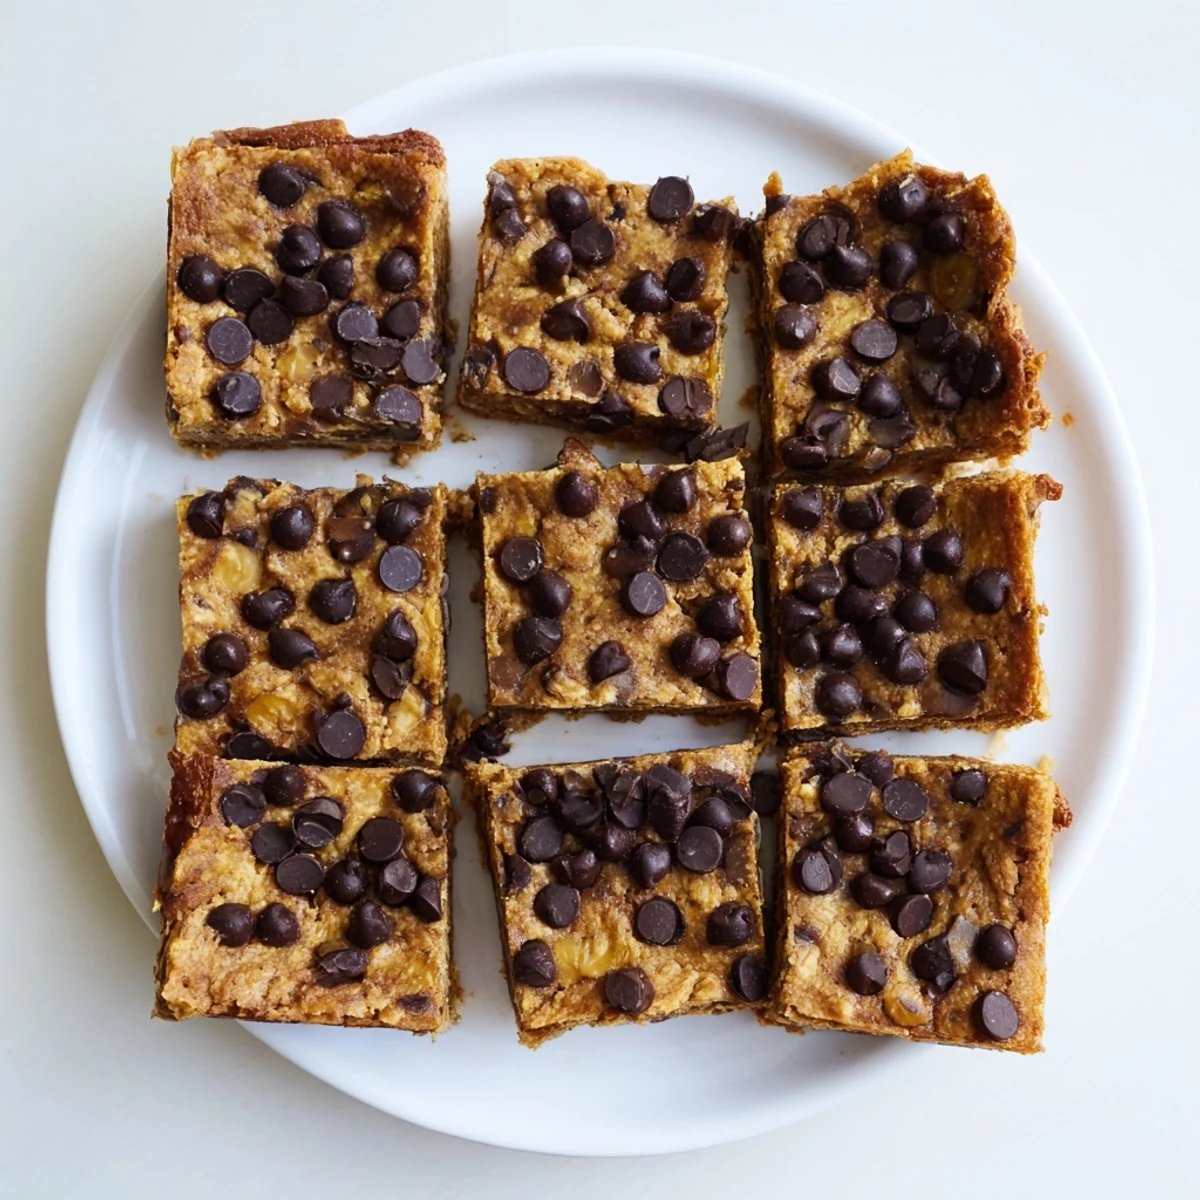
 These flourless bars combine the natural sweetness of ripe bananas with rich, creamy peanut butter for a moist and satisfying treat. The batter comes together in just one bowl—no mixer required—making it perfect for busy weekdays or last-minute gatherings.
With just 10 minutes of prep and 22 minutes in the oven, you'll have tender, protein-packed bars that work beautifully for breakfast, snack time, or dessert. The optional dark chocolate chips add a lovely contrast, while a sprinkle of flaky salt elevates the flavors.
The smell of bananas ripening on my counter used to stress me out until I discovered this magical combination. One rainy Tuesday, I had three overripe bananas and a jar of peanut butter that needed using. These bars emerged from my oven with the most incredible fudgy texture I've ever experienced in a gluten-free treat.
My sister-in-law came over last month and literally ate three bars in one sitting, demanding the recipe before she left. She's gluten-free and usually complains about dry baked goods, but these silenced her completely. Now she keeps a batch in her freezer for emergency sweet cravings.
Ingredients
- 2 large ripe bananas mashed: The blacker and spottier the better, they provide natural sweetness and moisture that transforms into caramel notes during baking
- 1 cup creamy peanut butter: Use natural peanut butter for the best flavor, though regular creamy works perfectly, just avoid chunky unless you want nutty surprises
- 2 large eggs: Room temperature eggs blend more smoothly, creating that perfect fudgy texture that holds everything together
- 1/4 cup pure maple syrup: This subtle sweetness complements the bananas without overpowering, though honey works beautifully if you prefer its floral notes
- 1 tsp vanilla extract: Don't skip this, it's the secret that makes these taste like a special occasion treat rather than breakfast
- 1/2 tsp ground cinnamon: Warm, comforting spice that bridges the gap between the banana and peanut butter flavors
- 1/4 tsp fine sea salt: Crucial ingredient that enhances all the flavors and prevents the bars from tasting flat
- 1/2 tsp baking soda: The leavening agent that gives these just enough lift without making them cakey or dry
- 1/3 cup dark chocolate chips optional: These take the bars to another level completely, but they're absolutely perfect without them too
Instructions
- Preheat your oven to 350°F (175°C) and line an 8x8-inch baking pan with parchment paper:
- Trust me on the parchment paper, I once tried greasing the pan instead and spent twenty minutes chiseling stubborn bits out. Let the paper hang over the edges for easy lifting later.
- Combine the mashed bananas, peanut butter, eggs, maple syrup, and vanilla extract in a large mixing bowl:
- Mash your bananas right in the bowl first, then add everything else. I've found a whisk works better than a spoon for getting that silky smooth consistency.
- Add the cinnamon, salt, and baking soda and stir well:
- Mix thoroughly but don't overdo it, just until you no longer see dry powder streaks through the batter.
- Fold in the chocolate chips if using them:
- Use a gentle folding motion, you want the chips distributed evenly without knocking all the air out of your batter.
- Pour the batter into the prepared pan and spread it evenly:
- The batter will be thick and somewhat sticky, so use your spatula to coax it into all the corners with patience and firm pressure.
- Bake for 20-22 minutes until the center is set:
- Start checking at 20 minutes, you want the edges slightly pulling away and a toothpick coming out mostly clean with just a few moist crumbs.
- Let cool completely in the pan before slicing:
- This is the hardest part because they smell incredible, but cutting while warm results in crumbly, messy bars instead of clean squares.
 Pin It
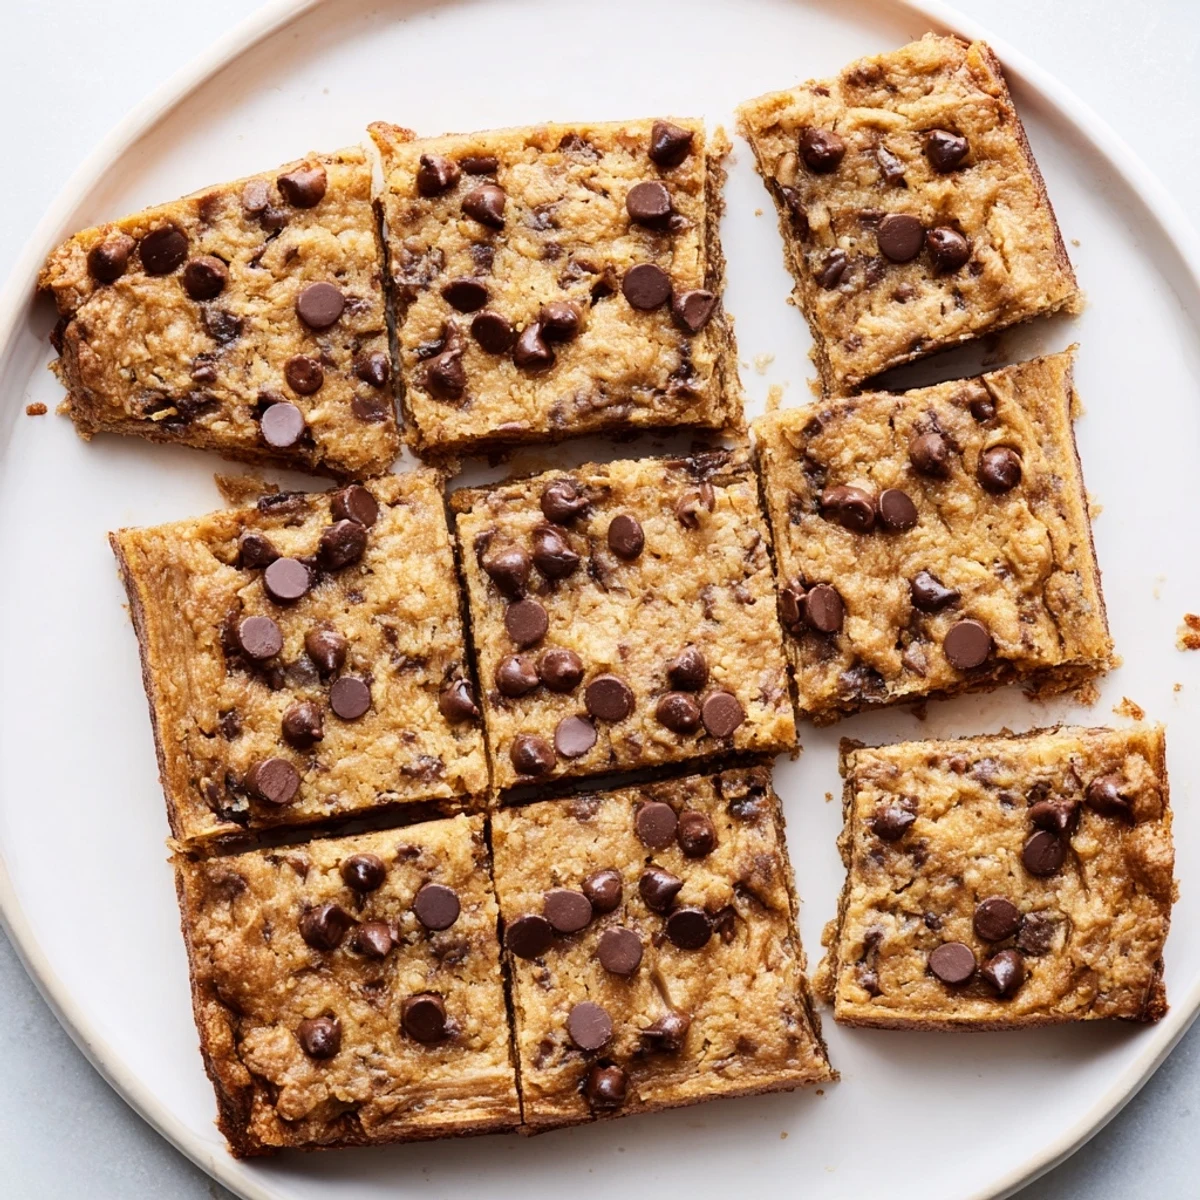
 Last summer my daughter requested these for her birthday instead of a traditional cake. Her friends were skeptical about flourless baking until they took their first bites. Now they all request them for every sleepover and birthday celebration.
Getting The Texture Right
I've made these dozens of times and learned that room temperature ingredients make a noticeable difference in how smoothly everything combines. Cold eggs can cause the peanut butter to seize up slightly, creating tiny lumps that don't fully disappear during baking.
Make Ahead Magic
These bars freeze beautifully wrapped individually, perfect for grabbing when you need something sweet but don't want to bake. I keep a stash in my freezer for school mornings when we need something substantial and energizing.
Serving Suggestions
My favorite way to serve these is slightly warmed with a glass of cold almond milk, the temperature contrast makes the fudgy texture even more pronounced. For company I sometimes add a scoop of vanilla ice cream on top.
- Try them crumbled over plain Greek yogurt for an instant breakfast upgrade
- Spread a little extra peanut butter between two bars for an over-the-top sandwich
- These make excellent travel snacks since they don't crumble like cookies
 Pin It
 There's something deeply satisfying about creating such a rich, indulgent treat from such simple wholesome ingredients. These bars have become my go-to for bringing to gatherings since nobody can believe they're gluten-free until I tell them.
Common Questions
- → Are these bars completely gluten-free?
-
Yes! These bars contain no wheat flour or grains of any kind. The bananas and peanut butter create a naturally tender crumb without the need for flour, making them perfect for those avoiding gluten.
- → Can I use natural peanut butter?
-
Absolutely. Natural peanut butter works wonderfully—just make sure it's well-stirred before measuring. The oils may separate slightly in the batter, but this won't affect the final texture.
- → How should I store these bars?
-
Keep them in an airtight container at room temperature for up to 3 days. For longer storage, refrigerate for up to a week or freeze individually wrapped bars for up to 3 months.
- → Can I make these vegan?
-
Yes! Replace the eggs with flax eggs (2 tablespoons ground flaxseed mixed with 5 tablespoons water) and use dairy-free chocolate chips. Let the flax mixture sit for 5 minutes before adding.
- → Why is my batter thick?
-
A thick, sticky batter is normal for flourless bars. The bananas and peanut butter create a dense mixture that spreads easily when poured into the pan. If it seems too stiff, the bananas may not be ripe enough.
- → Can I add other mix-ins?
-
Certainly! Chopped walnuts, pecans, or shredded coconut work beautifully. You could also swirl in some raspberry jam before baking for a PB&J variation.
