 Pin It
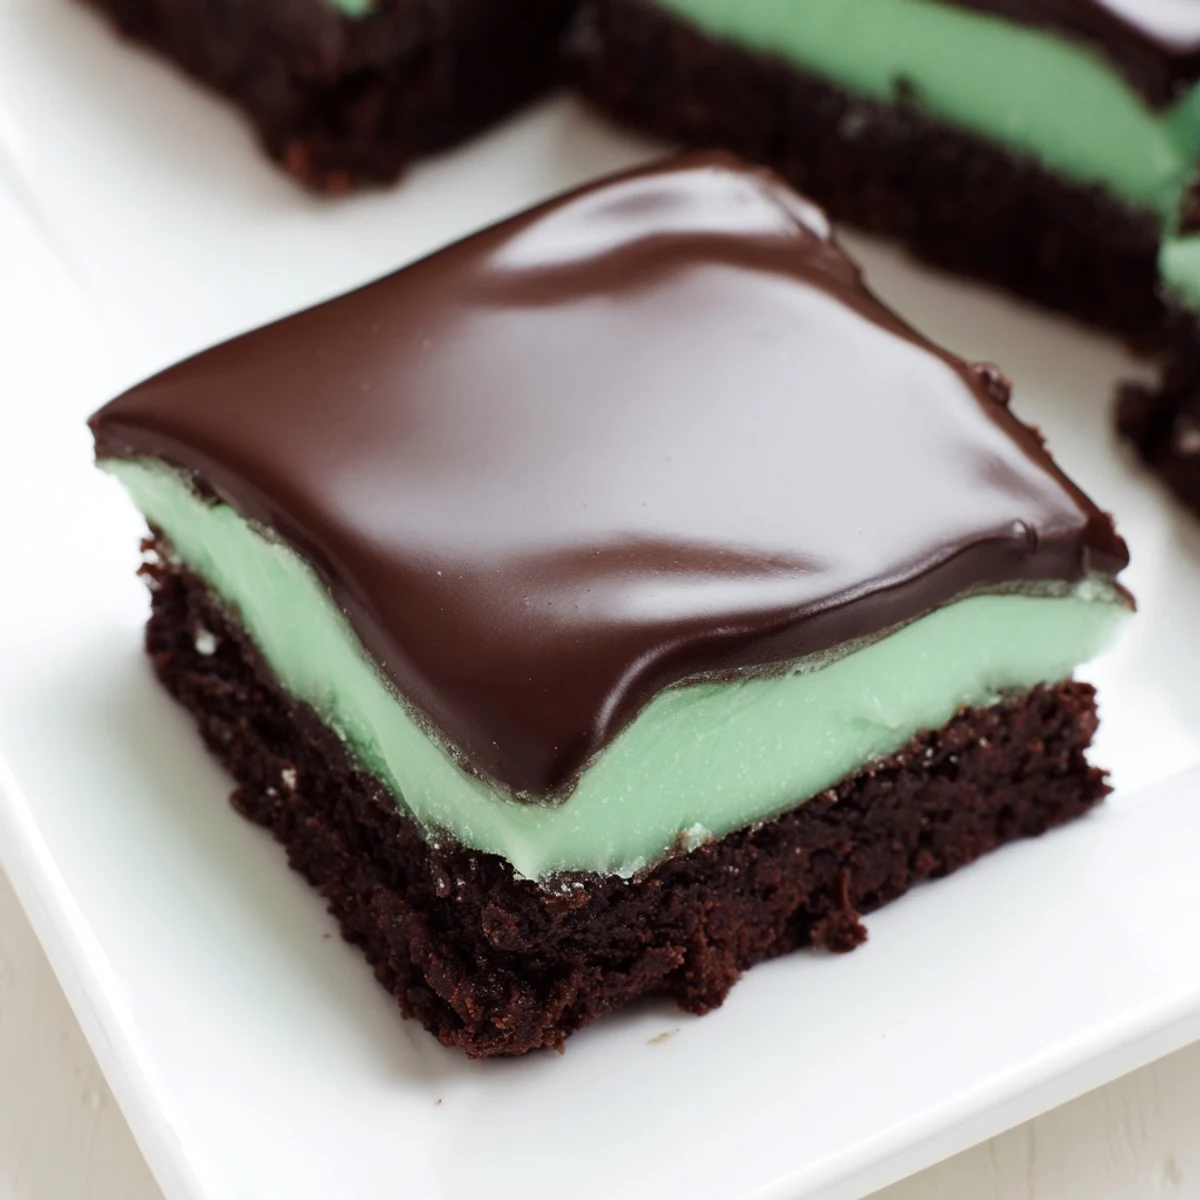
 Enjoy the rich, fudgy texture of chocolate brownies combined with a smooth mint cream layer and topped with a silky chocolate ganache. This dessert balances cool peppermint notes with deep cocoa flavors, chilled to set delicious layers. Perfect for festive occasions or satisfying mint-chocolate cravings, each bite offers a harmonious blend of sweet, creamy, and refreshing elements. The preparation involves baking a moist cocoa base, spreading a vibrant mint cream, and finishing with a glossy ganache that creates an indulgent treat.
The first time I made these for a St. Patrick's Day party, my friend Sarah took one bite and whispered they tasted like thin mints had a beautiful accident with fudge. Now every March, my phone starts blowing up with texts asking when the mint brownies are making their annual appearance.
Last year I made three batches because my coworker basically threatened mutiny if I didnt bring them to our office celebration. Watching everyone try to guess what made them so special became my favorite part of the afternoon.
Ingredients
- Unsalted butter: Use room temperature butter for the mint layer but melt it straight for the brownie base
- Granulated sugar: Creates that crackly top we all love on brownies
- Large eggs: Room temperature eggs incorporate better into the batter
- Vanilla extract: Pure vanilla makes a difference you can actually taste
- Unsweetened cocoa powder: Dutch process gives a deeper chocolate flavor
- All purpose flour: Dont overmix or your brownies will be cakey instead of fudgy
- Salt: Balances all that sweetness
- Baking powder: Just enough lift without making them too airy
- Softened butter: For the mint cream this needs to be genuinely soft
- Powdered sugar: Sifting prevents lumps in your mint layer
- Milk: Whole milk creates the creamiest texture
- Peppermint extract: Start with half teaspoon and add more if you love mint
- Green food coloring: Gel coloring gives more vibrant results with less liquid
- Semi sweet chocolate chips: Good quality chocolate makes or breaks the ganache
- Heavy cream: Heavy cream is necessary for proper ganache texture
- Unsalted butter: That extra tablespoon makes the ganache glossier
Instructions
- Preheat and prep your pan:
- Line your square baking pan with parchment paper and let those ends hang over the sides like little handles
- Melt the butter:
- You can do this in the microwave in 30 second bursts or on the stove over gentle heat
- Whisk in the sugar:
- Whisk vigorously until the mixture looks glossy and slightly cooled
- Add eggs and vanilla:
- Whisk them in one at a time until everything is smooth and combined
- Dry ingredients come next:
- Fold in the cocoa flour salt and baking powder just until you no longer see dry streaks
- Spread the batter:
- Use an offset spatula or the back of a spoon to get it even
- Bake until just set:
- A toothpick should come out with moist crumbs not raw batter
- Let cool completely:
- This is the hardest part but the mint layer will slide right off if the brownies are warm
- Make the mint cream:
- Beat the butter until fluffy then gradually add powdered sugar milk and peppermint extract
- Add your green color:
- Start with a drop and add more until you reach your desired shade
- Spread the mint layer:
- Work gently so you dont pull up any crumbs from the brownie base
- Chill for 30 minutes:
- This sets the cream so the ganache goes on smoothly
- Heat the cream:
- Watch closely you want bubbles around the edges not a full rolling boil
- Make the ganache:
- Pour the hot cream over the chocolate chips and butter and let it sit for 2 minutes
- Stir until glossy:
- The mixture should be smooth and shiny with no lumps remaining
- Top the brownies:
- Pour the ganache over the mint layer and tilt the pan to spread it evenly
- Final chill:
- Refrigerate for at least 30 minutes so everything sets up properly
- Slice and serve:
- Use the parchment handles to lift the whole thing out then cut with a sharp knife
 Pin It
 My grandmother who claimed she didnt care for desserts requested these for her birthday two years in a row. Seeing her carefully eat every crumb with her morning coffee became something I still think about whenever I pull them out of the fridge.
Getting The Layers Right
The most common mistake I see is rushing the cooling process between layers. Each layer needs to be completely set before the next one goes on or you end up with a marbled situation that tastes great but looks like a mess.
Room Temperature Ingredients
Cold ingredients can cause your butter to seize up especially when making the mint cream. I take everything out about an hour before I start baking and it makes such a difference in how smoothly the process goes.
Serving And Storage
These actually taste better on day two when the flavors have had time to mingle. I keep them in the refrigerator and bring them out about 15 minutes before serving.
- Use a hot knife for cleaner cuts dip it in hot water and wipe between slices
- Store in an airtight container in the fridge for up to 5 days
- They freeze beautifully just wrap individual portions and thaw overnight
 Pin It
 Every time I serve these someone inevitably asks for the recipe and I love watching their face when I explain how simple the layers actually are. Happy baking and may your St. Patricks Day be deliciously minty.
Common Questions
- → How do I achieve a fudgy texture in the brownies?
-
Use a higher ratio of butter and eggs to flour and cocoa powder, avoiding overbaking. Removing the brownies while moist inside ensures fudginess.
- → Can I substitute peppermint extract with fresh mint?
-
Fresh mint offers a different flavor profile and moisture content. For the mint layer, extract provides a stronger, clearer mint taste without affecting texture.
- → What is the best way to get a smooth ganache?
-
Heat cream just until simmering before pouring over chopped chocolate. Let it sit briefly, then stir gently until completely smooth and glossy.
- → How long should the dessert chill before serving?
-
Chilling for at least 30 minutes allows the layers to set properly, making cutting easier and flavors more cohesive.
- → Can this be made ahead and stored?
-
Yes, keep chilled in an airtight container for up to 3 days. Bring to room temperature slightly before serving for optimal texture.
