 Pin It
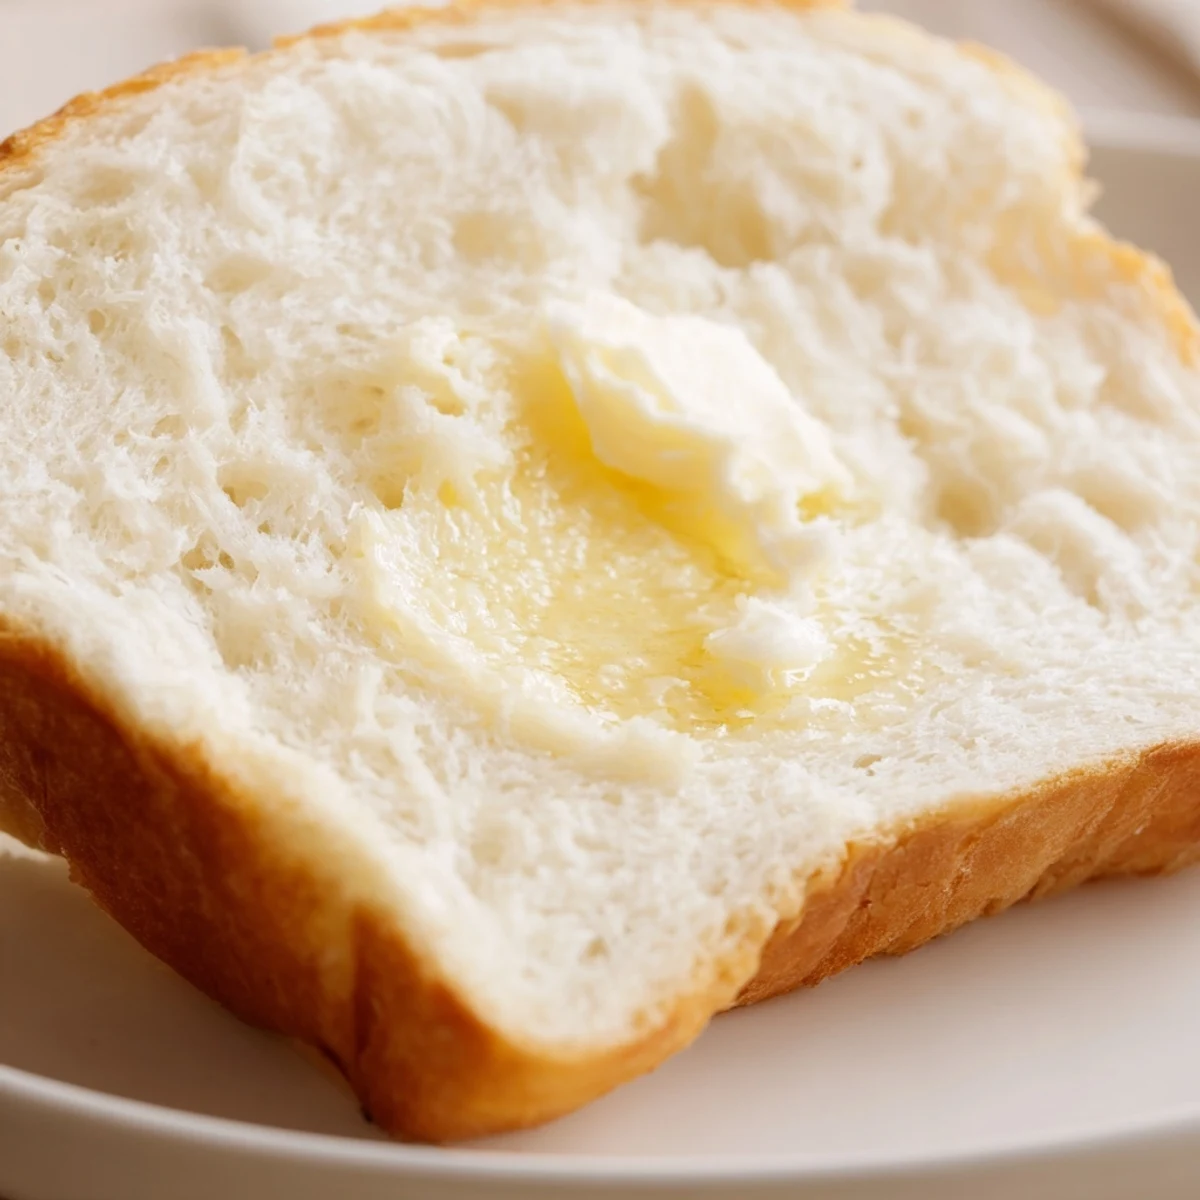
 Create two beautiful golden loaves of soft, slightly sweet bread perfect for everyday meals. This traditional American-style white bread features a tender crumb and lightly golden crust, ideal for morning toast, sandwiches, or alongside soups and stews. The dough rises beautifully to create pillowy slices that freeze exceptionally well for future enjoyment.
My grandmother kept a ceramic bowl on her counter specifically for this dough. She'd make it every Sunday without measuring, testing the water temperature against her wrist like a baby bottle. I finally wrote down her method the last time I visited, watching her hands work the dough with practiced ease. Now my own kitchen smells exactly like hers did.
Last winter my neighbor texted at midnight asking for bread because her family was snowed in. I doubled this recipe and delivered still-warm loaves across the street in my pajamas. Her kids now call it snow bread and ask for it every time the forecast turns white.
Ingredients
- 2 cups warm water: The temperature should feel comfortable on your wrist, about body temperature
- 2/3 cup granulated sugar: This feeds the yeast and adds that characteristic subtle sweetness
- 1 1/2 tablespoons active dry yeast: Make sure it is fresh and not expired for the best rise
- 1 1/2 teaspoons salt: Essential for flavor and helps control the fermentation
- 1/4 cup vegetable oil: Melted butter works too and adds a lovely richness
- 5 1/2 to 6 cups all-purpose flour: Start with less and add more as needed depending on humidity
Instructions
- Wake up the yeast:
- Dissolve the sugar in the warm water, then sprinkle the yeast on top and wait until it foams up like a mini science experiment
- Build the dough:
- Stir in the salt and oil, then gradually add flour one cup at a time until the dough pulls away from the bowl
- Knead with intention:
- Work the dough on a floured surface for 6 to 8 minutes until it feels smooth and bounces back when you poke it
- First rise:
- Place the dough in a greased bowl, cover it, and let it double in size in a warm corner
- Shape the loaves:
- Punch down gently, divide in half, and tuck the edges under to form tight loaves for your pans
- Second rise:
- Cover the pans and wait until the dough creeps about an inch above the rim
- Bake to golden:
- Bake at 350°F until the tops turn golden brown and the loaves sound hollow when you tap them
 Pin It
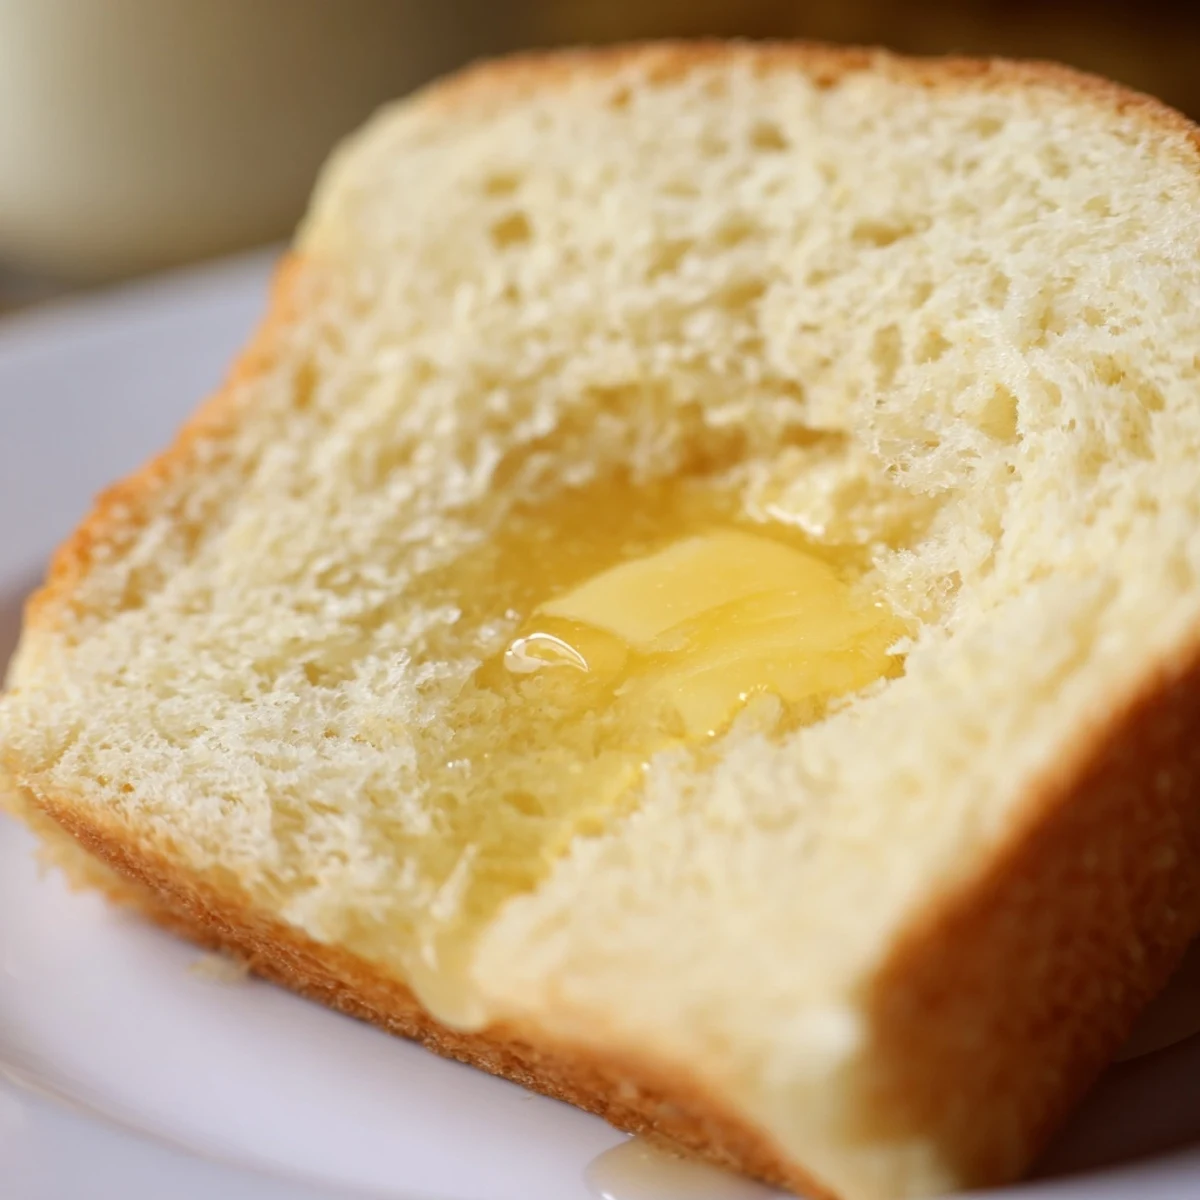
 My youngest started helping me make this when they were six years old. Now they can do the whole process except taking the pans out of the oven. We argue over who gets to brush the butter on top.
Making It Your Own
Swap half the water for milk to create a richer, creamier crumb that stays moist longer. A tablespoon of honey mixed with the sugar adds a lovely floral note.
The Perfect Rise
I turn my oven light on and place the dough inside with the door cracked. The gentle warmth creates the ideal rising environment without overheating.
Storage And Leftovers
This bread keeps beautifully in an airtight bag on the counter for up to four days. Any leftovers make incredible French toast or bread pudding when they start to stale.
- Slice before freezing for easier thawing
- Wrap individual slices in parchment paper
- Thaw overnight in the refrigerator
 Pin It
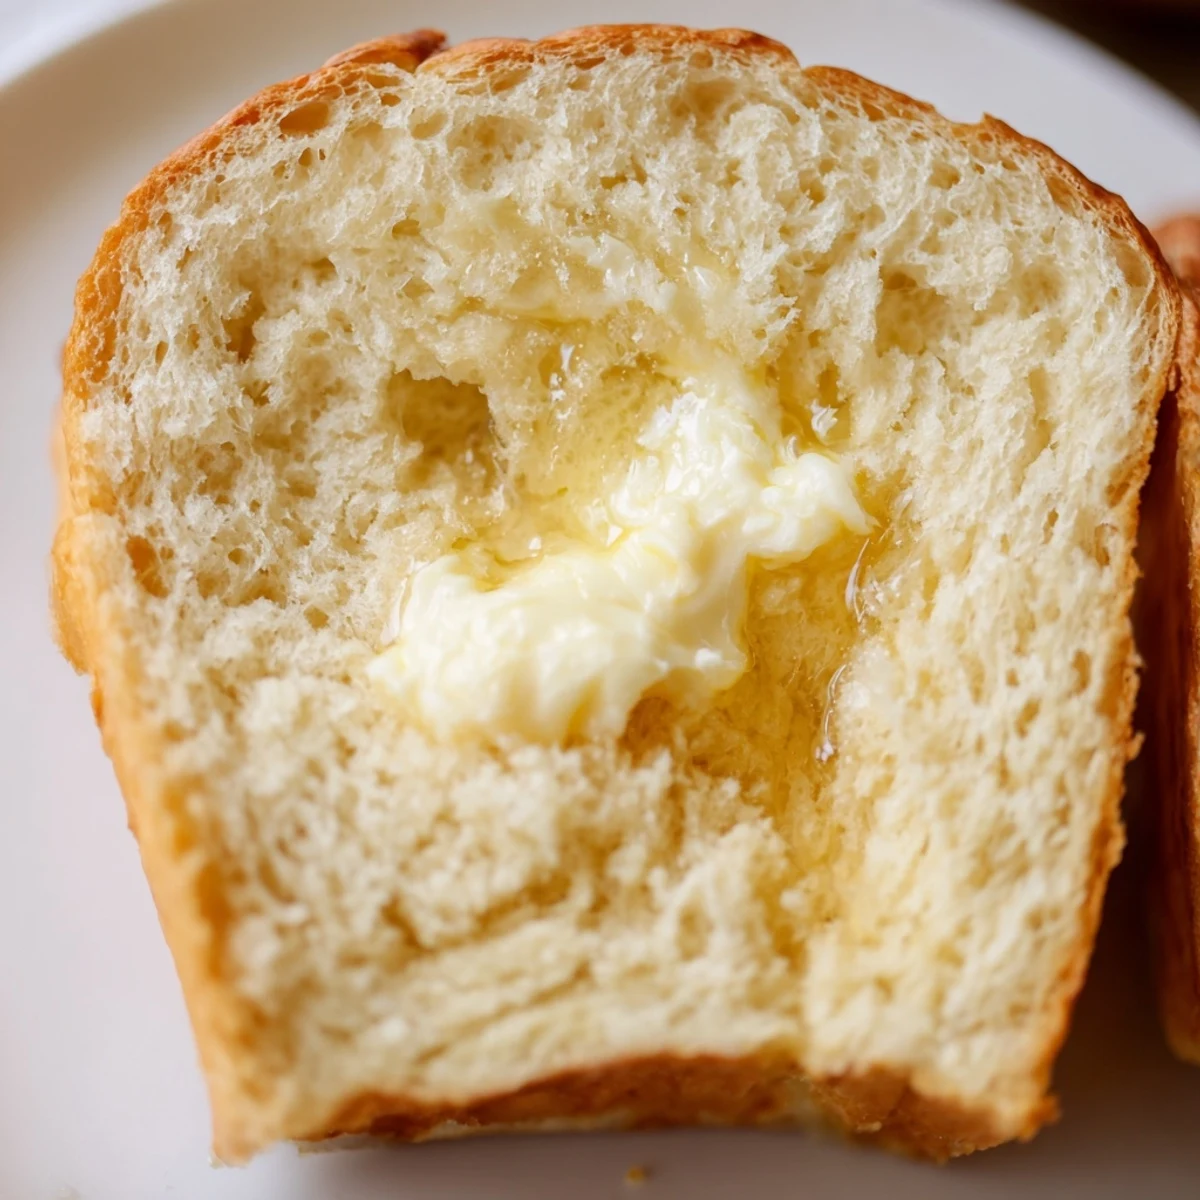
 Nothing beats warm slathered with butter while you stand at the counter watching the steam rise off each slice.
Common Questions
- → What makes Amish white bread different from regular white bread?
-
Amish white bread typically has a slightly sweeter taste and softer texture than standard white bread. The addition of sugar and oil creates a tender crumb that stays moist longer, making it exceptional for toasting and sandwiches.
- → Can I make this dough ahead of time?
-
Yes, you can prepare the dough and refrigerate it after the first rise for up to 24 hours. Let it come to room temperature before shaping and doing the second rise. This actually develops flavor for a more complex taste.
- → Why did my dough not rise properly?
-
Ensure your water is warm but not hot—around 110°F is ideal. Water that's too hot can kill the yeast. Also make sure your yeast is fresh and not expired. Find a warm, draft-free spot for rising, ideally 75-80°F.
- → Can I use whole wheat flour instead of all-purpose?
-
You can substitute up to half of the all-purpose flour with whole wheat flour. Keep in mind that whole wheat absorbs more liquid, so you may need to add slightly more water. The texture will be denser and heartier.
- → How do I know when the bread is done baking?
-
The loaves should be golden brown on top and sound hollow when tapped on the bottom. An instant-read thermometer inserted into the center should read 190-200°F. The internal temperature is the most reliable indicator.
- → What's the best way to store this bread?
-
Once completely cool, store in an airtight bag or container at room temperature for up to 4 days. For longer storage, slice and freeze in freezer bags. Frozen slices can go directly into the toaster.
