 Pin It
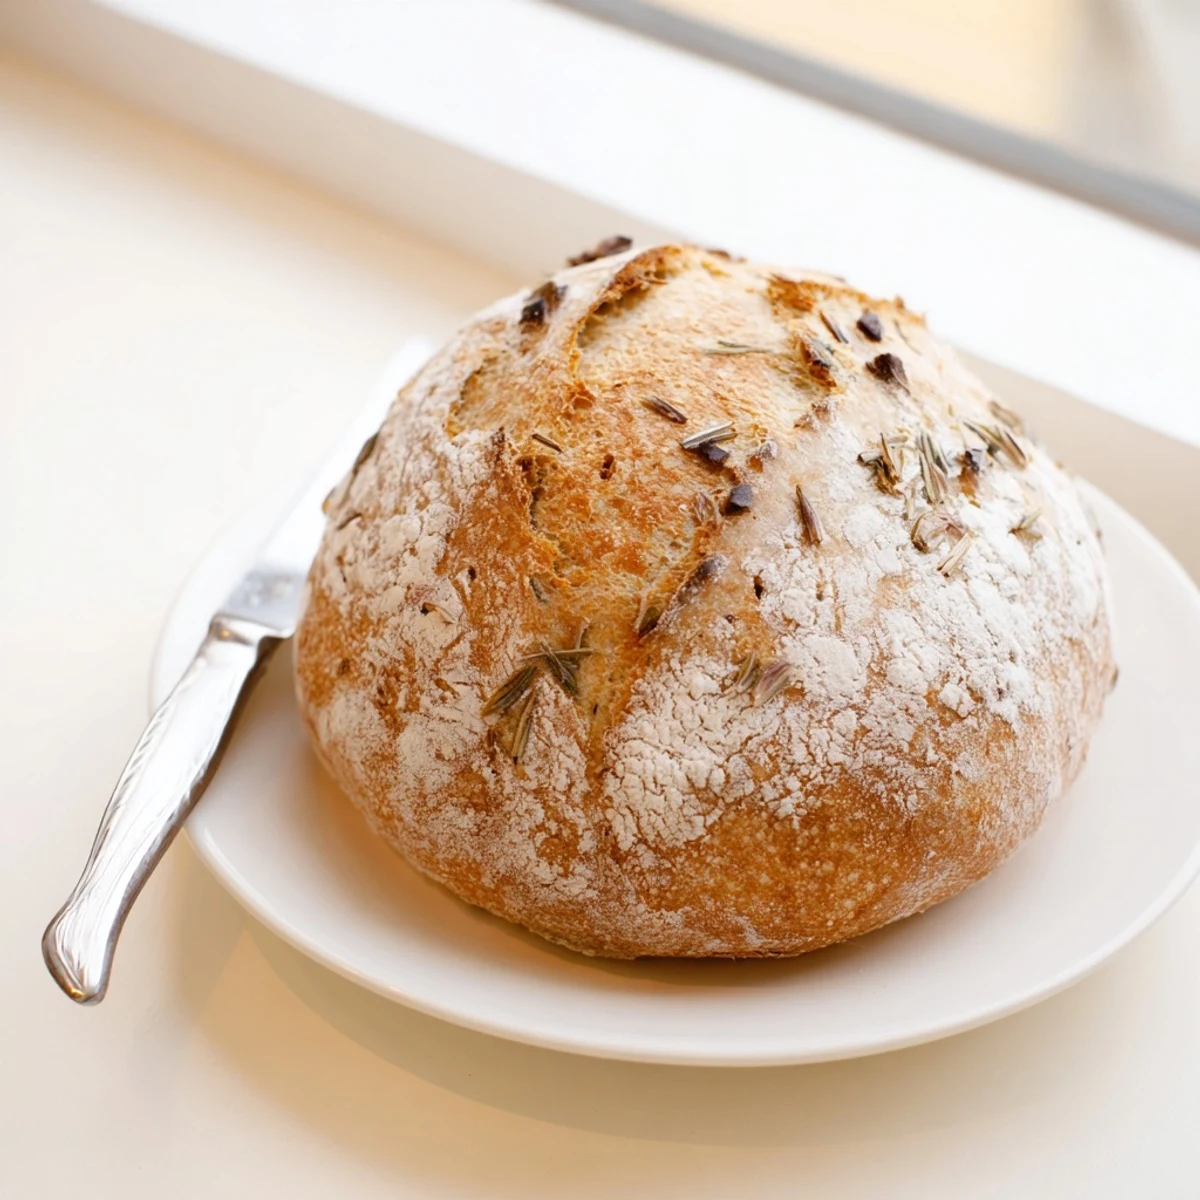
 This artisan Dutch oven bread delivers a perfect balance of textures with a crackling golden crust and tender, flavorful crumb. The combination of fresh garlic and aromatic rosemary creates an irresistible Mediterranean-inspired loaf that develops even deeper flavor during the long fermentation process.
Baking in a preheated Dutch oven creates professional-level steam, resulting in that coveted bakery-style crust. The hands-on preparation is minimal—just mix, rise, and bake. This versatile bread pairs beautifully with soups, pasta, or stands alone with olive oil for dipping.
The winter my oven broke, I improvised with a borrowed Dutch oven and accidentally discovered the secret to bakery worthy bread at home. Something about that heavy sealed pot creates steam that transforms a humble dough into something extraordinary. Now even with a working oven, I still reach for that cast iron beauty every time.
I first made this bread on a rainy Sunday when friends canceled dinner plans. Instead of rescheduling, I decided to bake something for myself, assuming leftovers would carry me through the week. By the time my phone buzzed with everyone reconsidering, the bread had emerged from the oven and those canceled plans turned into an impromptu feast around my kitchen counter.
Ingredients
- Bread flour: Higher protein content than all purpose gives this bread structure and that satisfying chewy interior
- Fine sea salt: Coarser salt might not distribute evenly, so reach for the fine crystals to avoid salty pockets
- Active dry yeast: Instant works too if that is what you have in the pantry
- Lukewarm water: Think bath temperature, about 100°F, anything hotter and you will kill the yeast
- Olive oil: Adds subtle richness and helps keep the crumb tender after baking
- Fresh garlic: Minced finely so it disperses throughout rather than creating overwhelming bursts
- Fresh rosemary: Dried herbs work but fresh gives that bright piney flavor that pairs so beautifully with garlic
Instructions
- Mix the foundation:
- Whisk flour, salt, and yeast in a large bowl until everything looks uniform
- Bring it together:
- Pour in the water and olive oil, stirring until the flour is absorbed and you have a shaggy, sticky dough
- Add the magic:
- Fold in the garlic and rosemary just until distributed, do not overwork the dough
- Let it rise:
- Cover the bowl and walk away for 2 to 3 hours until the dough has doubled in size
- Shape with intention:
- Turn onto a floured surface and gently tuck the edges underneath to form a tight ball
- Second rise:
- Place seam side down on parchment, cover loosely, and rest another 30 to 45 minutes
- Preheat strategically:
- Put your Dutch oven and lid in a cold oven, then crank to 450°F for at least 30 minutes
- Transfer with care:
- Lift the whole parchment sling and lower carefully into the screaming hot pot
- Create the steam:
- Cover immediately and bake for 30 minutes to trap moisture for that crackly crust
- Reveal the beauty:
- Remove the lid and bake another 12 to 15 minutes until deeply golden
- Patience pays off:
- Cool on a rack for at least 20 minutes because slicing too early ruins the texture
 Pin It
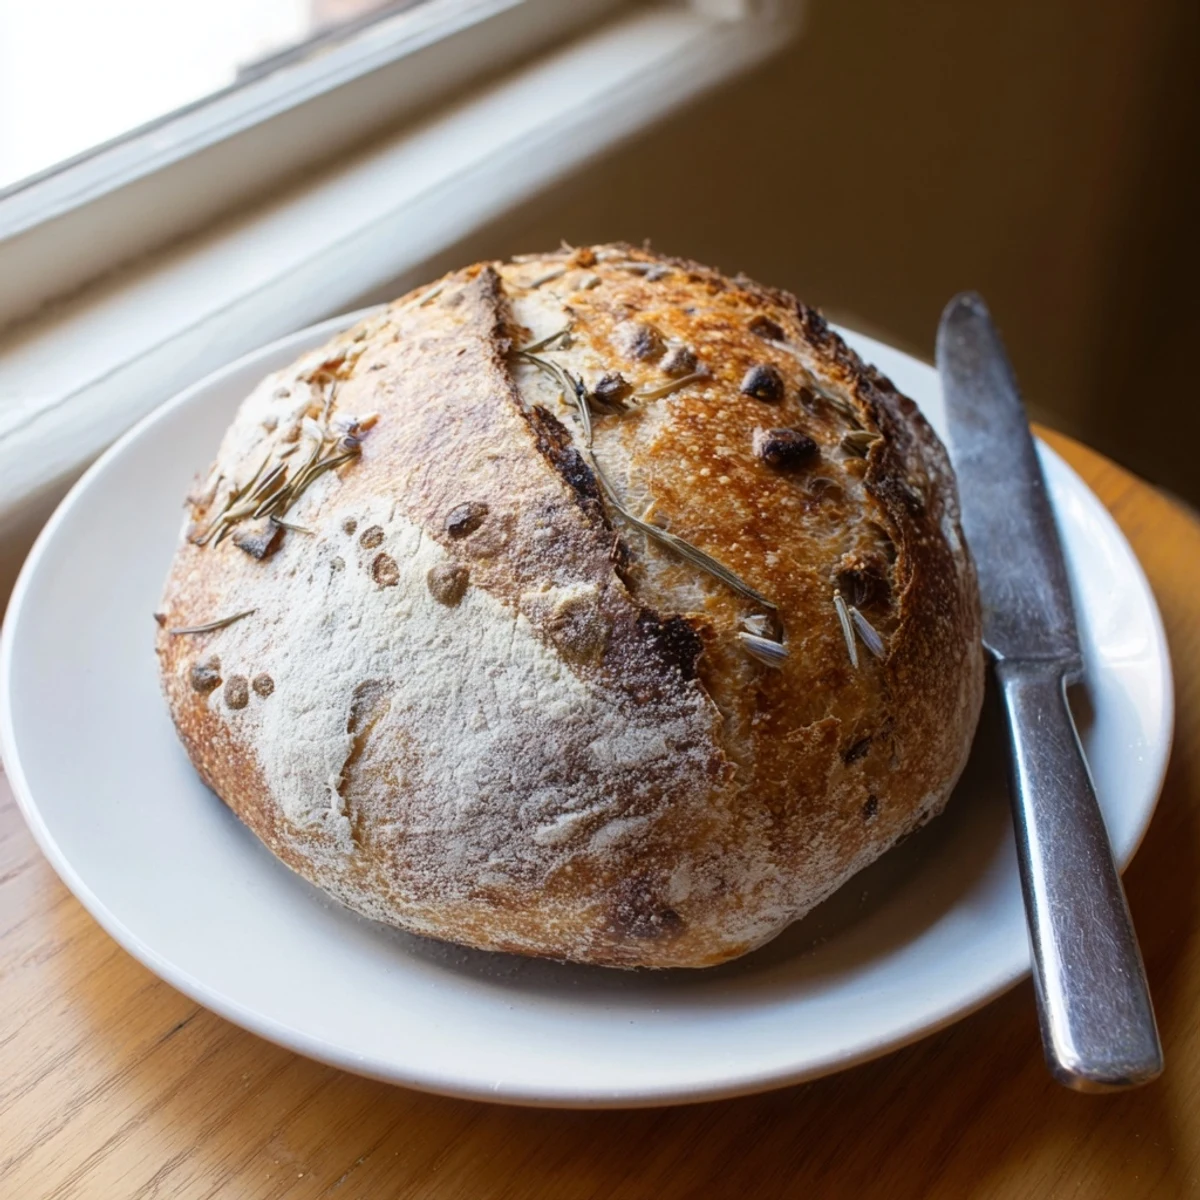
 This bread has become my go to host gift because people assume it came from a professional bakery. The first time I brought it to a dinner party, the host actually asked for the bakery name so she could order more for her wedding. Watching her face when I explained it was just flour, water, and time was better than any compliment I have ever received.
Making It Your Own
Once you master the basic technique, the variations become endless. I have swapped rosemary for thyme, added chopped kalamata olives, or stirred in sun dried tomatoes for a Mediterranean twist. Each addition teaches you something new about how flavors develop during that long slow rise.
Timing Your Bake
The beauty of no knead bread is that it works around your schedule. Mix it before bed for a morning bake, or start it in the morning for dinner bread. The dough is forgiving, happily waiting in the refrigerator for up to 24 hours if life gets in the way of your planned baking time.
Leftovers Worth Having
If by some miracle you have bread left the next day, transform it into something equally delicious. Thick slices grilled in olive oil become garlic bread worthy of any pasta night, or cube and toast for croutons that elevate a simple salad.
- Store cut side down on a cutting board, never in plastic bags which make the crust soggy
- Refresh day old bread in a 350°F oven for 10 minutes to restore that crisp exterior
- Freeze slices in a freezer bag for up to a month, toast directly from frozen
 Pin It
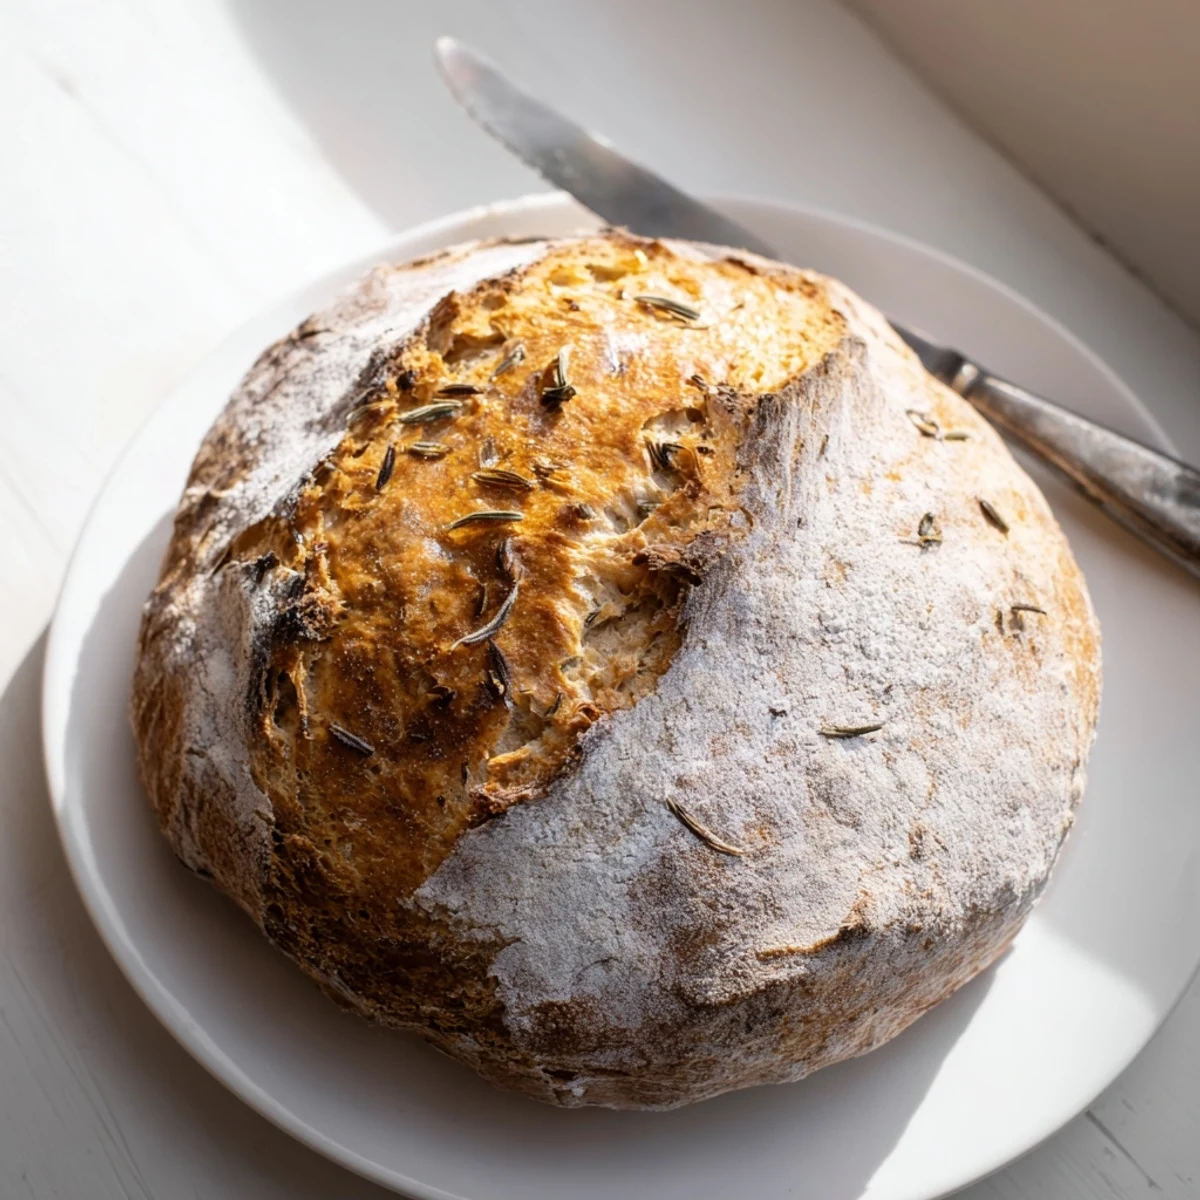
 There is something profoundly satisfying about transforming four basic ingredients into something that nourishes both body and soul. This bread has a way of turning ordinary Tuesday dinners into occasions worth remembering.
Common Questions
- → Why use a Dutch oven for bread?
-
A Dutch oven traps steam during baking, creating a moist environment that allows the bread to expand fully before the crust sets. This produces the signature crackly crust and open crumb structure typically found in professional bakery loaves.
- → Can I use dried rosemary instead of fresh?
-
Fresh rosemary provides superior flavor and aroma, but you can substitute dried rosemary. Use one-third the amount—about 2 teaspoons instead of 2 tablespoons. Rehydrate the dried herbs in warm water for 10 minutes before adding to the dough.
- → How do I know when the bread is done baking?
-
The bread is ready when the crust reaches a deep golden brown color and sounds hollow when tapped on the bottom. An instant-read thermometer inserted into the center should read between 190-200°F (88-93°C) for fully baked bread.
- → Can I add other ingredients like olives or cheese?
-
Absolutely. Kalamata olives, sun-dried tomatoes, caramelized onions, or grated Parmesan work wonderfully. Fold these additions in during step 3 after mixing the aromatics. Keep total add-ins under 1 cup to maintain proper dough structure.
- → Why is there so little yeast for this bread?
-
The small amount of yeast combined with a long rising time develops superior flavor through slow fermentation. This creates deeper, more complex taste notes compared to quick-rising breads, while also making the dough easier to handle and shape.
- → How should I store leftover bread?
-
Store at room temperature wrapped in a cloth or paper bag for up to 2 days. For longer storage, slice and freeze in a sealed bag. To refresh, sprinkle with water and warm in a 350°F oven for 10 minutes. Avoid refrigeration as it accelerates staling.
