 Pin It
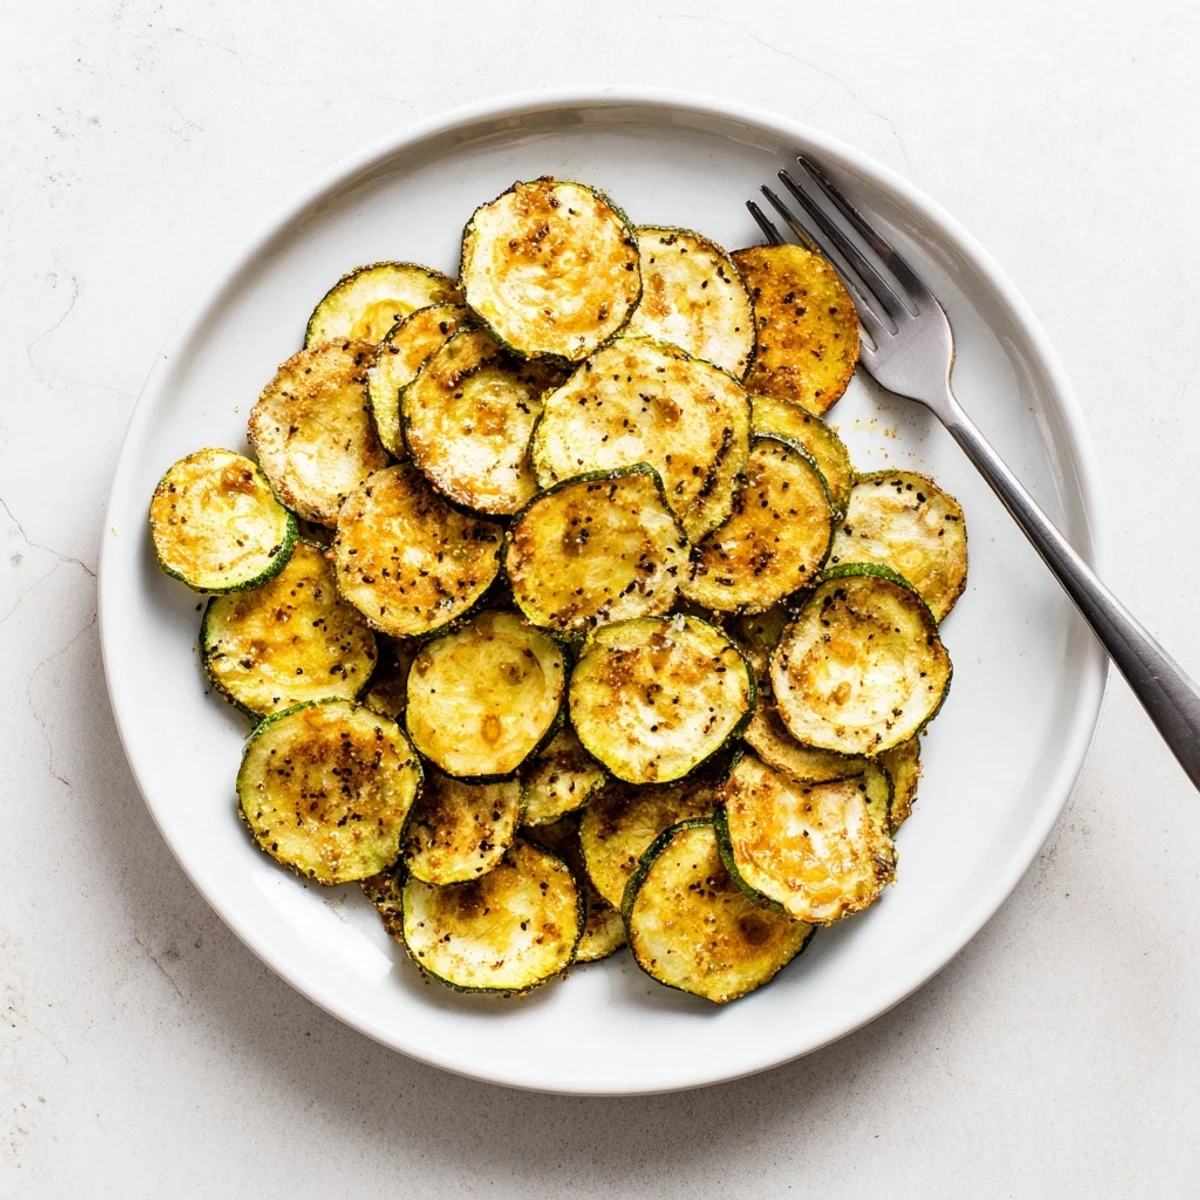
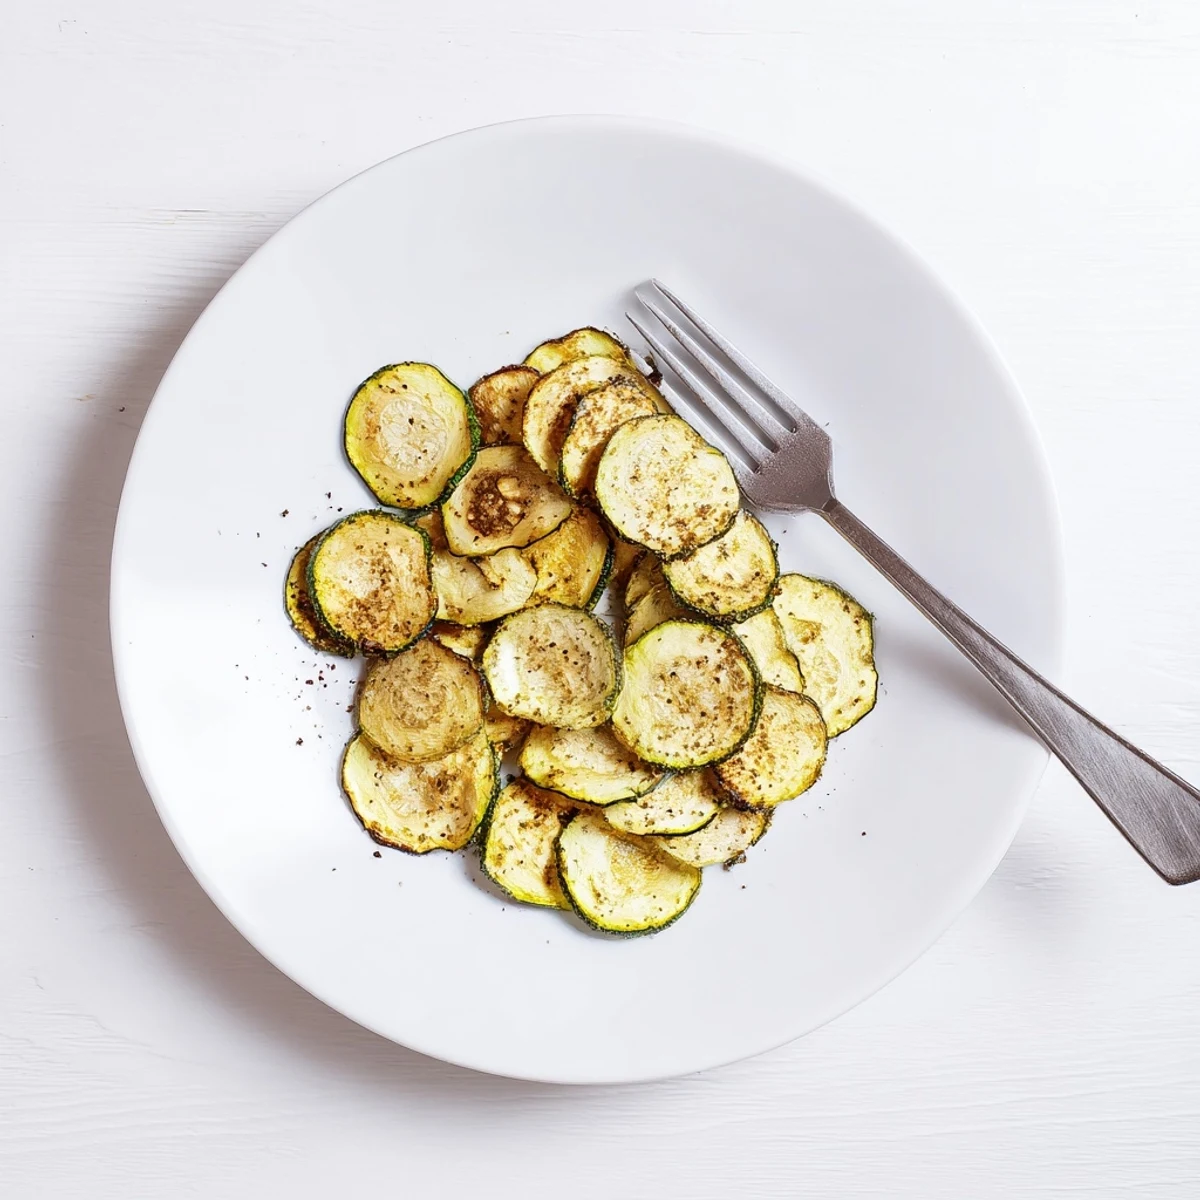
 Enjoy thinly sliced zucchini baked slowly at a low temperature until irresistibly crisp. Tossed in olive oil, sea salt, and pepper, these chips offer a light, crunchy snack that fits vegetarian and gluten-free diets. Ideal for any time, they can be customized with optional seasonings like garlic powder or smoked paprika. Cooling on baking sheets enhances crispness, and leftovers can be refreshed in a low oven to maintain texture.
Last summer, I was standing at the farmers market with a bag of impossibly fresh zucchini when my neighbor mentioned she'd given up on making chips—they always turned out soggy. That challenge stuck with me. By August, after a few kitchen experiments and one particularly crispy afternoon, I finally cracked it: low heat, patience, and one crucial step everyone overlooks.
I made a huge batch for a book club potluck, and three people asked for the recipe before the bowl was even half empty. The best part wasn't the compliments—it was watching someone pop one in their mouth and genuinely look surprised at how good a sliced vegetable could taste.
Ingredients
- 2 medium zucchini, washed and thinly sliced (about 1/8 inch thick): A mandoline slicer saves time and ensures even thickness, which is the secret to uniform crispness—uneven slices will bake differently.
- 1 tablespoon olive oil: This is enough to coat the slices lightly and help them crisp without greasiness; don't skip this step even though it seems minimal.
- 1/2 teaspoon sea salt: Coarse sea salt tastes better than table salt and won't dissolve into the zucchini as quickly.
- 1/4 teaspoon freshly ground black pepper: Grind it fresh—pre-ground pepper tastes stale by comparison and won't contribute the same brightness.
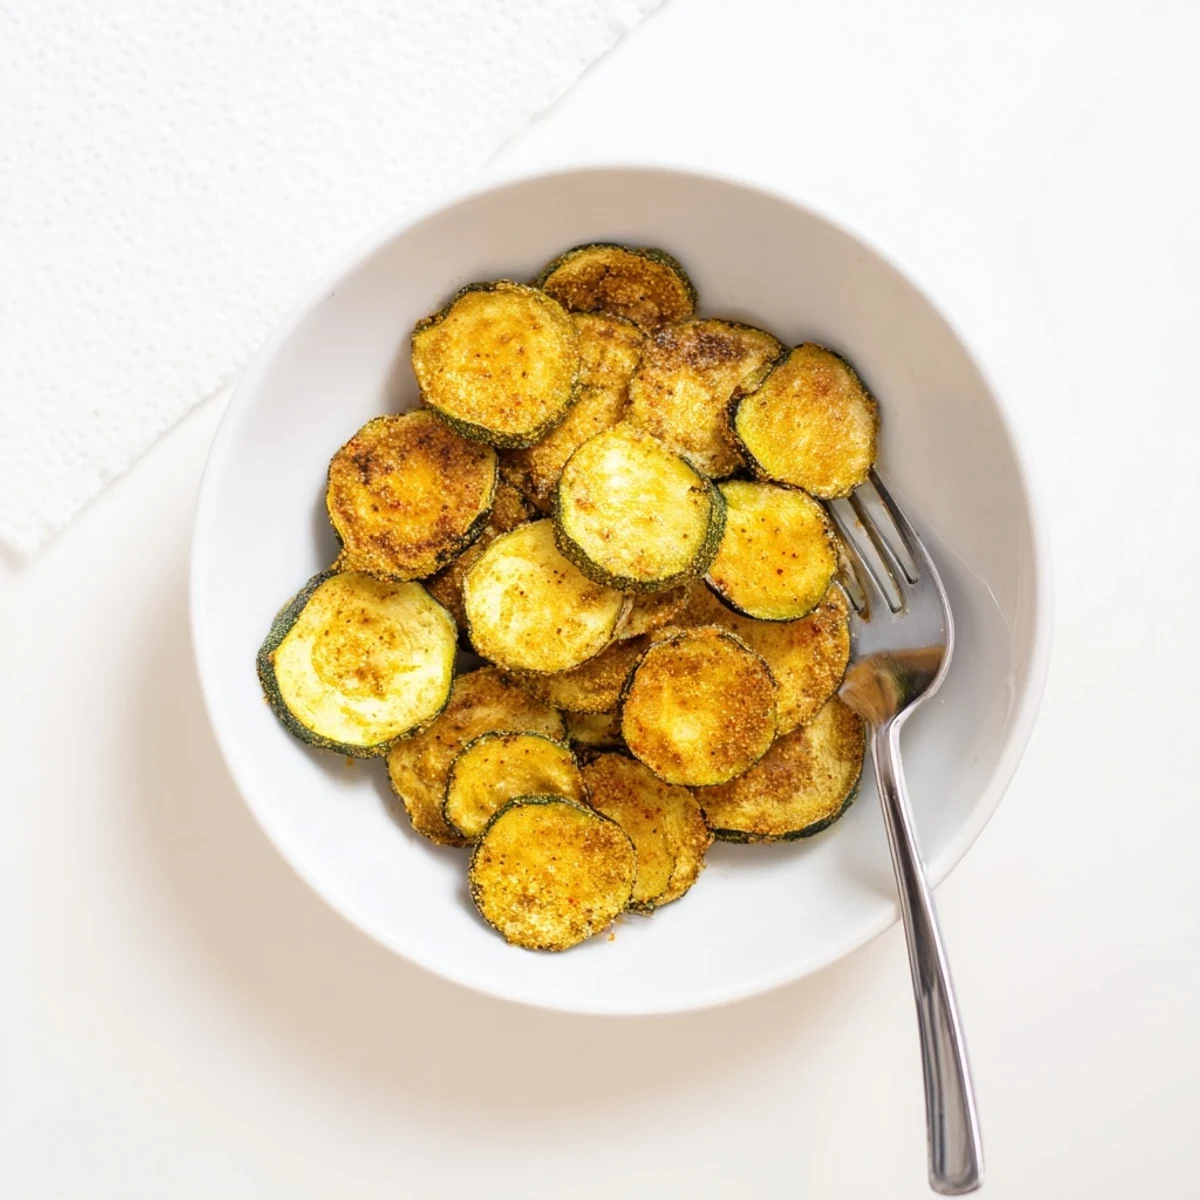
- 1/2 teaspoon garlic powder and 1/2 teaspoon smoked paprika (optional): The paprika adds a subtle smokiness that makes people wonder what the secret ingredient is.
Instructions
- Preheat low and be patient:
- Set your oven to 225°F and line two baking sheets with parchment paper. Low heat is the entire reason these will be crispy instead of rubbery, so don't be tempted to crank it up.
- Dry your zucchini thoroughly:
- Pat each slice with paper towels until there's barely any moisture left. This step separates crispy chips from soggy disappointments—I learned this the hard way after slice number one.
- Toss with oil and seasonings:
- In a large bowl, coat the zucchini slices evenly with olive oil, salt, pepper, and any optional seasonings. Make sure nothing sits bare or it'll bake unevenly.
- Arrange in a single layer:
- Spread the slices on the baking sheets so they barely touch or don't touch at all. This might feel sparse, but overlapping slices steam each other instead of crisping.
- Bake with one crucial check-in:
- Bake for 50 to 60 minutes, rotating the sheets halfway through for even cooking. Around minute 50, start watching closely—the last ten minutes can turn golden chips into burnt ones faster than you'd expect.
- Cool completely on the sheets:
- Let the chips rest on the warm baking sheets for five to ten minutes after removing them from the oven. They'll continue to crisp and firm up, which is when they reach their best texture.
 Pin It
 My daughter used to push vegetables around her plate, and somehow these little crispy things changed her mind about zucchini entirely. Now she treats them like popcorn and doesn't even realize she's eating something healthy.
Flavor Variations That Actually Work
The base recipe is perfect, but I've learned that certain additions elevate these without overwhelming them. Smoked paprika brings depth, garlic powder adds savory punch, and a dusting of Parmesan before baking creates an almost cheese-puff effect that's dangerously addictive.
Storage and Keeping Them Crispy
Airtight containers are essential—even one minute of exposure to air humidity starts softening them. If they lose their crunch after a day, a quick five-minute re-crisp in a 300°F oven brings them back to life better than you'd expect.
Making This Ahead and Scaling Up
This recipe scales beautifully if you're feeding a crowd, though you'll need multiple batches since overcrowding the baking sheets defeats the purpose. I've made eight times this amount for parties, and the timing stays roughly the same per batch.
- Prep all your zucchini slices the morning of and store them dry on paper towels in the fridge until you're ready to oil and bake.
- Cool chips completely before storing, or condensation will trap moisture and soften them within hours.
- Re-crisping takes less time than the original bake, so save it as a last-minute trick before serving.
 Pin It
 These chips prove that the simplest recipes, done right, often become the most-requested ones. Serve them warm right out of the oven for maximum crispness, or enjoy them throughout the week as a snack that actually satisfies.
Common Questions
- → How do you ensure zucchini chips become crispy?
-
Drying the zucchini slices thoroughly removes excess moisture. Baking at a low temperature for 50-60 minutes and allowing them to cool on the sheets helps achieve a crisp texture.
- → What seasonings complement zucchini chips?
-
Sea salt, black pepper, garlic powder, and smoked paprika add depth without overpowering the natural zucchini flavor. Parmesan cheese can be sprinkled before baking for extra richness.
- → Can zucchini chips be stored after baking?
-
Store leftovers in an airtight container for up to two days. To restore crispness, reheat them briefly in a low-temperature oven.
- → What tools are best for slicing zucchini thinly?
-
A sharp knife or mandoline slicer provides even, thin slices crucial for uniform baking and crispiness.
- → Is this method suitable for dietary restrictions?
-
Yes, it fits vegetarian and gluten-free diets, using simple, allergen-free ingredients.
