 Pin It
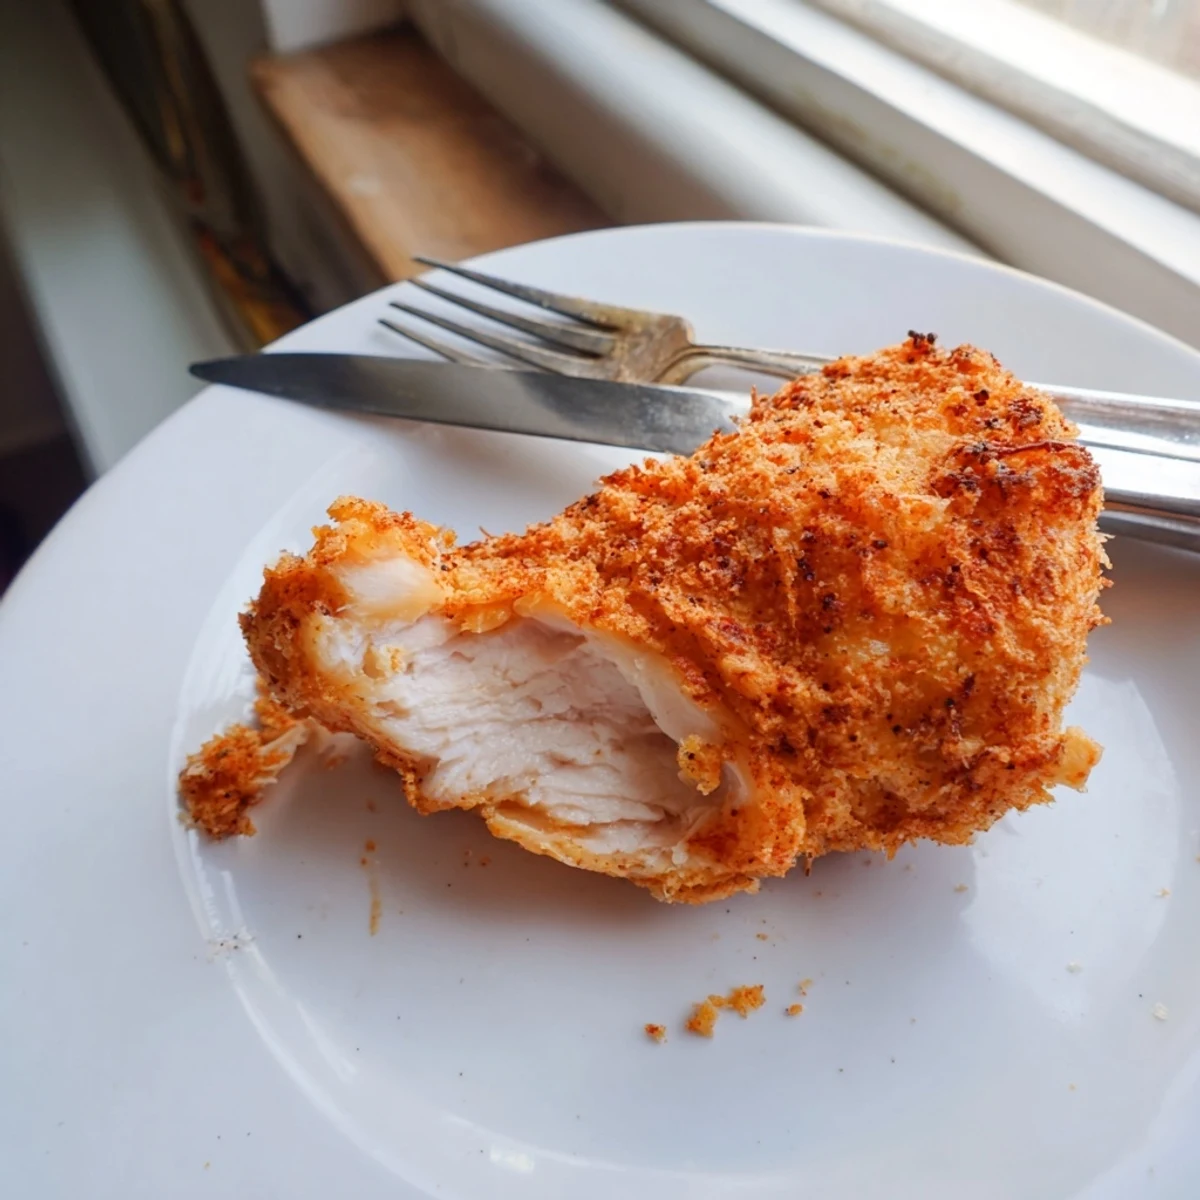
 This crispy dill pickle chicken combines the tangy kick of pickle brine marinade with a perfectly seasoned, golden crust. The chicken soaks up dill pickle juice for hours, infusing every bite with zesty flavor before getting double-dipped in a spiced flour and panko coating.
Fry until golden brown for juicy, tender meat inside with satisfying crunch outside. The 15-minute prep time and easy breading station make this perfect for weeknight dinners, while the crowd-pleasing flavor works for gatherings and parties.
Last summer my brother joking dared me to try that pickle juice fried chicken trend he kept seeing on social media. I rolled my eyes at first but one bite of that tangy crispy crust changed everything faster than you can say dill. My kitchen smelled like vinegar and happiness for days afterward.
I made a huge batch for our July block party and watched three pickle skeptics go back for thirds. The way the salty dill flavor plays with the crispy coating is basically magic.
Ingredients
- Chicken thighs or breasts: Thighs stay juicier but both work beautifully here, just pound thicker breasts to even thickness so they cook evenly
- Dill pickle juice: Do not use sweet pickle bread and butter juice, we need that straight up dill brine for the authentic tangy punch
- Chopped dill pickles: These little pickle bits get trapped in the breading and create tiny flavor explosions throughout the crust
- Panko breadcrumbs: The secret weapon for extra crunch, regular breadcrumbs work but panko gives you that restaurant style crispy coating
- Paprika and onion powder: These two spices build a savory base that balances the pickle brightness perfectly
Instructions
- Let the chicken soak up all that pickle goodness:
- Toss your chicken in a sealed bag with the pickle juice chopped pickles and garlic powder then let it hang out in the fridge for at least an hour but honestly overnight is better for maximum flavor penetration
- Mix up your crispy coating station:
- Whisk together the flour panko paprika onion powder salt and pepper in a shallow dish until everything is evenly distributed and ready for dredging
- Set up your egg wash:
- Beat the eggs with water in another shallow bowl until completely combined, this will help the flour mixture stick to the marinated chicken
- Get your chicken ready for the hot oil:
- Pull the chicken from the marinade and pat it really dry with paper towels because wet chicken makes soggy coating and nobody wants that
- Build that perfect crunchy layer:
- Dip each piece first in the flour mix then the egg wash then back into the flour again pressing firmly so the coating really sticks
- Get your oil nice and hot:
- Heat about half an inch of oil in your skillet over medium high until it shimmers, you want it hot enough to sizzle immediately when the chicken hits
- Fry until golden gorgeous:
- Cook the chicken in batches for 4 to 6 minutes per side until deep golden brown and the internal temp hits 165 degrees then drain on a wire rack
- Serve it up while it is still hot and crispy:
- Plate with extra dill pickles and maybe some fresh dill because more pickle flavor is always the right answer
 Pin It
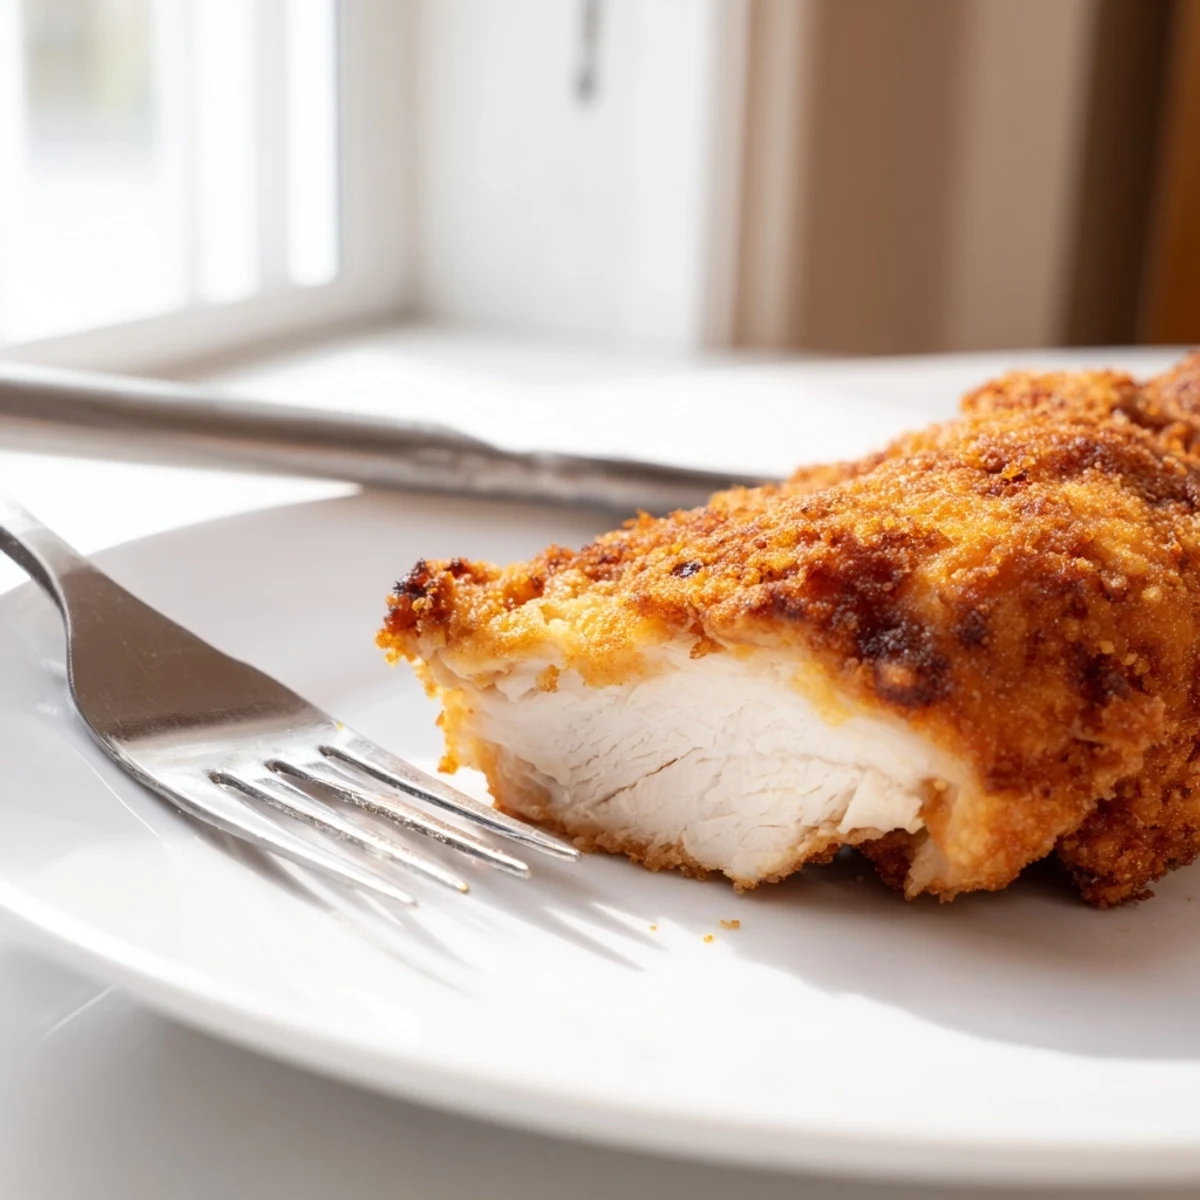
 Now this is the kind of recipe that turns a regular Tuesday dinner into something people actually talk about. My husband still requests it weekly and he swore he hated pickles before this.
Make It Your Own
Throw some cayenne pepper into the flour mixture if you want a little heat to cut through all that tangy flavor. I have also tried adding some ranch seasoning mix into the coating for a creamy herbal twist that pairs perfectly with the dill.
What To Serve With Pickle Chicken
Classic potato salad is basically mandatory here because that creamy coolness balances the crispy tangy chicken so well. A crisp cold coleslaw works beautifully too and honestly just some extra pickles on the side is never a wrong move.
Leftovers And Storage
The crispy coating softens in the fridge but the flavor actually gets better overnight as the pickle seasoning continues to work its way into the chicken. Reheat in a 375 degree oven for 10 minutes to bring back some of that crunch.
- Air fryer at 375 degrees for 4 to 5 minutes works great for reviving leftover pieces
- Freeze cooked pieces on a baking sheet first then transfer to a bag for up to 3 months
- The breading mixture can be made ahead and stored in an airtight container for future recipes
 Pin It
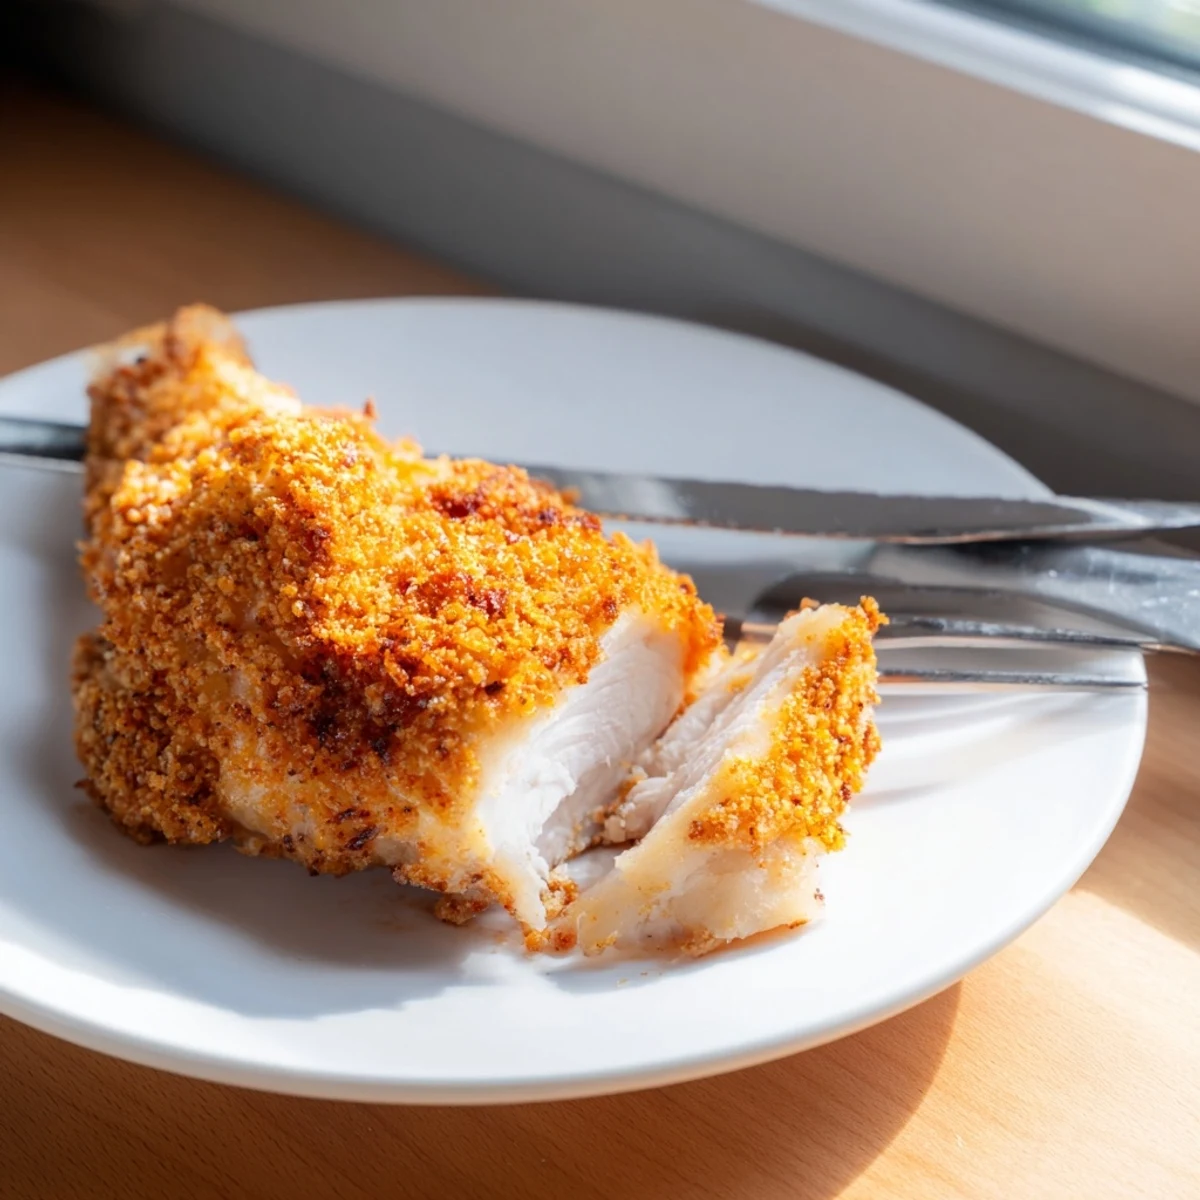
 Trust me on this one, even the people who say pickles on everything is too much will be reaching for seconds. That first crunch when you bite through the crispy coating into the juicy tangy chicken is something else entirely.
Common Questions
- → How long should I marinate the chicken?
-
Marinate for at least 1 hour for basic flavor, but 4-12 hours yields the most tender, tangy results. The longer it sits in the pickle brine, the more flavorful and juicy the chicken becomes.
- → Can I bake this instead of frying?
-
Yes, bake at 425°F for 20-25 minutes, flipping halfway. The crust won't be quite as crispy as fried, but still delicious. Spray with cooking oil before baking to help browning.
- → What type of pickles work best?
-
Classic dill pickles or kosher dills provide the most authentic flavor. Avoid sweet pickles or bread-and-butter varieties, as they change the savory-tangy profile of the dish.
- → Can I use chicken breasts instead of thighs?
-
Absolutely. Pound breasts to even thickness before marinating to ensure they cook through without drying out. Adjust cooking time to 3-5 minutes per side depending on thickness.
- → How do I store and reheat leftovers?
-
Store in the refrigerator for up to 3 days. Reheat in a 350°F oven for 10-15 minutes to restore crispiness. Microwaving makes the crust soggy, so avoid if possible.
- → What sides pair well with this dish?
-
Classic pairings include potato salad, coleslaw, or roasted potatoes. For a lighter meal, serve with a crisp green salad or steamed vegetables. The tangy flavor also complements mashed potatoes well.
