 Pin It
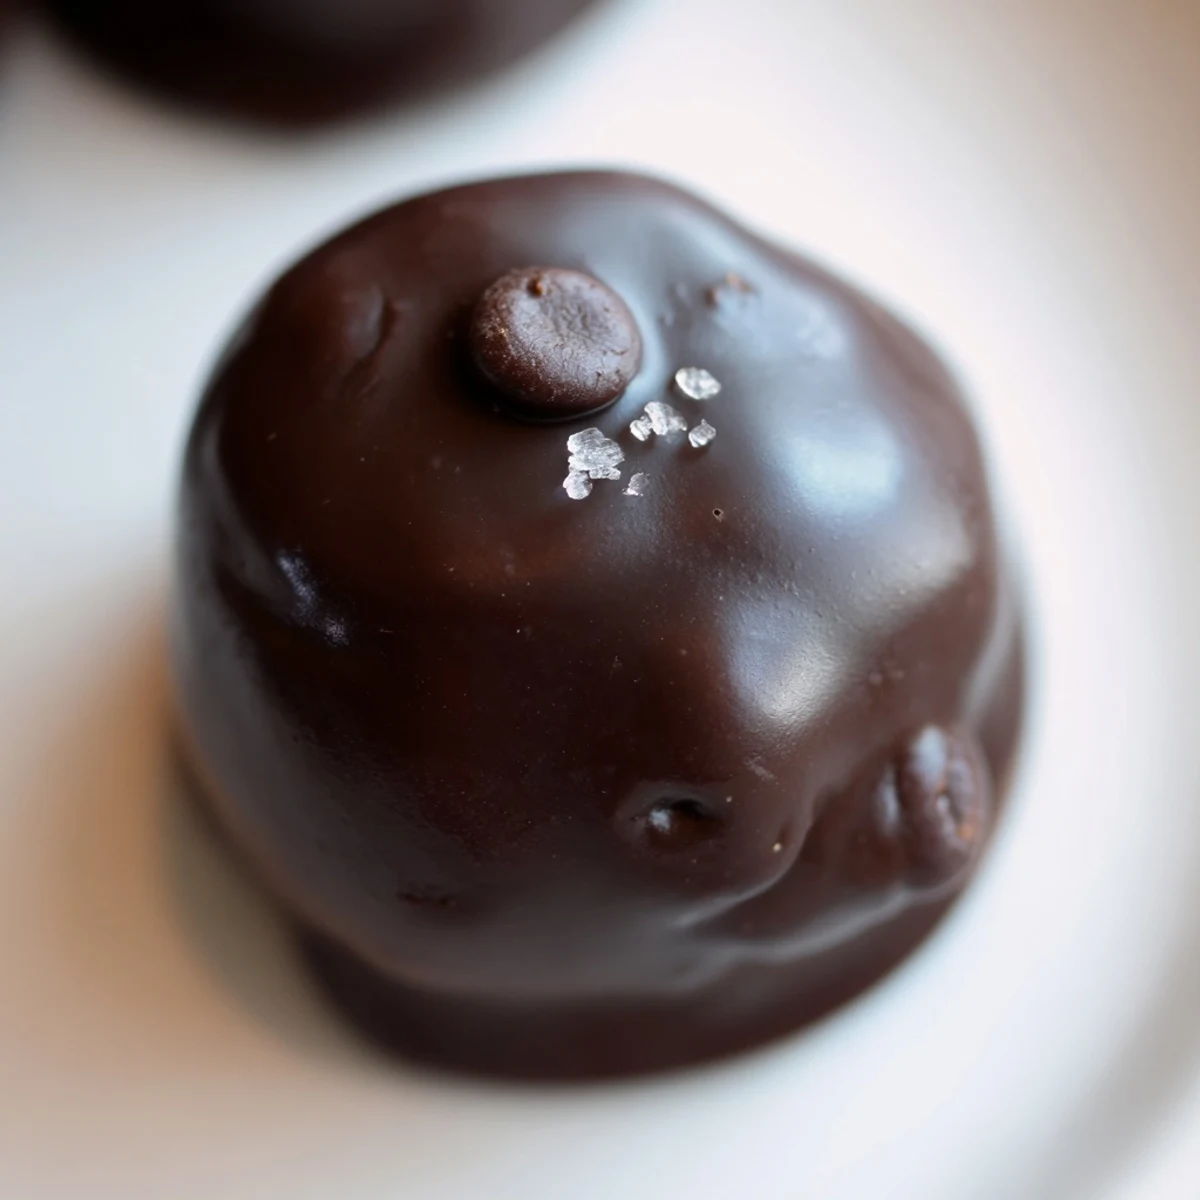
 These decadent chocolate chip dough truffles combine a creamy, sweet dough packed with mini chocolate chips and a rich chocolate coating. After mixing the dough and chilling it to firm up, each ball is dipped in melted chocolate for a smooth finish. A touch of sea salt can be added before the coating sets for a perfect balance of sweet and salty. Ideal for easy, no-bake indulgence at parties or gifting occasions.
There's something magical about the moment you realize you can eat cookie dough without guilt. I discovered these truffles on a particularly indulgent Tuesday when I was testing recipes for a party and couldn't resist sneaking spoonfuls of edible dough straight from the bowl. The chocolate coating transformed that guilty pleasure into something worthy of a dessert table, and suddenly I had a recipe that felt like I'd cracked some delicious code.
I made these for my friend's book club last month, and watching everyone's faces light up when they bit through the chocolate shell was worth every minute. One person admitted she'd always wanted to taste real cookie dough, and suddenly these little spheres became something that unlocked a childhood dream she didn't know she still had.
Ingredients
- Unsalted butter: Use room temperature butter so it creams properly and gives your dough that silky, melt-in-your-mouth texture without any grainy bits.
- Light brown sugar: This brings molasses notes that make the dough taste like actual cookies, deeper and richer than white sugar alone.
- Granulated sugar: The combination of both sugars creates better structure and prevents the dough from tasting one-note.
- Milk: Just enough to loosen the dough and make it tender, like you're binding everything together with a gentle hand.
- Vanilla extract: Real vanilla matters here since you're eating this raw; it should smell like comfort.
- Heat-treated flour: This is non-negotiable for food safety—it kills any bacteria lurking in the flour without changing the taste or texture.
- Salt: A pinch grounds all those sweet flavors and keeps them from feeling cloying.
- Mini semi-sweet chocolate chips: The smaller size means more chocolate pockets in every bite, and mini chips melt slightly into the dough as it sits.
- Semi-sweet or dark chocolate for coating: This is your final flavor statement; choose based on how rich you want things to feel.
- Coconut oil or vegetable oil: Just a teaspoon makes the chocolate coating impossibly smooth and glossy, though it's optional if your chocolate is already cooperative.
Instructions
- Cream your butter and sugars:
- Beat them together until pale and fluffy, which takes about two to three minutes with an electric mixer. You should see the mixture transform from dense and grainy to light and cloud-like.
- Add moisture and flavor:
- Mix in the milk and vanilla, letting them incorporate fully so the dough feels cohesive rather than separated.
- Fold in flour and salt:
- Mix gently just until no dry streaks remain; overworking at this stage makes the dough tough, so think of it as a whisper rather than a shout.
- Stir in chocolate chips:
- Let them distribute evenly throughout so every truffle gets its share of chocolate goodness.
- Shape into balls:
- Use a tablespoon measure or cookie scoop to keep them uniform, then roll gently between your palms until smooth. This takes patience but rewards you with even melting and consistent bites.
- Chill the dough balls:
- Fifteen to twenty minutes in the freezer firms them up enough to handle the chocolate coating without falling apart or deforming.
- Melt chocolate carefully:
- Whether you use a double boiler or microwave, go slowly and stir frequently to prevent any burnt or grainy texture. Smooth chocolate is the goal.
- Coat with intention:
- Dip each ball fully, tap off excess, and return it quickly to parchment. The faster you work, the better the coating adheres.
- Set the final layer:
- At least twenty minutes in the refrigerator seals everything together and gives you truffles with satisfying snap when you bite through.
 Pin It
 I realized these truffles had become something special when my neighbor started asking for them by name instead of just calling them chocolates. Food that makes people remember you fondly is worth keeping on rotation.
The Science of Edible Cookie Dough
Heat-treating flour is the secret that makes this whole recipe possible, and it's worth understanding why. Raw flour can carry harmful bacteria, but heating it to 350°F for five to seven minutes neutralizes those risks without changing the flour's baking properties or taste. Once cooled completely, you have flour that behaves exactly like regular flour but is safe to eat raw.
Flavor Variations That Actually Work
I've tested these with different chocolate coatings and each one tells a different story. Dark chocolate makes them sophisticated and slightly bitter, perfect for serious chocolate lovers or holiday gifting. Milk chocolate brings back that nostalgic cookie-and-milk feeling, while white chocolate makes them taste almost like cookie dough ice cream. The dough itself is versatile too—I've added a teaspoon of cinnamon or swapped vanilla for almond extract and watched people close their eyes with delight.
Making Them Special
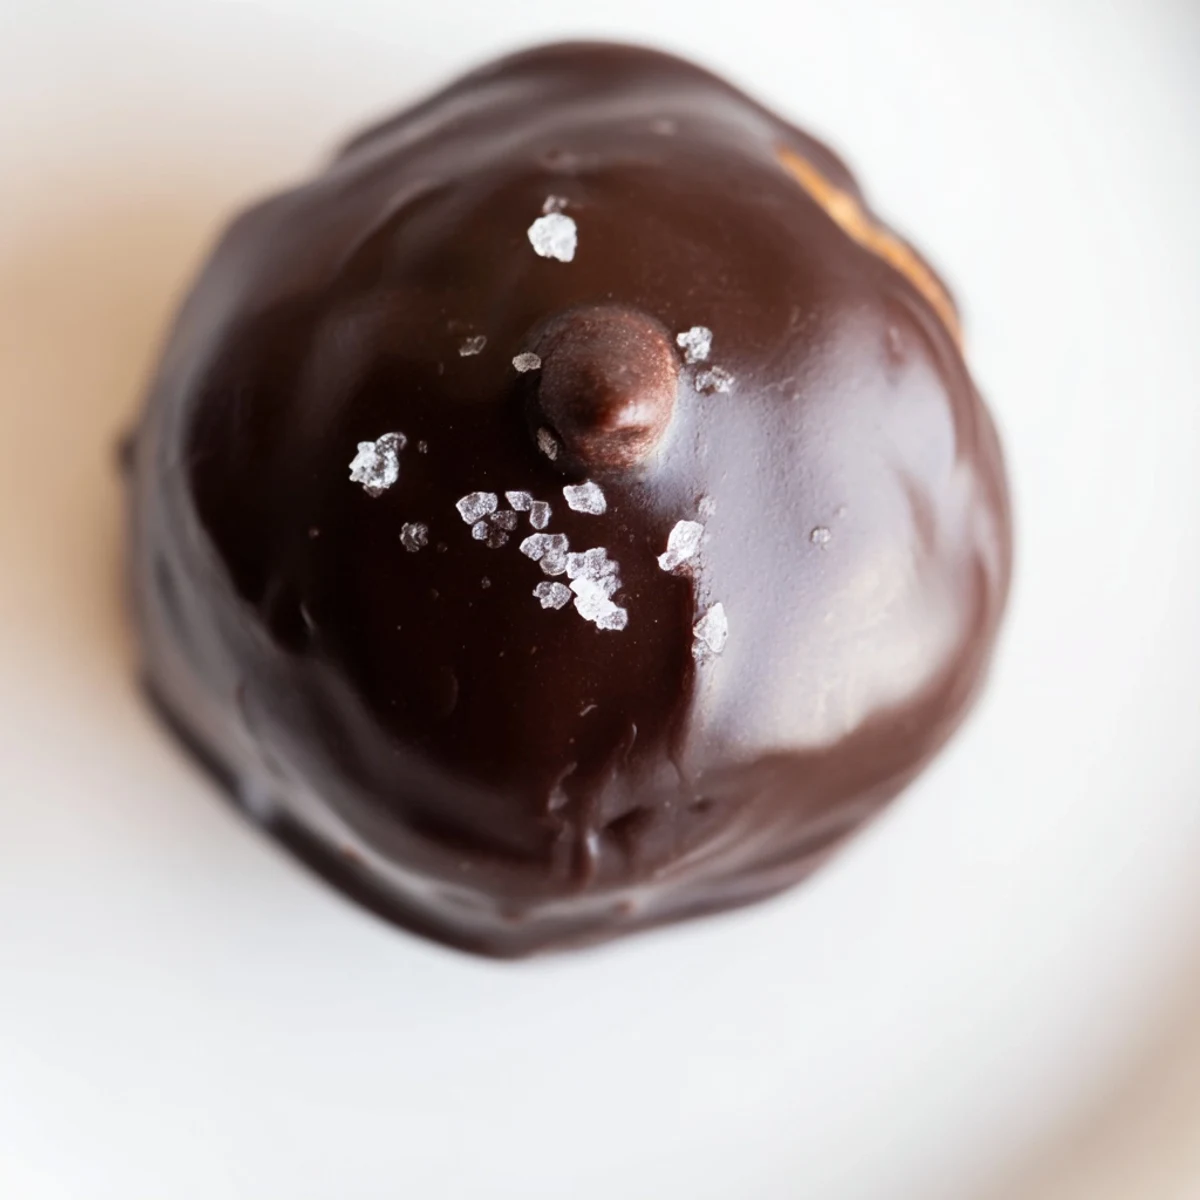
The finishing touches transform these from good to memorable. A pinch of fleur de sel or coarse sea salt sprinkled on top before the chocolate sets creates a contrast that makes your taste buds wake up. Some batches I've made got a light dust of cocoa powder for a more grown-up vibe. These details matter because they show someone you care enough to think about more than just the basics.
- Finish with a tiny pinch of sea salt on top of wet chocolate for salty-sweet magic.
- Try a toothpick to create decorative lines in the chocolate before it completely hardens.
- Store in the coldest part of your refrigerator in an airtight container so they stay fresh for up to a week.
 Pin It
 These truffles have become my answer to so many occasions because they feel fancy without being complicated. They're the kind of gift that makes people feel genuinely seen.
