 Pin It
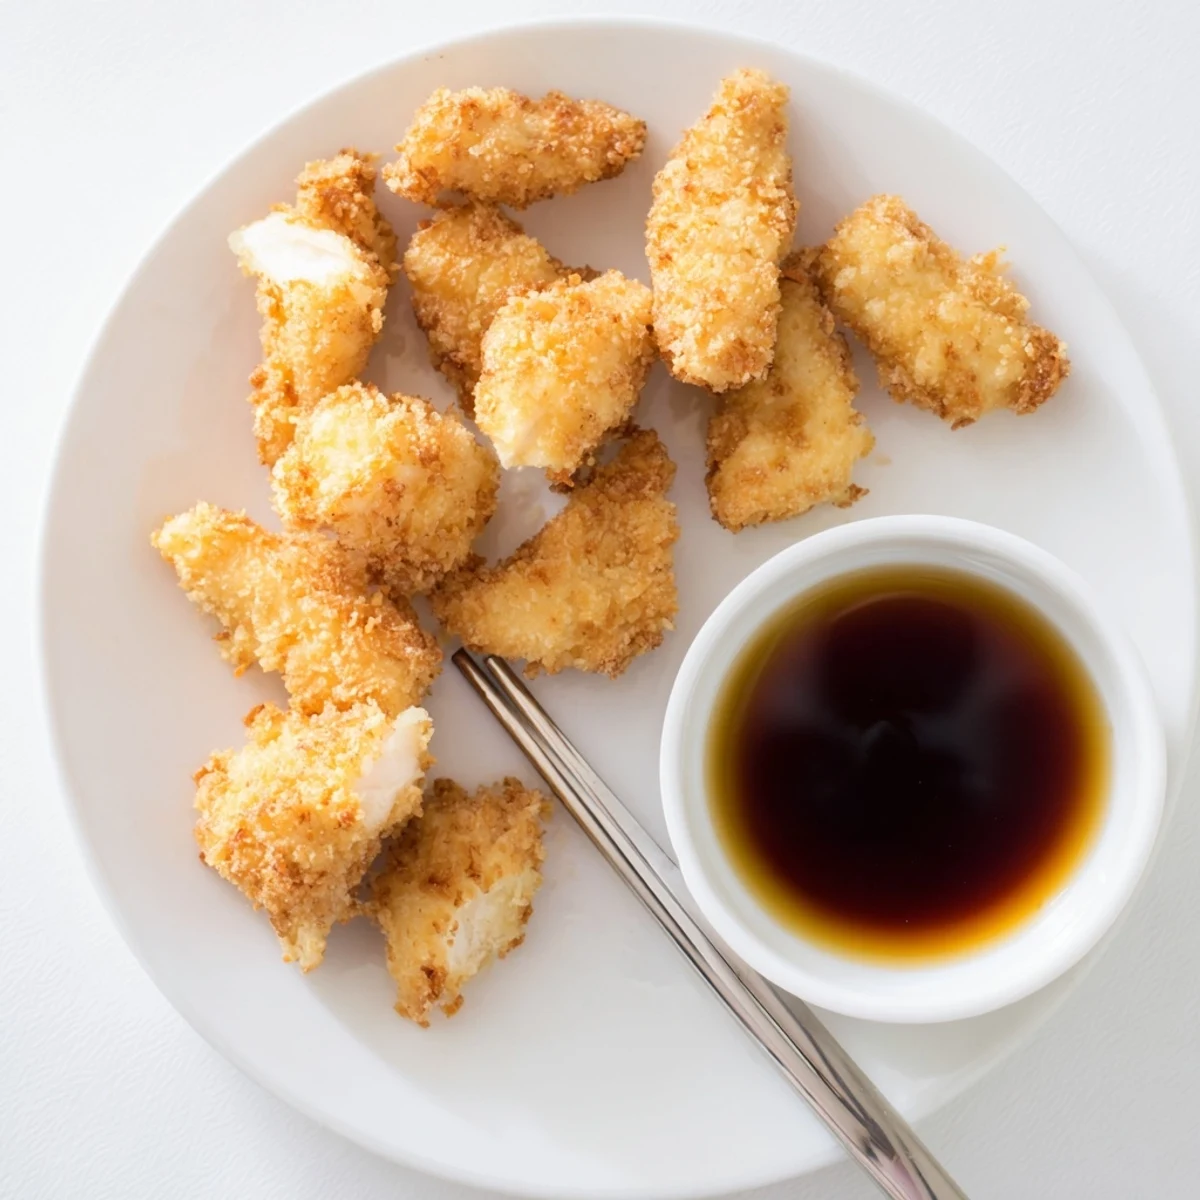
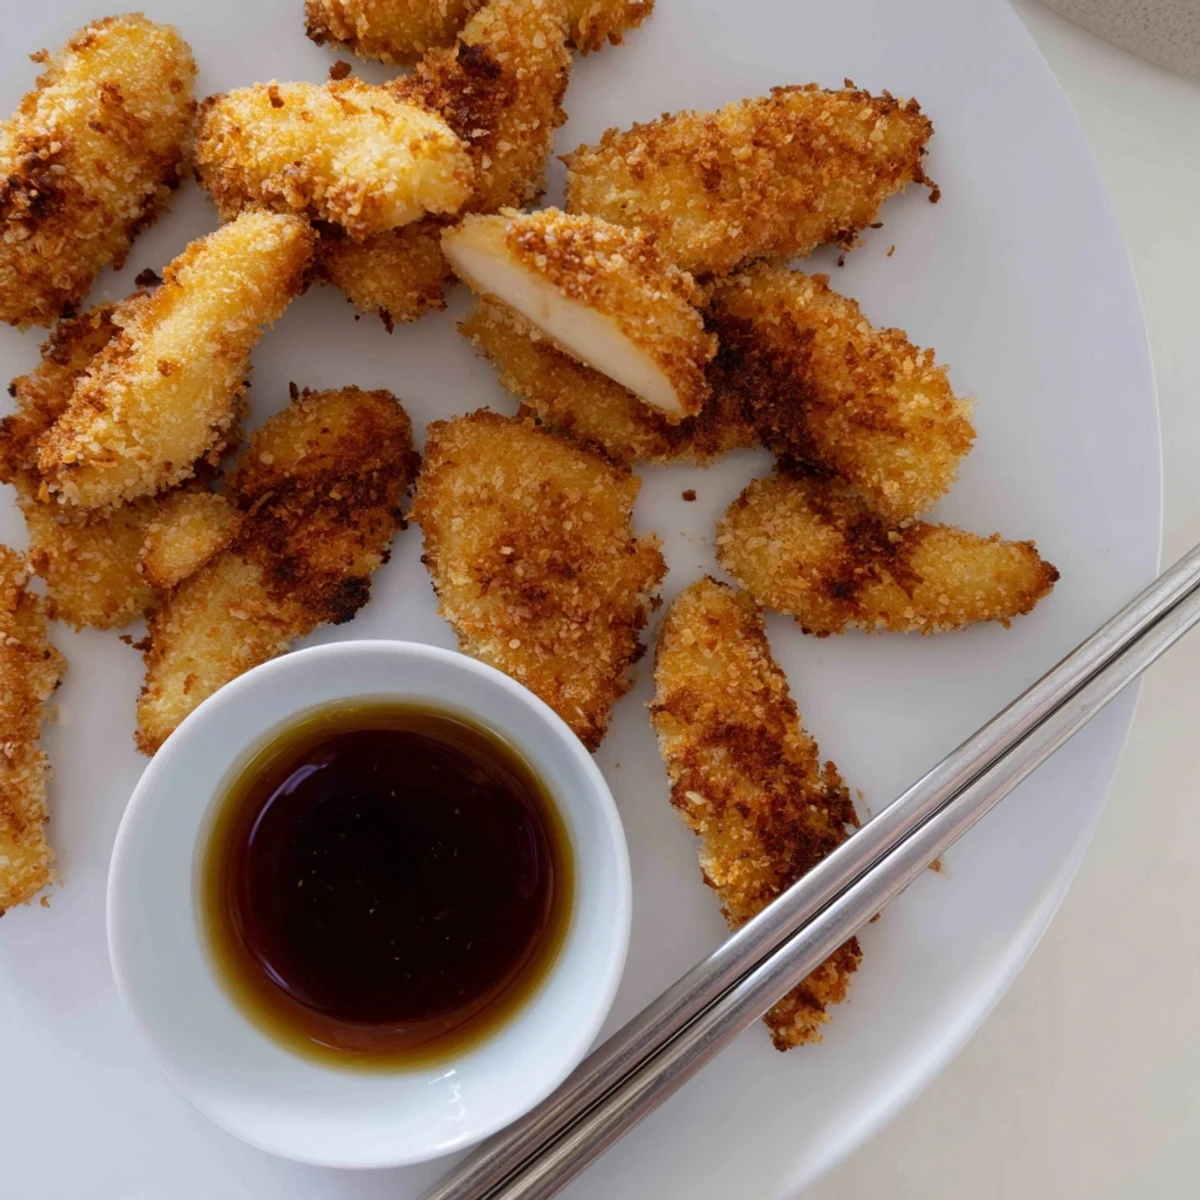
 Experience the art of Japanese frying with this effortless crispy chicken. The secret lies in ice-cold sparkling water creating an ethereally light batter that fries up golden and irresistibly crunchy. Each tender strip of chicken gets dipped in the delicate coating, emerging from hot oil with that signature tempura texture—airy, crisp, and perfectly golden.
The accompanying dipping sauce balances savory soy, sweet mirin, and fresh ginger for a bright contrast that cuts through the rich fried exterior. Perfect as an appetizer or main course alongside steamed rice, these crunchy strips capture the essence of Japanese comfort food with minimal effort.
The aroma of frying tempura still takes me back to that tiny apartment kitchen where my friend Yuki taught me the secrets of light, crispy batter. We laughed so hard when my first batch came out greasy and heavy because I had overmixed the batter. She showed me how lumps are actually your friends in tempura making, creating those beautiful airy pockets that make it so addictive.
Last summer, I made this for a dinner party and my friend Sarah actually gasped when she bit into the first piece. The crunch was perfect, the chicken tender inside. We ended up doubling the recipe because everyone kept grabbing pieces right out of the serving bowl.
Ingredients
- 500 g boneless chicken breasts: Cut into thin strips for even cooking and maximum crisp surface area
- 120 g all-purpose flour and 30 g cornstarch: This combination creates that signature shatteringly crisp texture
- 180 ml ice-cold sparkling water: The carbonation creates bubbles in the batter for extra lightness
- 1 large egg: Helps the batter cling to the chicken while keeping it tender
- 1/2 tsp baking powder: Ensures extra puff and crunch in every bite
- 1 liter vegetable oil: Needs to maintain consistent heat for proper frying
- 60 ml soy sauce, mirin, and rice vinegar: Forms the perfect balanced tangy dipping sauce
- 1 tbsp sugar and 1 tsp fresh ginger: Adds subtle sweetness and warmth to the sauce
Instructions
- Prepare the chicken:
- Cut chicken into 1x5 cm strips and pat thoroughly dry with paper towels. Season evenly with salt and pepper, letting it sit while you make the batter.
- Mix dry ingredients:
- Whisk flour, cornstarch, and baking powder together in a mixing bowl. Keep this mixture ready near your frying station.
- Prepare the wet mixture:
- Lightly beat the egg in a separate bowl, then stir in the ice-cold sparkling water. The water must be freezing cold for the crispiest results.
- Make the batter:
- Pour wet mixture into dry ingredients and stir briefly with chopsticks. Leave it visibly lumpy and shaggy, about 10-15 seconds total mixing time.
- Heat the oil:
- Heat vegetable oil in a deep pan to 175°C (350°F). The oil should be deep enough that chicken pieces float freely.
- Dip and fry:
- Dip chicken strips into batter, letting excess drip off, then carefully place in hot oil. Work in batches to maintain oil temperature.
- Cook to golden:
- Fry for 3-4 minutes until deep golden brown and crisp, turning once halfway through. Listen for the enthusiastic sizzling that tells you its working.
- Drain and rest:
- Transfer cooked pieces to a wire rack. This keeps them crispy, unlike paper towels which can make them soggy underneath.
- Make the sauce:
- Combine soy sauce, mirin, rice vinegar, sugar, and ginger in a small saucepan. Heat gently just until sugar dissolves, then cool completely.
- Serve immediately:
- Arrange hot tempura on a platter with the dipping sauce alongside. The contrast between hot crunch and cool sauce is magical.
 Pin It
 My daughter now requests this for every birthday dinner. The way her eyes light up when she hears the sizzling oil makes all the preparation worth it. We make it a family activity, with everyone assigned to different stations at the counter.
Choosing the Right Oil
Neutral oils with high smoke points work best for tempura frying. Vegetable oil, canola oil, or peanut oil all give excellent results without adding competing flavors. The key is maintaining that steady temperature throughout cooking.
Perfecting Your Batter Consistency
The ideal tempura batter should look like pancake batter with visible flour streaks. It might feel too thick, but resist the urge to add more liquid. The chicken pieces provide enough moisture to thin it naturally during dipping.
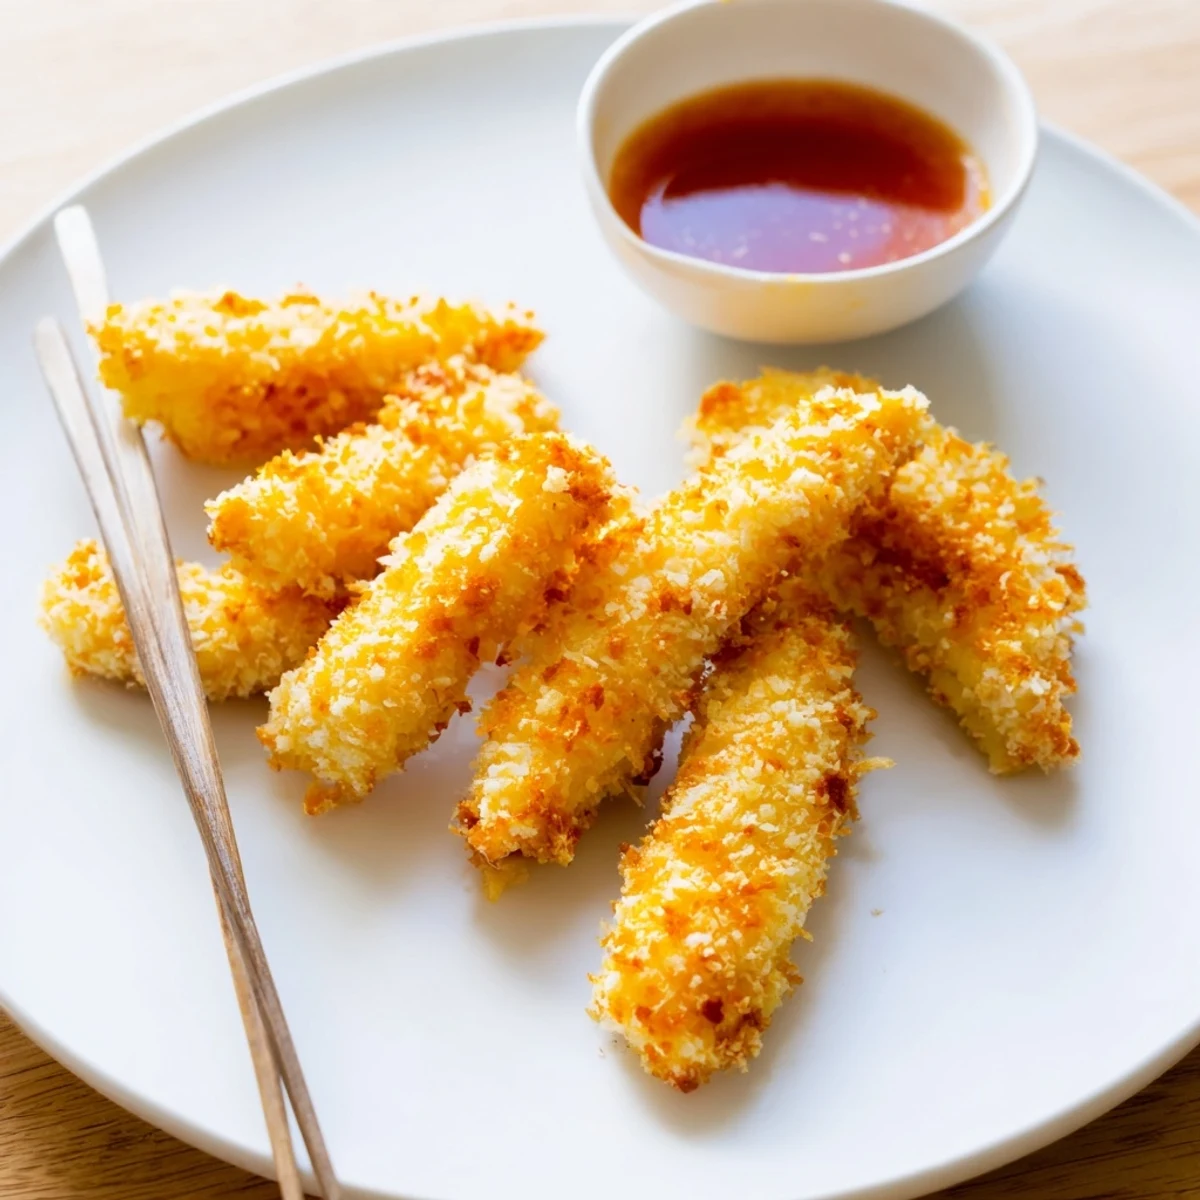
Serving Suggestions and Variations
Tempura makes an impressive appetizer or light main course when paired with simple sides. The contrast between hot crispy chicken and cool tangy sauce creates that perfect bite balance every time.
- Serve immediately for maximum crunch, as tempura loses its signature texture quickly
- Try substituting shrimp, sweet potato, or green beans for variety
- Keep finished pieces warm in a 200°F oven if cooking for a crowd
 Pin It
 Theres something joyful about standing over hot oil, watching simple ingredients transform into something extraordinary. I hope this recipe brings as many happy moments to your table as it has to mine.
Common Questions
- → What makes tempura batter so light and crispy?
-
The key is using ice-cold sparkling water and minimal mixing. The carbonation creates tiny bubbles in the batter, while keeping everything cold prevents gluten development. This results in that signature airy, delicate crunch that sets tempura apart from heavy breaded coatings.
- → Can I use regular water instead of sparkling water?
-
While sparkling water creates the lightest texture, you can substitute regular ice water. The carbonation in sparkling water adds extra lightness, but proper temperature control and not overmixing the batter are more critical factors for achieving crisp results.
- → What oil temperature is best for frying?
-
Maintain your oil at 175°C (350°F) for optimal results. Too cool and the chicken becomes greasy with a soggy coating. Too hot and the exterior burns before the chicken cooks through. A thermometer is essential for consistent temperature control.
- → How do I keep the chicken warm while frying batches?
-
Place a wire rack on a baking sheet in a 200°F (95°C) oven. Transfer cooked pieces to the rack rather than paper towels—this air circulation keeps them crisp on all sides. Avoid stacking, which traps steam and makes the coating soggy.
- → Can I make this gluten-free?
-
Substitute the all-purpose flour with a gluten-free flour blend containing rice flour and tapioca starch. The batter may be slightly more fragile, so handle gently when dipping. Ensure your soy sauce is gluten-free (tamari works perfectly) and double-check all ingredient labels.
- → What other proteins or vegetables work with this batter?
-
Shrimp is classic, but this batter beautifully coats sweet potato, zucchini, bell peppers, green beans, or even lotus root. The key is cutting pieces uniformly so they cook at the same rate. Vegetables typically need 2-3 minutes, while shrimp cook in 2-3 minutes depending on size.
